The Receipt screen provides an essential function within the Practice by allowing Staff to accurately allocate payments received. This process ensures that every financial transaction is meticulously recorded and reconciled, offering clear visibility of funds exchanged. By maintaining precise and up-to-date records, Practices can streamline their financial management, minimise discrepancies, and enhance both accountability and transparency in day-to-day operations.
The Contents of This User Manual:
Receipt Information
Invoice Information
Capture Receipt Section
Amounts
Outstanding
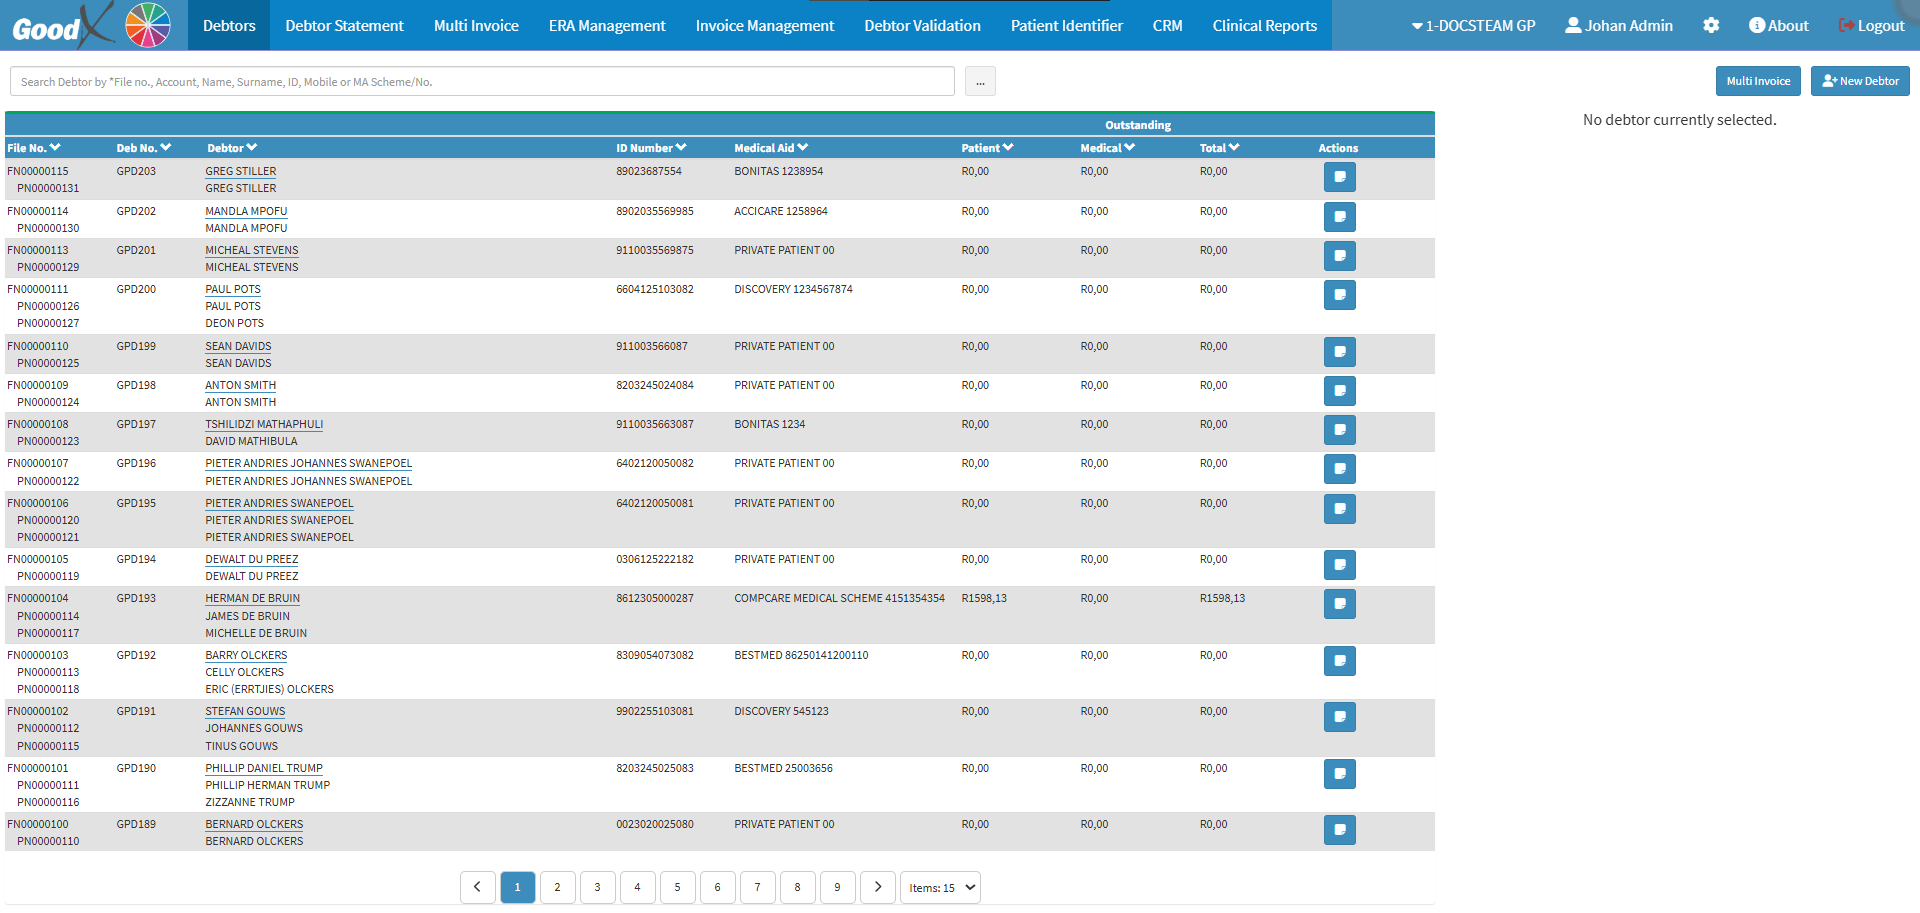
This user manual will start on the Debtors screen.
Click on the desiredDebtor for who you would like to create a Receipt.
The Receipt Information section is essential for correctly allocating a payment. Here, you can enter key details such as the payment Type, select the appropriate Cash Ledger, specify the Amount Received, and capture relevant Reference Numbers, among other important fields.
Click on the Date field to open the Date Picker, and select the desired Date.
?Please Note: The Date field is used to indicate the exact date on which a particular Receipt was captured, ensuring accurate record-keeping in the Practice.
Click on the Cash Ledger drop-down menu and select the desired option.
?Please Note: The Cash Ledger options available are determined by the specific ledgers that has been set up for the Practice.
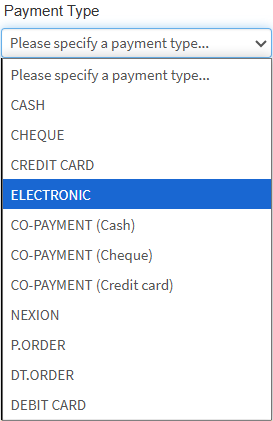
Click on the Payment Type drop-down menu and select the desired option.
Click on the Comments field to enter additional notes or information related to the payment or Receipt.
The Reference Number field is used when a payment has been given a specific number in order to reference you back to the Receipt.
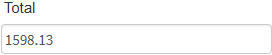
The Totalfield will display the full amount that is still outstanding on the selected Invoice, allowing you to easily track what is owed.
?Please Note: If a Patient would like to make a payment towards the outstanding amount, the preferred amount can be manually entered into the Total field.
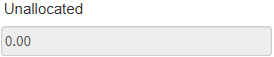
The Unallocated field will display the amount that still needs to be assigned to an Invoice.
Click the Allocate to Patient Amount button to shift the payment amount to the Patient.
?Please Note: This function is only available when there is a surplus of funds in the Patient’s account.
Click the Allocate to Medical Aid Amount button to shift the amount to the Medical Aid.
?Please Note: This function can only be used if the Medical Aid has made the payment.
Click on the Clear Amounts button to reallocate amounts and remove current allocations.
Click on the Shift Selected Invoice Amounts button.
?Please Note: The button will only become available once an Invoice has been selected.
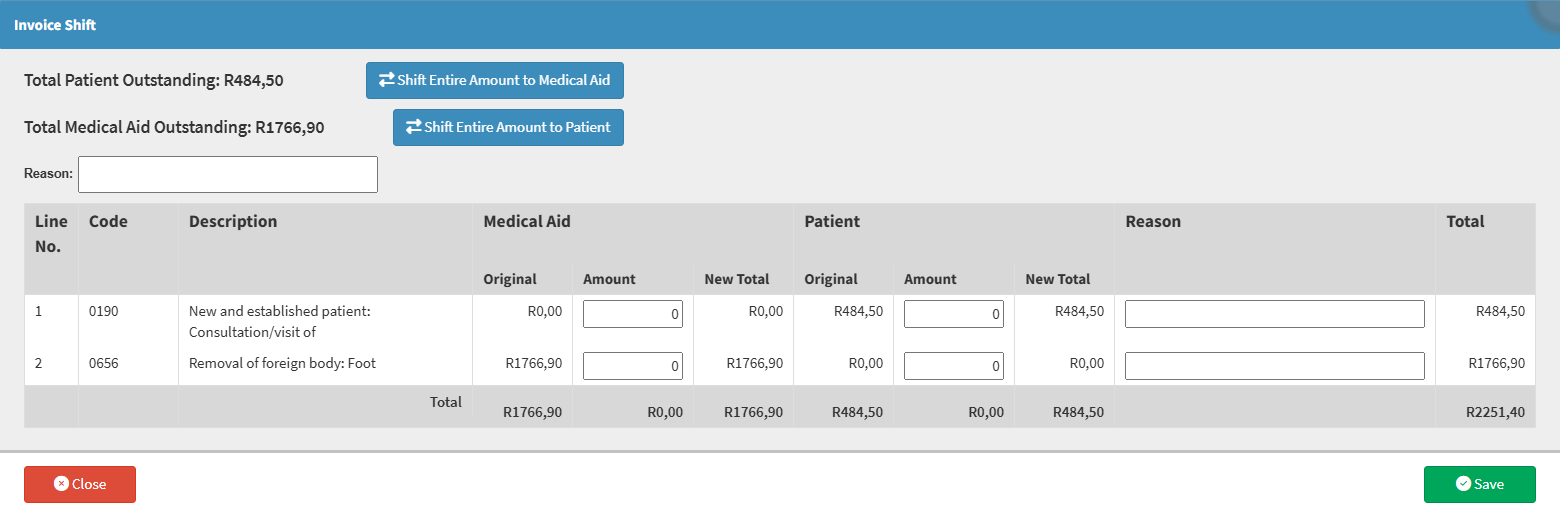
The Invoice Shift screen will open.
Click on the Reason field to enter a reason for the shift.
Click the Shift Entire Amount to Medical Aid button to transfer all outstanding amounts to the Medical Aid, assigning full payment responsibility for all items to the Medical Aid.
Click the Shift Entire Amount to Patient button to transfer all outstanding amounts to the Patient, making them responsible for settling all items.
This section contains all the details related to the Receipt transaction, including the associated case information, the linked Invoice, and the allocation of the received payment.
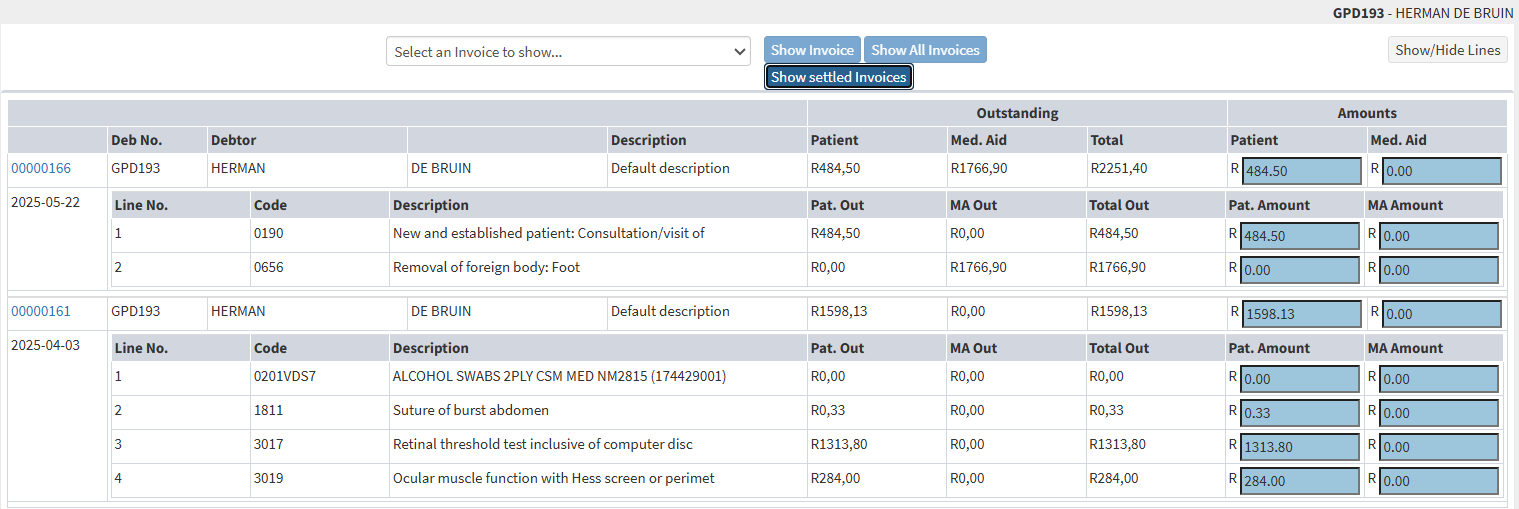
Click on the Select an Invoice to Show drop-down menu.
Select the Invoice you want to allocate the payment to.
Click on the Show Invoice button to display the selected Invoice.
Click on the Show All Invoices button.
This will display all the Invoices made for this Patient.
Click on the Show settled Invoices button.
This will displayall Invoices adjusted to zero.
Click on the Show/Hide Lines button.
When selected, this feature hides the detailed line items associated with the Invoice, helping to simplify the view.
Capture Receipt Section
The Capture Receipt section indicates all Invoices posted on the Debtor/Patient's account. Allocation of Amounts can be made in this section to Allocate the Amount directly to an Invoice.
An explanation will be given for each field:
Invoice Number: An Identification Number that is automatically assigned by the system.
Debtor Number: The Account Number that was automatically assigned to the Debtor when their file was created.
Debtor:Name and Surname of the account holder.
Description: The Description that was given to the specific Invoice.
Outstanding
Patient: The Total Amount owed by the Patient to the Practice for a specific Invoice.
Med. Aid: The Total Amount owed by the Medical Aid to the Practice for a specific Invoice.
Total: The Sum of both the Patient and Medical Aid Outstanding Amounts that is outstanding for the selected Invoice.
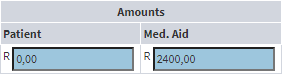
Amounts
Patient: The Amount that will be allocated towards the total owed by the Patient.
Med. Aid: The Amount that will be allocated towards outstanding Medical Aid payments.
Date: TheDate on which the Invoice was posted will be displayed underneath the Invoice Number.
Line No.: Invoices are broken up into individual Line Numbers, each Line Number represents a line on the Invoice. You are able to Allocate the Payment to each individual line with an Outstanding Amount.
Code: Displays the Code that identifies the billable Item or Procedure.
Description: A short explanation of the Procedure or Item linked to the Billing Code.
For an explanation of these columns, please refer to the section in this user manual: Oustanding.
For an explanation of these columns, please refer to the section in this user manual: Amounts.
Click on the Post button to save the Receipt Transaction to the system.
Click on the drop-up menu next to the Post button for more options.
Click on the Post and Email, in order for the Transaction to be Posted to the system and to Email the Receipt to be Patient.
For more information on the Email screen, please refer to the user manual: Send an Email.
Click on the Post and Print button, in order for the Transaction to be Posted to the system and the Receipt to be Printed.