The New Patient Refund allows you to reimburse a Patient. Processing a refund ensures that any overpayments or adjustments are correctly reflected in the system. Once the refund is completed, the Debtor’s Statement will show that the amount has been returned, updating the account balance accordingly.
The Audit Statement will display the refunded amount as a positive entry, confirming that no funds are owed to the Patient.
This supports accurate financial reconciliation, transparency in Patient transactions, and helps maintain clear and compliant financial records within the Practice.
This user manual will start on the Account Details screen.
For more information on how to navigate to the Account Details screen, please refer to the user manual: Account Details Overview.
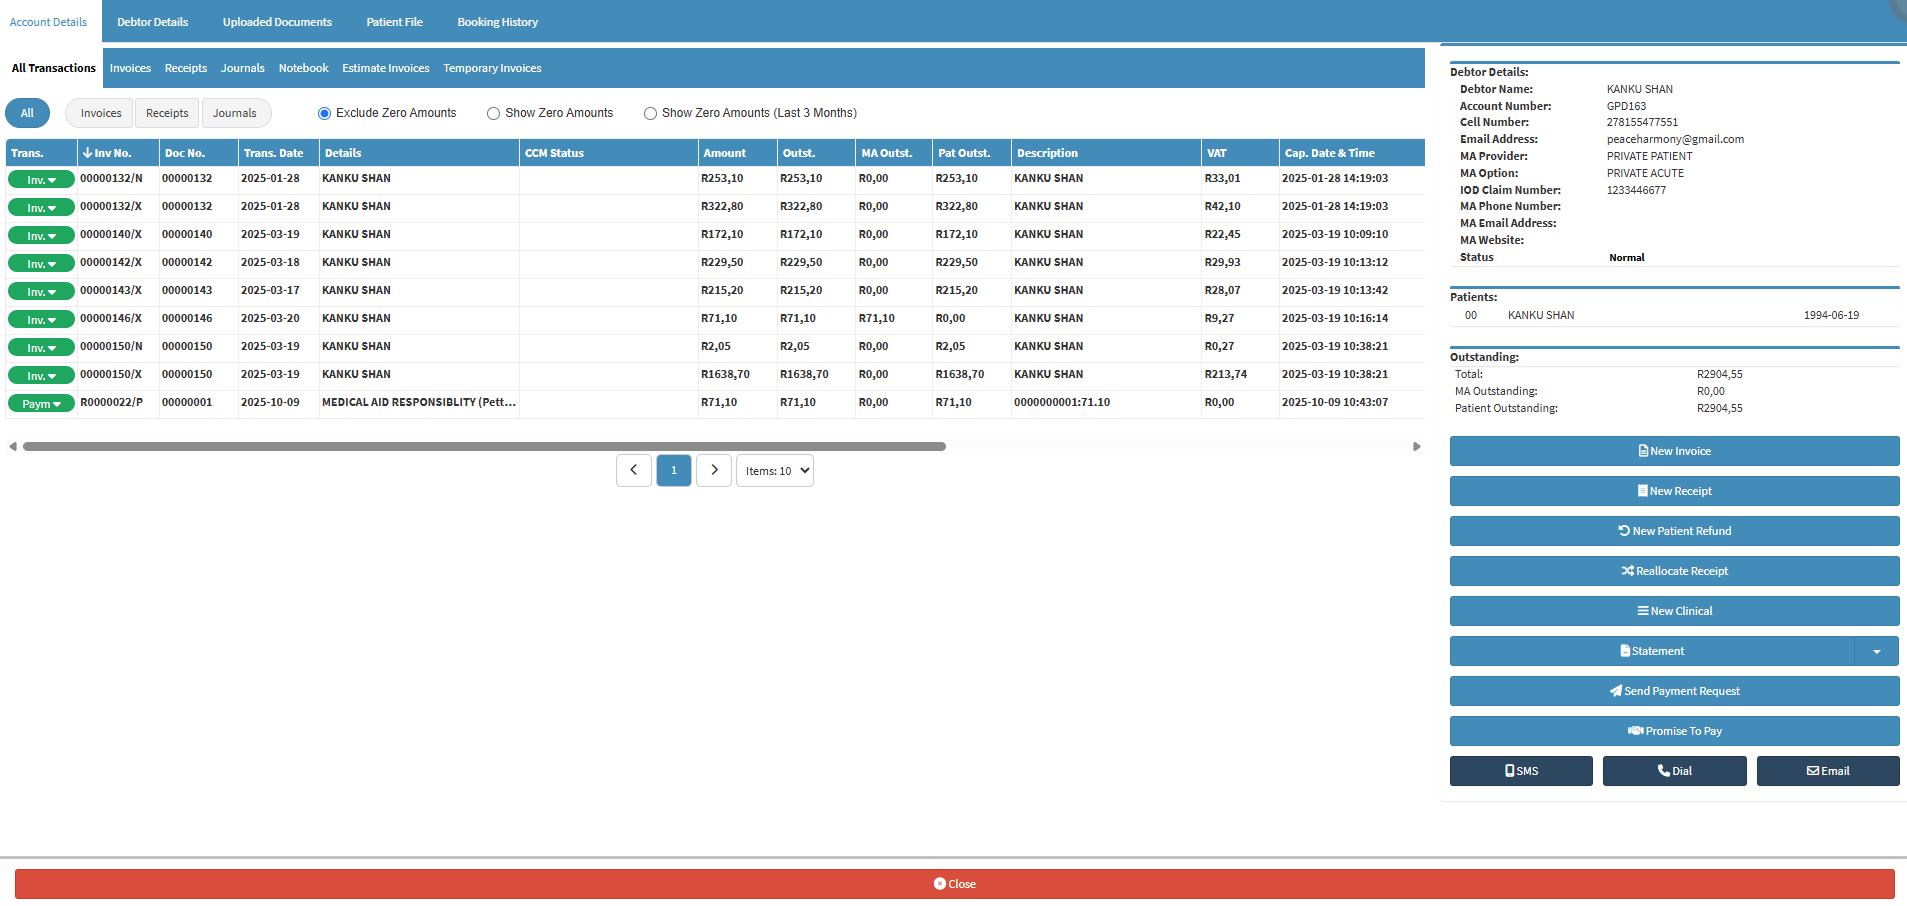
Click on the New Patient Refund button on the Account Detailssidebar.
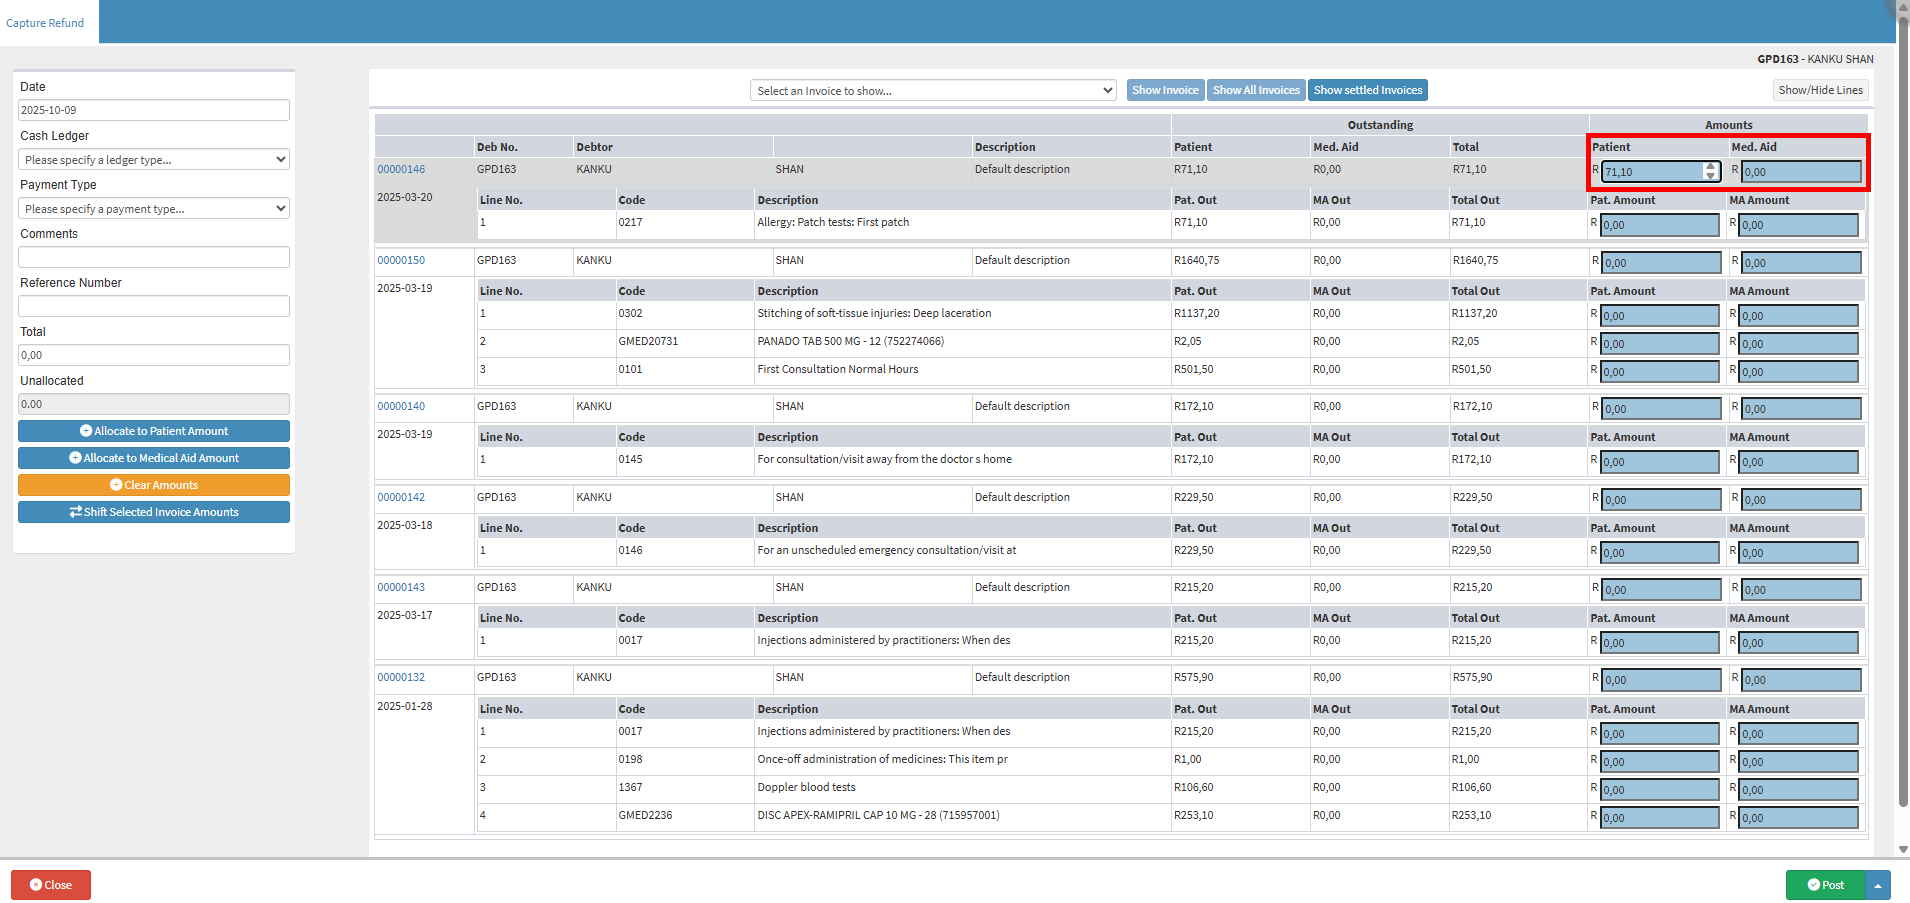
The Capture Refund screen will open.
Click on the Date field to change the refund date using the date picker that becomes available.
?Please Note: The Default date will be today's date.
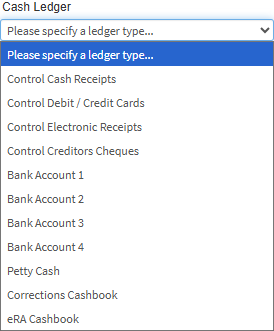
Click on the Cash Ledger drop-down menu to select the Ledger from which the funds will be allocated.
?Please Note: The options that are available will be determined by the ledgers that have been set up for the Practice. To change the ledgers, please be sure to contact your designated GoodX support person.
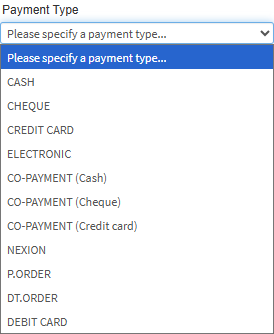
Click on the Payment Type drop-down menu to select the method used for the payment.
Click on the Comment field to enter the reason for the refund.
Click on the Reference Number field to enter an identifying number for the refund if necessary.
Type in the Amounts that you would like to allocate in the relevant Pat. Amount/MA Amount fields that correspond with the Refund amount.
As you type in the amounts in the Med. Aid Amount fields, the Unallocated field, on the left side of the screen will become less as the system makes automatic calculations.
For more information regarding the other features and options that are available, please refer to the user manual: Receipt Screen (Overview).
Click on the Post button to post the transaction to the system
The Account Detail screen will open.
Click on the Up Arrow next to the Post button for more options.
Click on the Post and Print button, in order for the transaction to be posted to the system and the receipt to be printed. The Capture Refund screen will close and you will return to the Account Details screen.
Click the Statement drop-down button on the Account Details sidebar.
The Statement drop-down menu will open.
Click on the Audit Statement button.
Click on the downloaded Audit Statement.
The Audit Statement will open. The refund that has been posted to the Debtor's account will display, as well as all other transactions that have been completed at the Practice.
For more information Regarding Printing an Audit Statement, please refer to the Audit Statement section in the user manual: Print Statement.
?Please Note: The Refund Transaction information will only display on the statement if the Outstanding balance is equal to or more than 0.01 rands.