How to Redo a Receipt
Why Use This Function:
Errors on Receipts made can easily be rectified by the Receipt Redo function. The Receipt Redo function allows the Practice to adjust the Receipt to the correct amount, therefore increasing or decreasing the invoice amount.
💡Please Note: In order to do a Receipt Redo, the Debtor's account must already have a Receipt allocated to an invoice. The Receipt Redo function can only be used when an invoice that has been made out to the Debtor/Patient is marked as a Private Invoice.
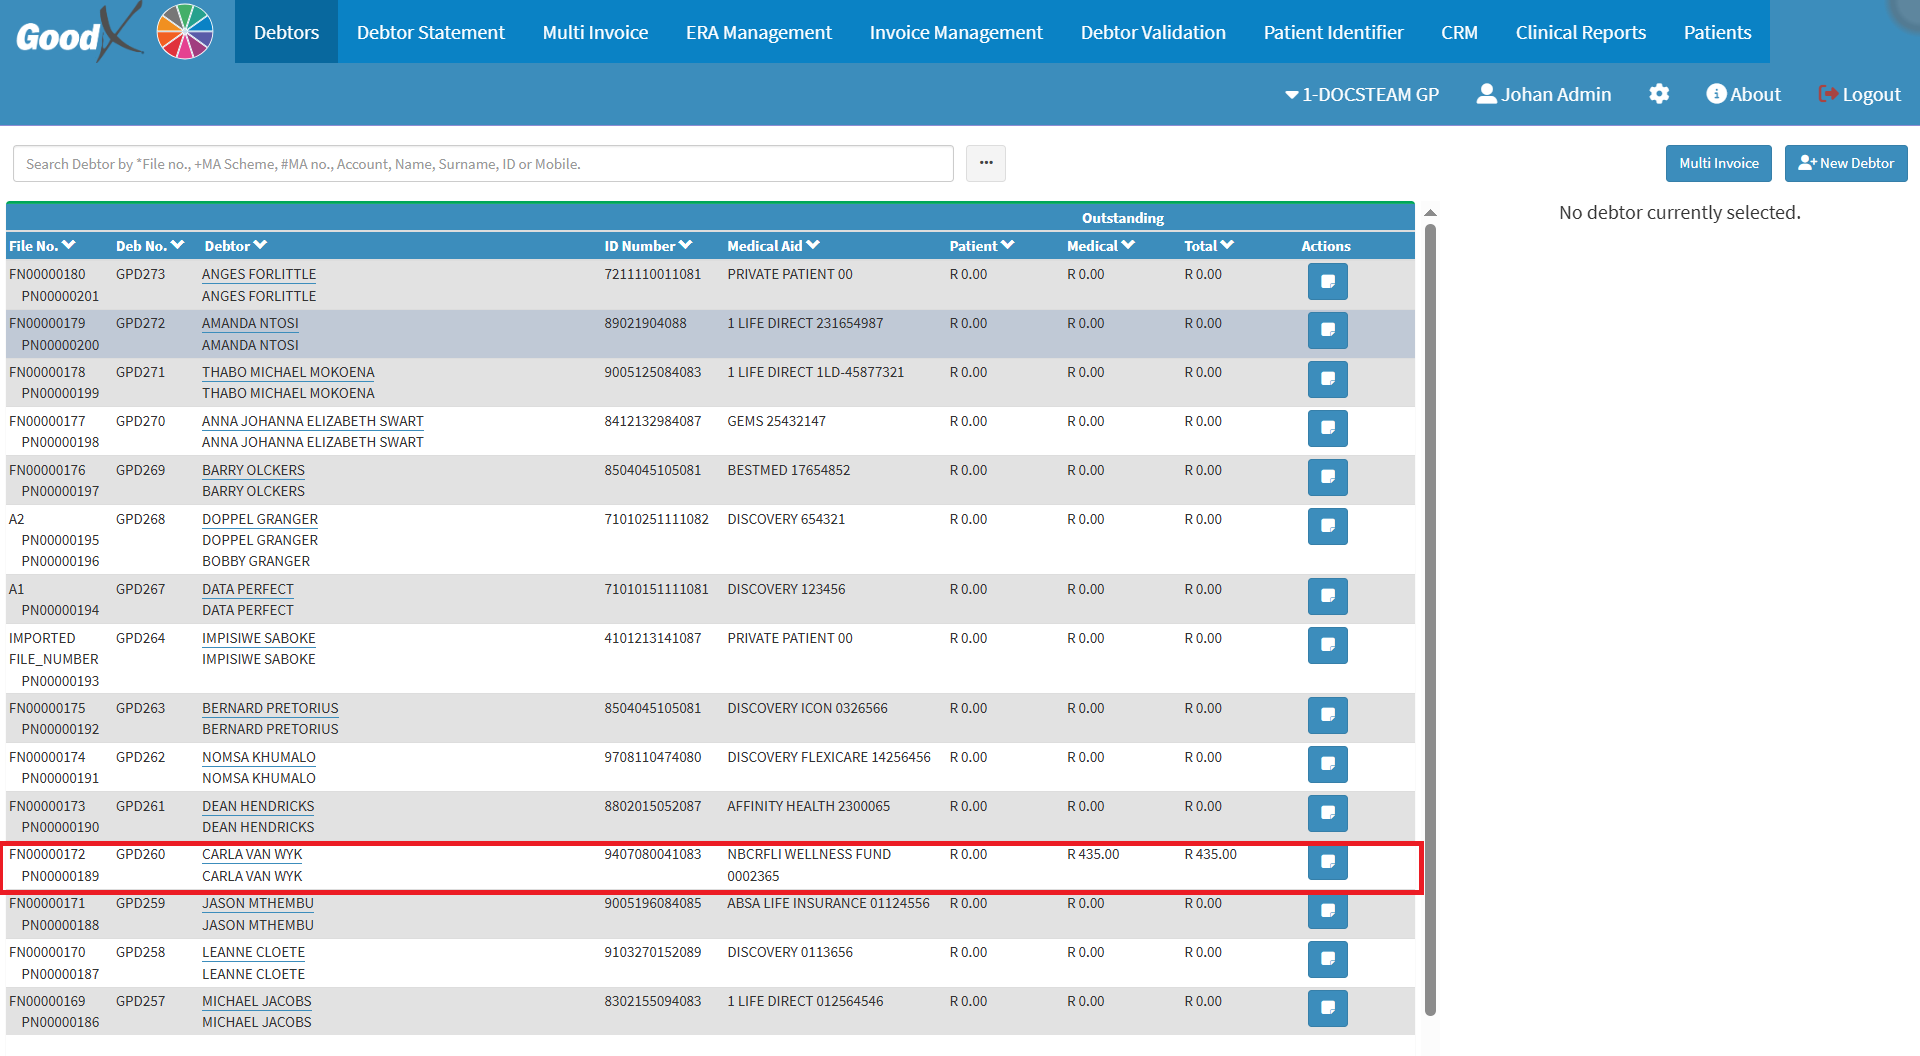
- This user manual will start on the Debtors List screen.

- For more information regarding the Debtors List screen, please refer to the user manual: Debtor List Screen: Navigation and Use
- Click on the desired Debtor.

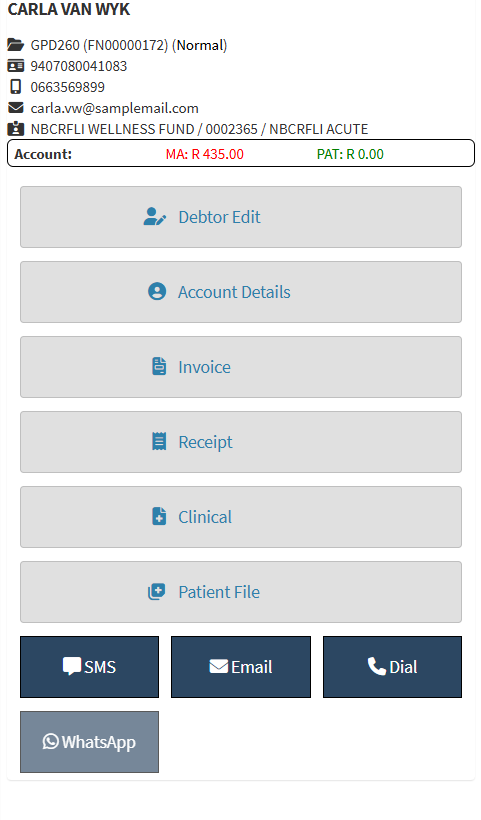
- The Debtors sidebar will open.

- Click the .

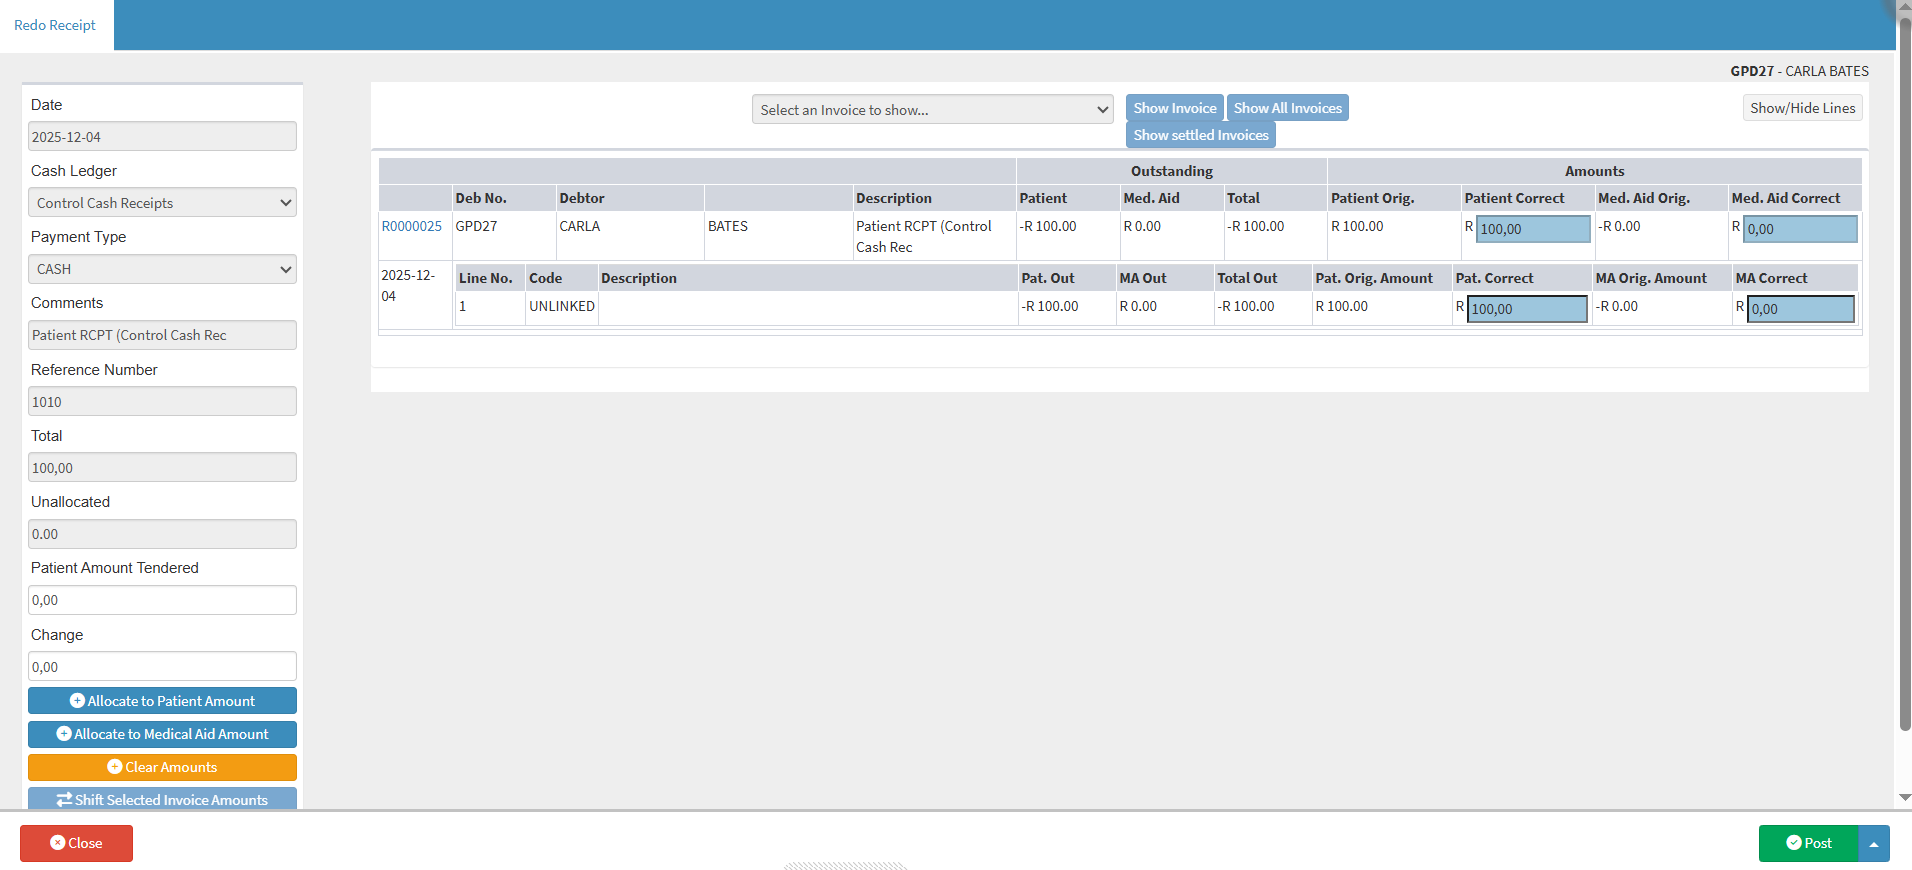
- The Redo Receipt screen will open.

💡Please Note: The transaction information fields on the left side of the screen will be greyed out and cannot be edited. This ensures that the receipt is redone on the same ledger to which it was originally posted.
- Changes can only be made in the Pat. Amount column at the line item level. Amounts are auto-allocated but can be adjusted if required

- Click on the Post popover menu.

- The Post drop-up menu will open.
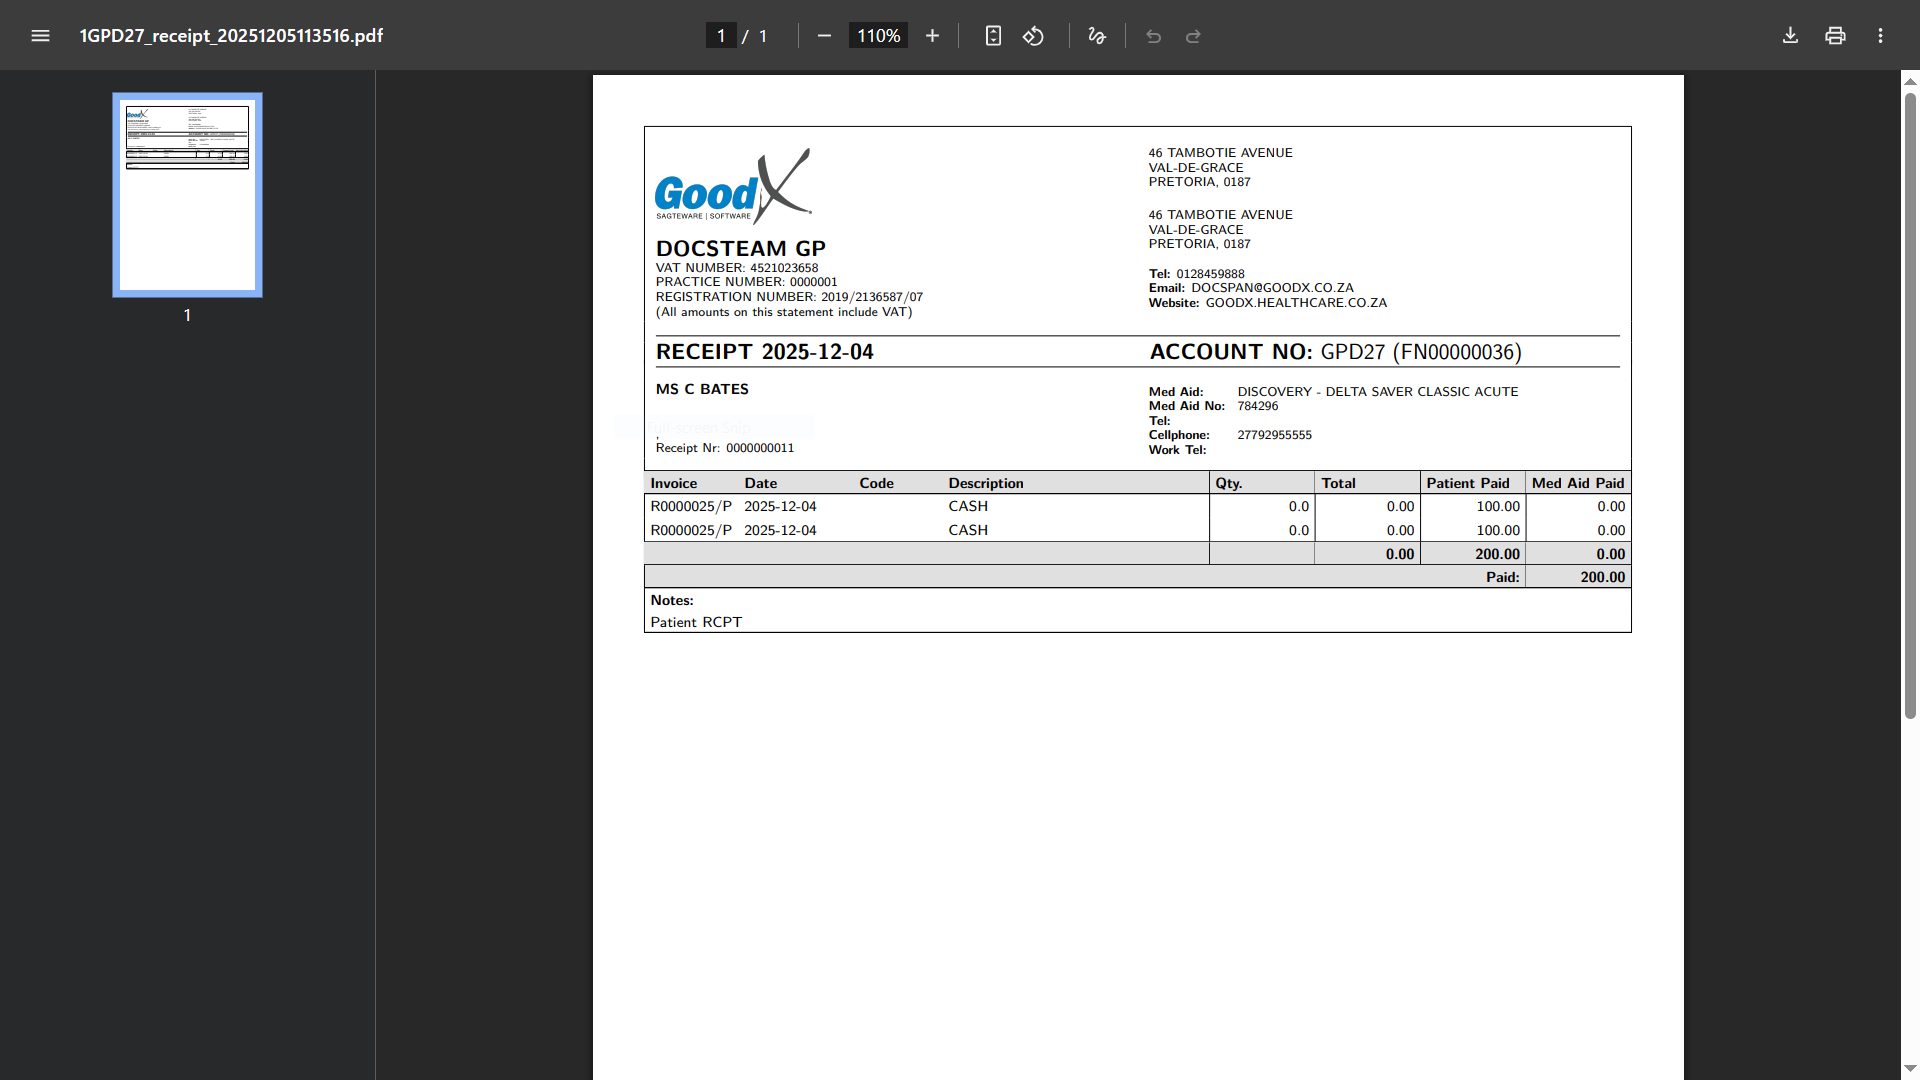
- The Receipt will be downloaded into a PDF format, and will display differently depending on the PDF reader used.

💡Please Note: The way the Receipt will print, is dependent on the setup of the printer at the Practice.
- Click on the Post button to post the transaction to the system. The Redo Receipt screen will close automatically, returning to the Account Details screen.
![]()
Last modified: Thursday, 11 December 2025, 8:29 AM