Reallocating a receipt enables you to reassign an invoice that was allocated or linked to the incorrect invoice/invoice line. The receipt will need to be allocated to the correct invoice/invoice line. Linking payments to invoices, assist with complete and accurate record keeping in the Practice.
The amount of the receipt will be equal to 0.00. The receipt will only be linked to the invoice. Money will not be added, but only moved from one place to another.
There are 2 reasons why you will Reallocate or Link a receipt to an invoice:
The receipt was allocated to the incorrect invoice or invoice line.
A payment was received toward a Patient/Debtors account, but the payment has not been linked to an invoice.
?Please Note: You will only be able to allocate unlinked receipts to existing Invoices. For more information on how to create an Invoice, please refer to the user manual: The Invoice Screen.
This user manual will start on the Account Details screen of the desired Debtor.
For more information regarding how to navigate to the Account Details screen, please refer to the user manual: Account Details Overview.
Click on the Reallocate Receipt button in the sidebar.
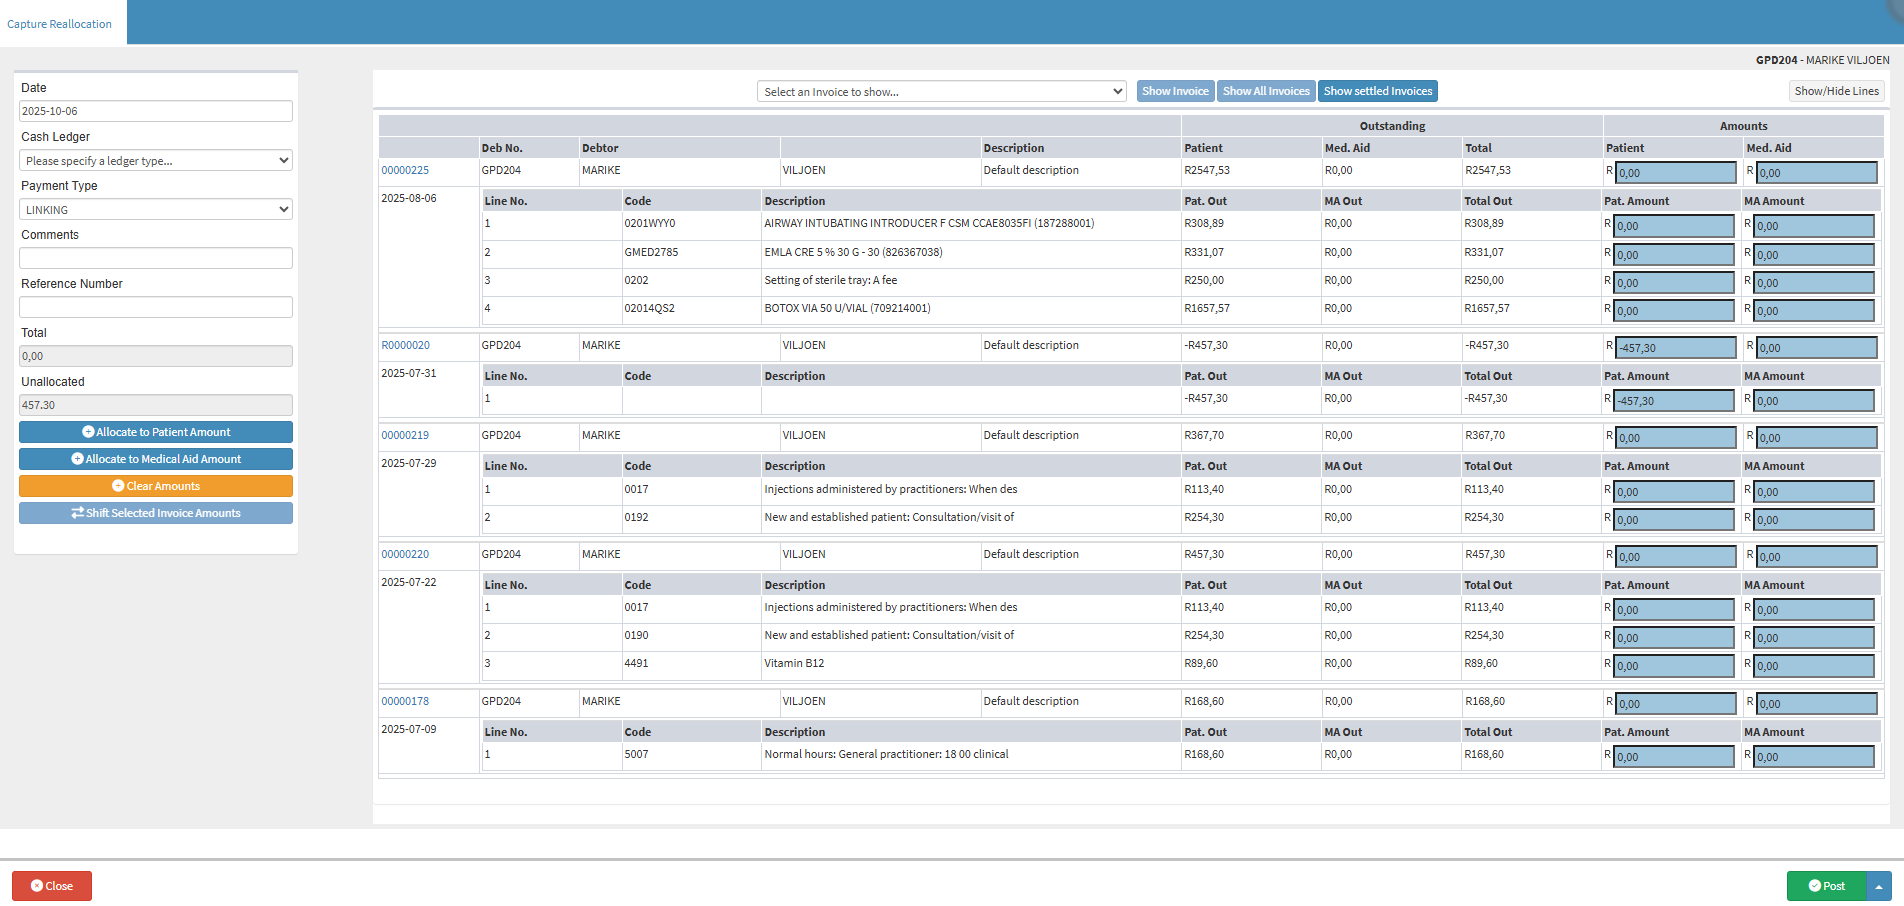
The Capture Reallocation screen will open.
?Please Note: If the system can find an exact match for an Invoice that correlates to the unlinked amount, the calculations and allocation of the funds will be done automatically.
Click on the Date field to select the transaction date from the date picker that becomes available.
Click on the Cash Ledger drop-down menu to select the ledger where the funds will be allocated.
?Please Note: The options that are available will be determined by the ledgers that have been set up for the Practice. For more information on how to add a new Ledger, contact your designated support person.
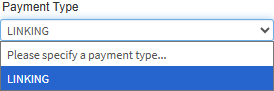
Click on the Payment Type drop-down menu to select the method that will be used for the Reallocation.
?Please Note: Linking will be used by default and cannot be changed as no other options are available.
Click on the Comments field to enter any additional information related to the payment or receipt.
Click on the Reference Number field to enter the number used to reference the transaction.
Type the amounts that you would like to allocate in the relevant fields that correspond to the unpaid invoice.
?Please Note: As you type in the amounts, the Unallocated field, on the left side of the screen, will become less as the system makes automatic calculations.
For more information regarding the other features and options that are available, please refer to the user manual: Receipt Screen Overview.
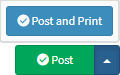
Click on the drop-up menu next to the Post button for more options.
Click on the Post and Print button to finalise the Reallocation and print the receipt. The Capture Reallocation screen will close, and you will return to the Account Details screen.
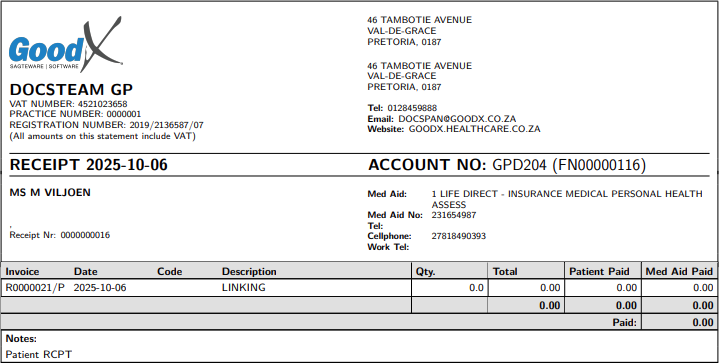
Example of a printed Reallocation Receipt
?Please Note: The way the receipt will print is dependent on the setup of the printer at the Practice.
Click on the Post button to finalise the Reallocation process and confirm the linking of the selected receipt to the relevant Invoices.