Removing a Medical Aid Rejection Message
A user is able to remove the Medical Aid Rejection Message from the invoice lines when necessary. For example, if the user added the Medical Aid Rejection Message to the wrong Invoice or Invoice line.
- Log in to the GoodX Web App with your GoodX username and password.
- The Diary screen will open.
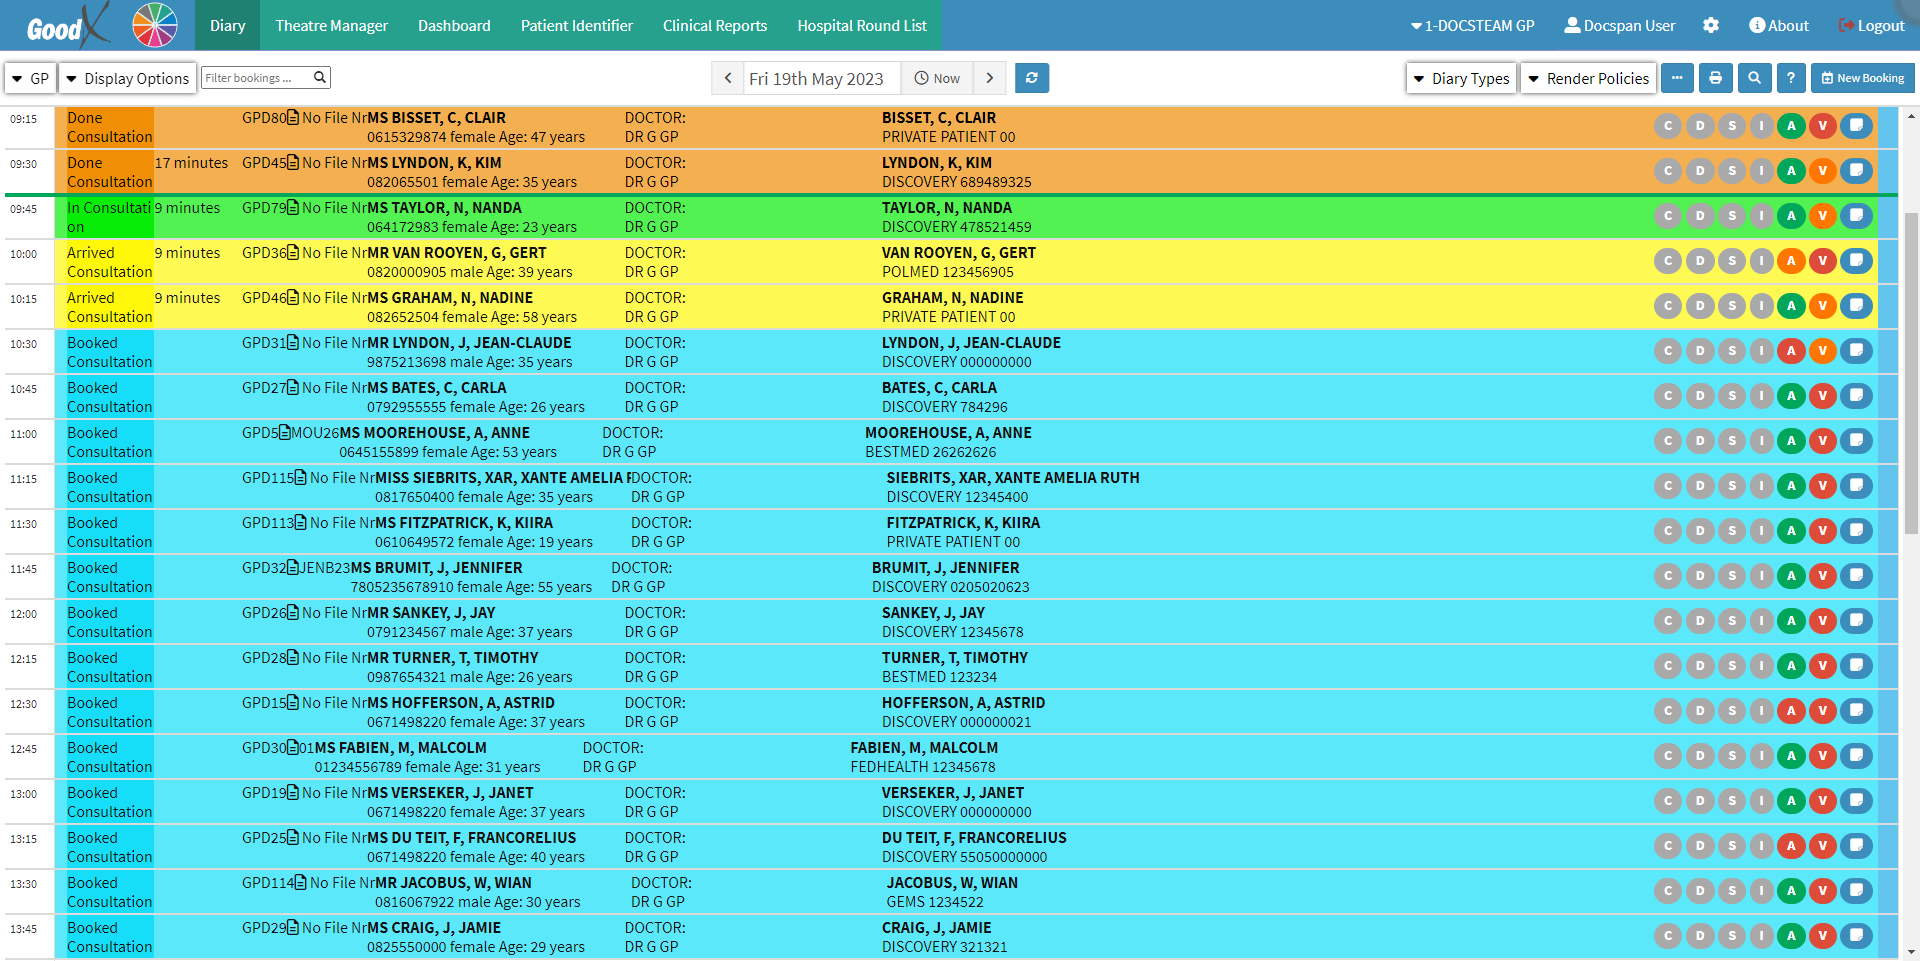
- Click on the Navigation Wheel on the Navigation Bar.

- The Navigation Wheel will open.
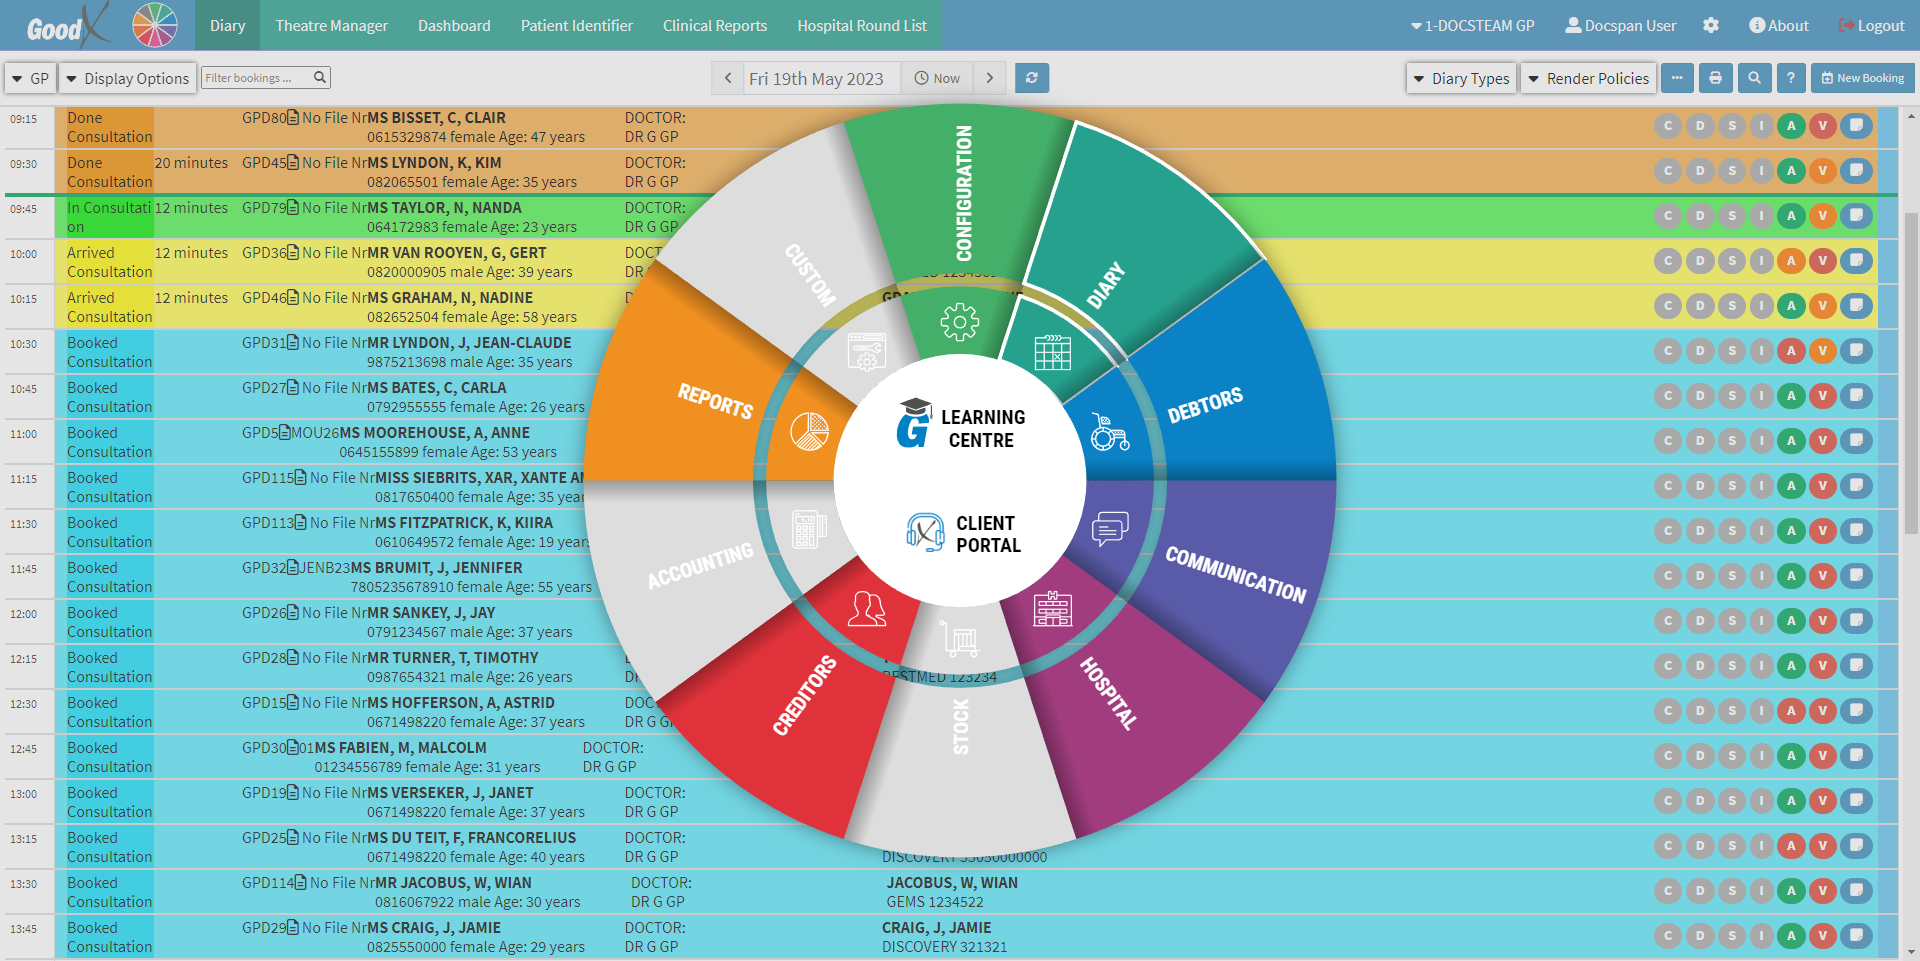
- Click on the Debtors segment of the Navigation Wheel.

- The Debtors screen will open.

- Click on the Search for a Debtor by ID, Name, Medical, Aid Number... field to search for the desired Debtor.
![]()
- Type the ID, Name or Medical Aid number of the Debtor the user wants to search.
![]()
- For more information regarding how to Search for a Debtor please refer to the following user manual: Debtor Search.
- Click on the relevant Debtor.
![]()
- The Debtor Sidebar will open.
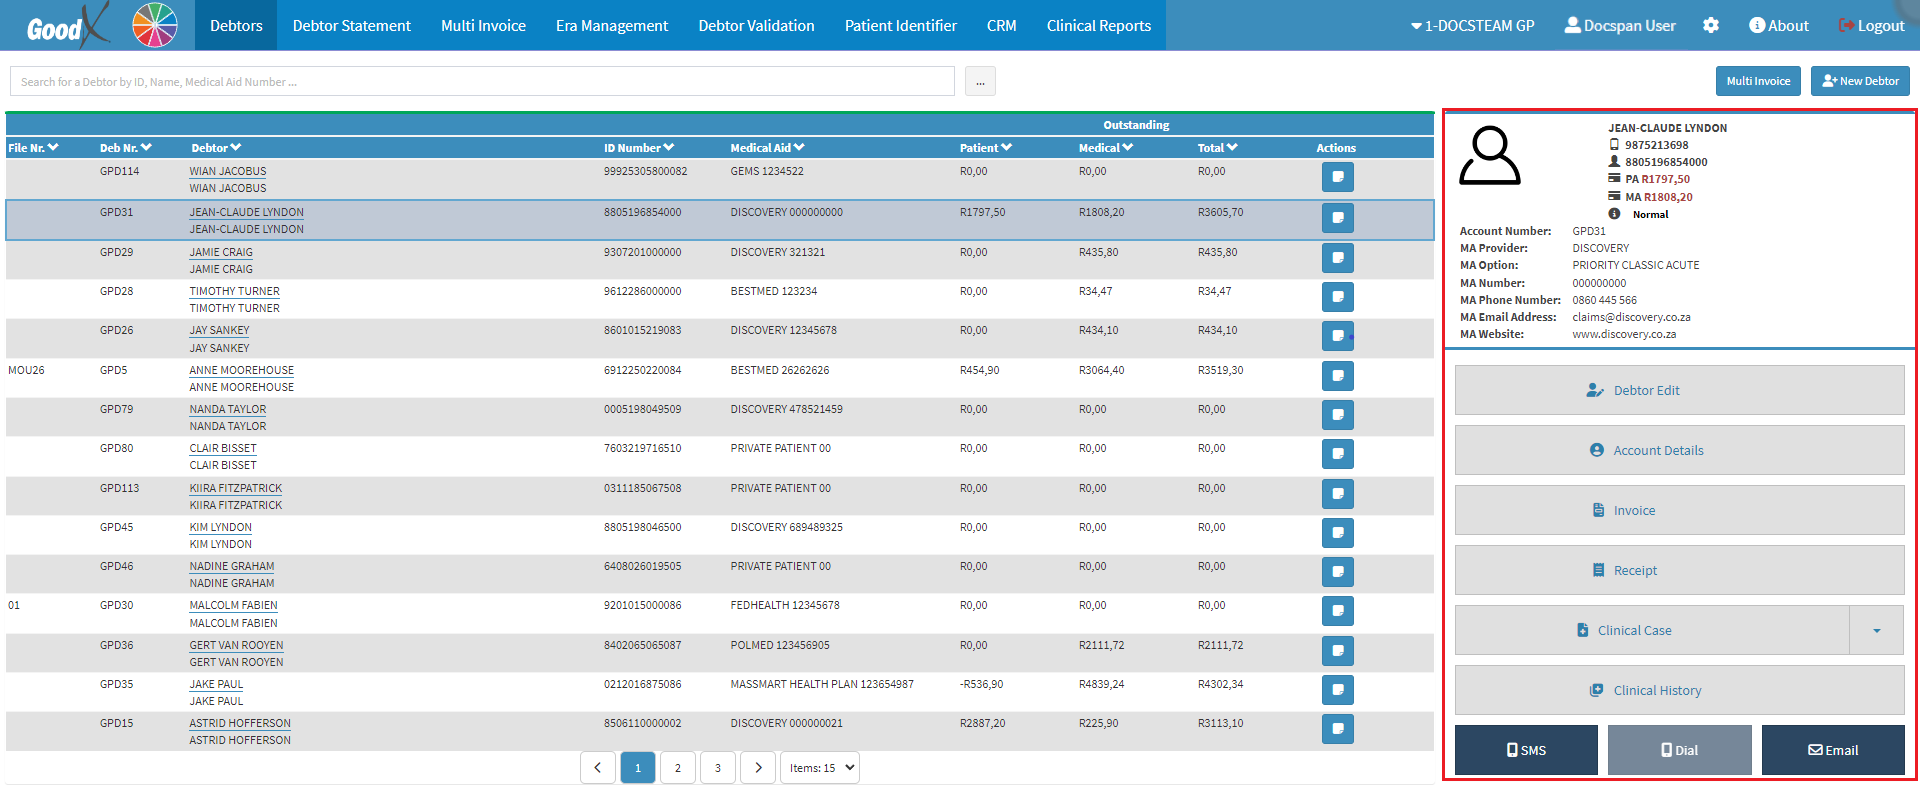
- For more information regarding the Debtor Sidebar, please refer to the user manual: Debtor Sidebar Functionality.
- Click on the Account Details button located on the Debtor Sidebar.
![]()
- The Account Details screen will open.
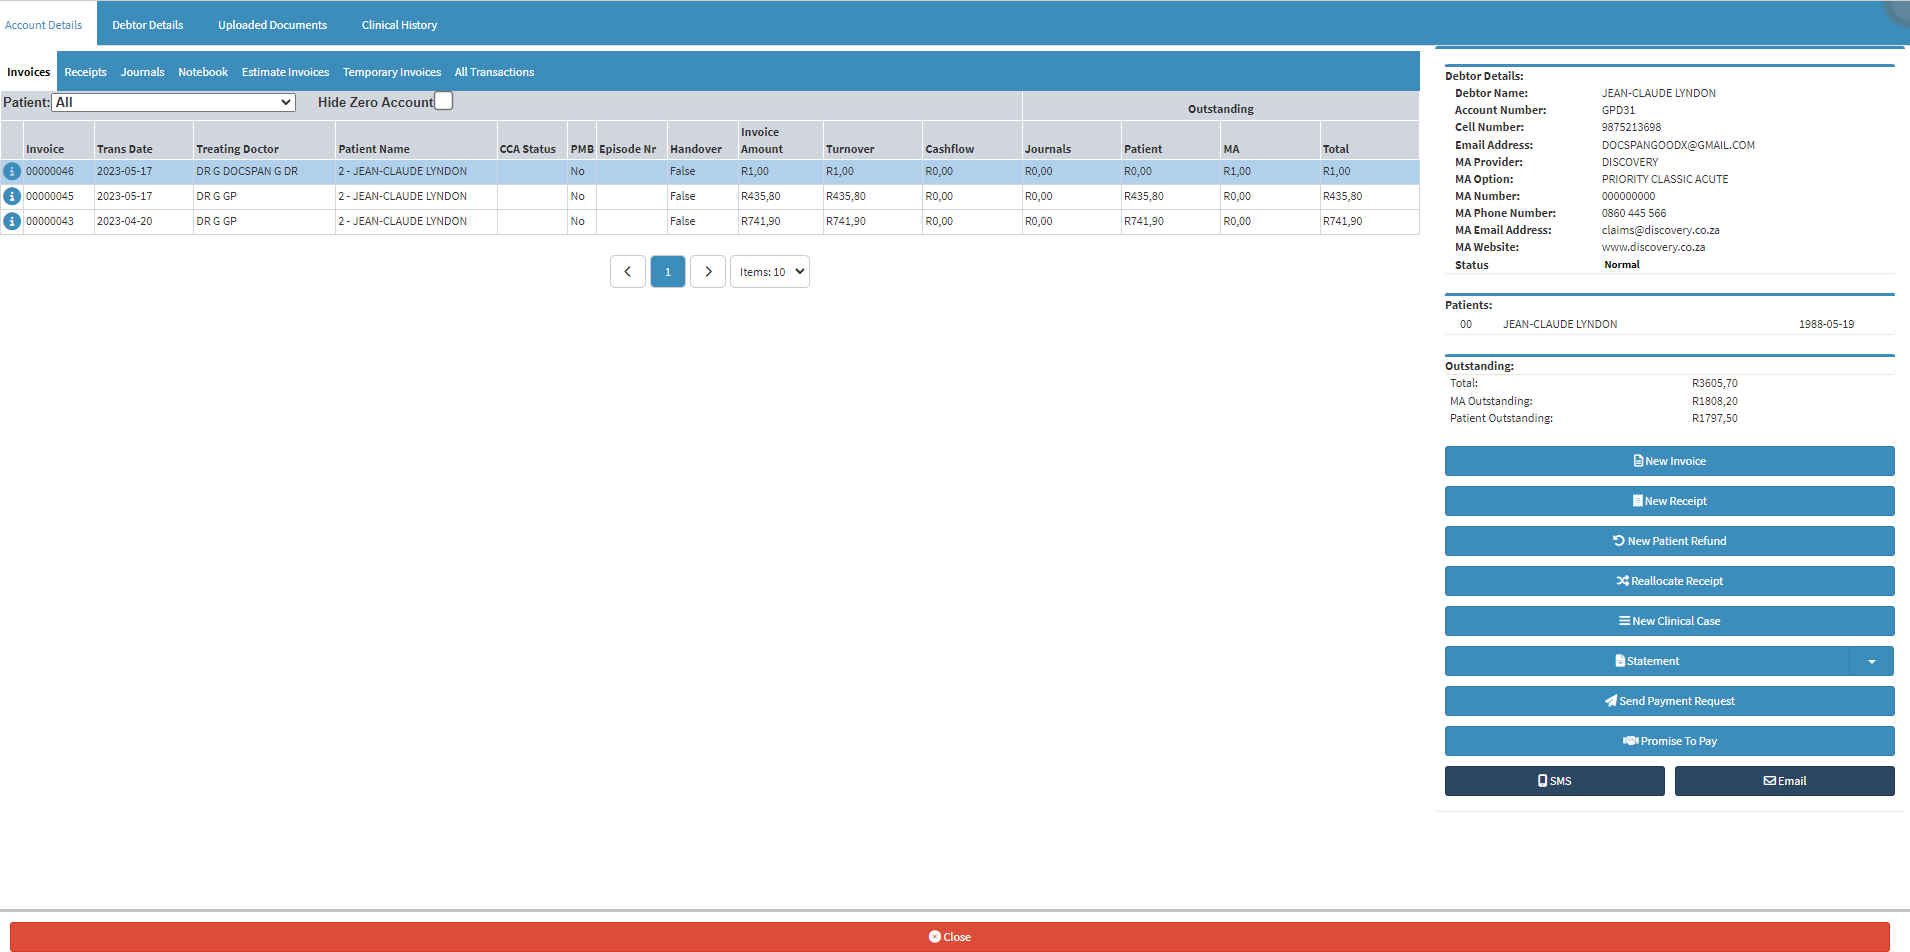
- Double Click on the relevant Invoice.
![]()
- For more information on whether an invoice was rejected please, refer to the user manual: WA: Switch Response.
- The Actions tab will open.

- Click on the Rejection Message button.
![]()
- The Edit Rejection Message screen will open.
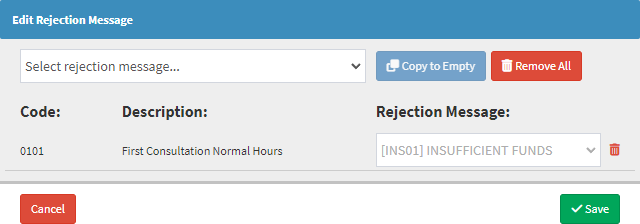
- Click on the Remove button.
![]()
- The Medical Aid Rejection Message will be removed from the Rejection Message: field.
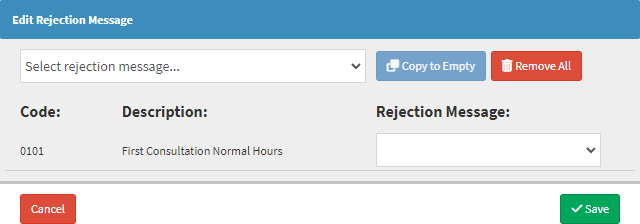
- Click on the Close button to exit the Edit Rejection Message screen without removing the Medical Aid Rejection Message.
![]()
- Click on the Save button to remove the Medical Aid Rejection Message and exit the Edit Rejection Message screen.
![]()
Last modified: Wednesday, 20 September 2023, 10:46 AM