Text size
Line height
Text spacing
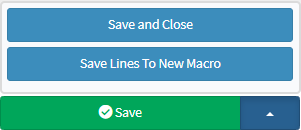
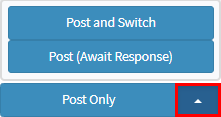
Invoice Actions give you full control over managing Invoices at the bottom of the Invoice screen, allowing you to create Credit Notes, reverse or redo transactions, and submit virtual claims to the Medical Aid for authorisation. You can post Invoices to the system immediately, wait for a response from the Medical Aid, or save Invoices to the Debtor’s Temporary Invoices with multiple saving options, including creating New Macros. Following these steps ensures Invoices are accurate, properly processed, and clearly recorded, while providing flexibility to correct transactions and streamline authorisation and posting processes.
![]()
![]()
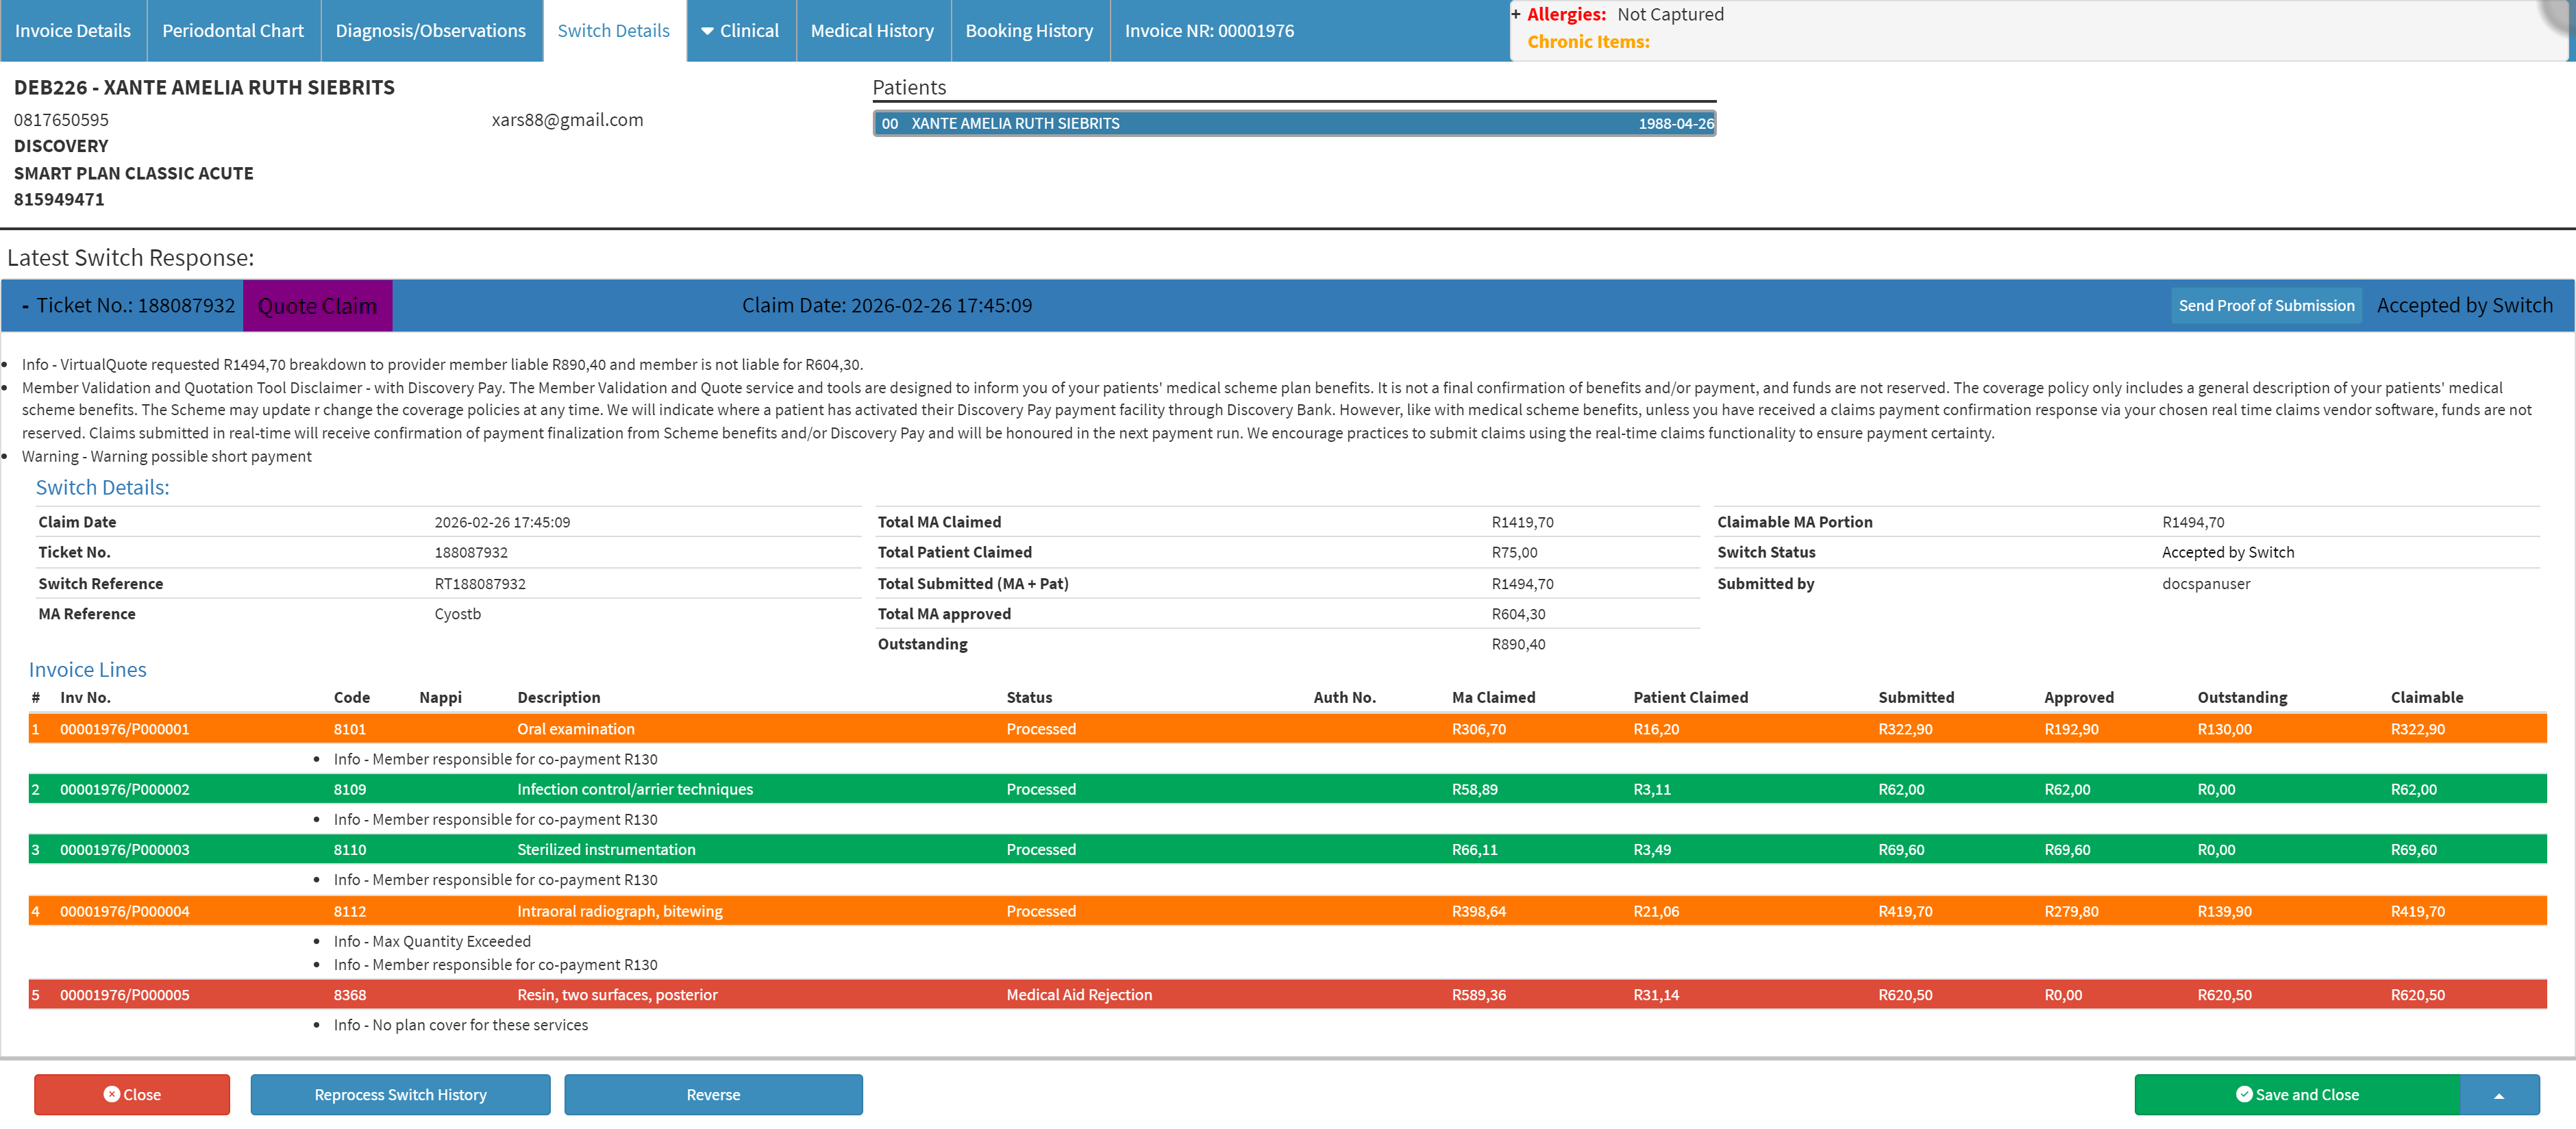
💡Please Note: The Credit Note button will be greyed out for new Invoices. Credit Notes can only be done on Invoices which have already been posted. For more information regarding how to do a Credit Note, please refer to the user manual: Invoice Corrections: Credit Notes.
💡Please Note: Before a Credit Note can be done on a transaction which was switched to the Medical Aid, the transaction will first need to be Reversed.
![]()
💡Please Note: The Reverse button will be greyed out for new Invoices. Reversals can only be done on Invoices which have already been posted and switched. For more information regarding how to Reverse the transaction, please refer to the user manual: Invoice Corrections: EDI Reverse.
![]()
💡Please Note: The Redo button will be greyed out for new Invoices. An Invoice can only be redone after a Credit Note or a Reversal has been done. For more information regarding how to Redo the transaction, please refer to the user manual: Invoice Corrections: Redo Transaction.
![]()
![]()
![]()