This User Manual is currently under construction. Please revisit this page on 31 March 2022 to see the latest version of the User Manual. Thank you for your patience.
The Stock Report Writer - Settings and Parameters will assist the user in having a clear understanding of the different settings and parameter options available in order to setup a Stock Report Writer report.
The Stock Report Writer report is a comprehensive report used by the Practice to see what stock they currently have available. For an overview of the Stock Report Writer, report refer to the user manual: Stock Report Writer (Overview)
The contents of this user manual will consist of the following information:
New Profile
Timespan
Categories
Item Filters
Status
Choices
Only items with specified levels
Values
Qty/Values
Operator
Warehouse Levels
Option Filters
Schedule
Item type
Medicine type
Charge type
Subclass Levels
Log in to the GoodX Desktop using your GoodX username and password.
From the Navigator, Double Click on the Stock Module.
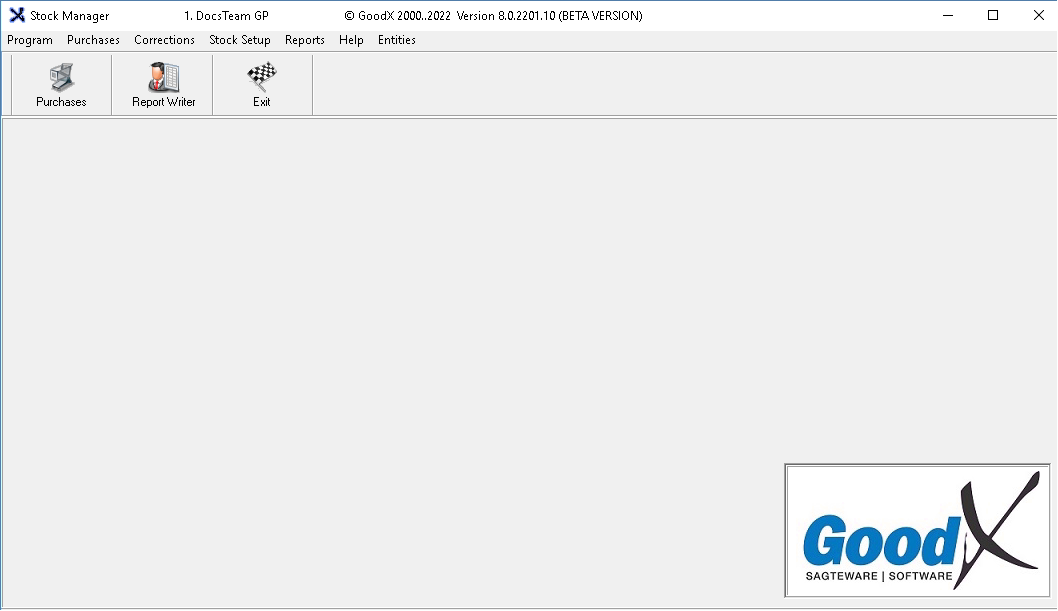
The Stock Manager screen will open.
Click on Reports from the menu bar.
Click on Stock Report Writer on the sub-menu.
The Choose a Profile screen will open.
Please Note: The Choose a Profile will by default have a Blank and Noname profile.
New Profile
Allows the user to create a new report profile with customised options to suit the needs of the Practice.
Click on the New button.
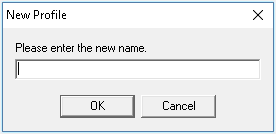
A New profile pop-up will appear.
Click on the Please enter the new name field and type in the desired name for the report.
Click onthe Cancel buttonto cancel the request, the pop-up will close and return to the Choose a Profile screen.
Click on the OK button to save the new profile name.
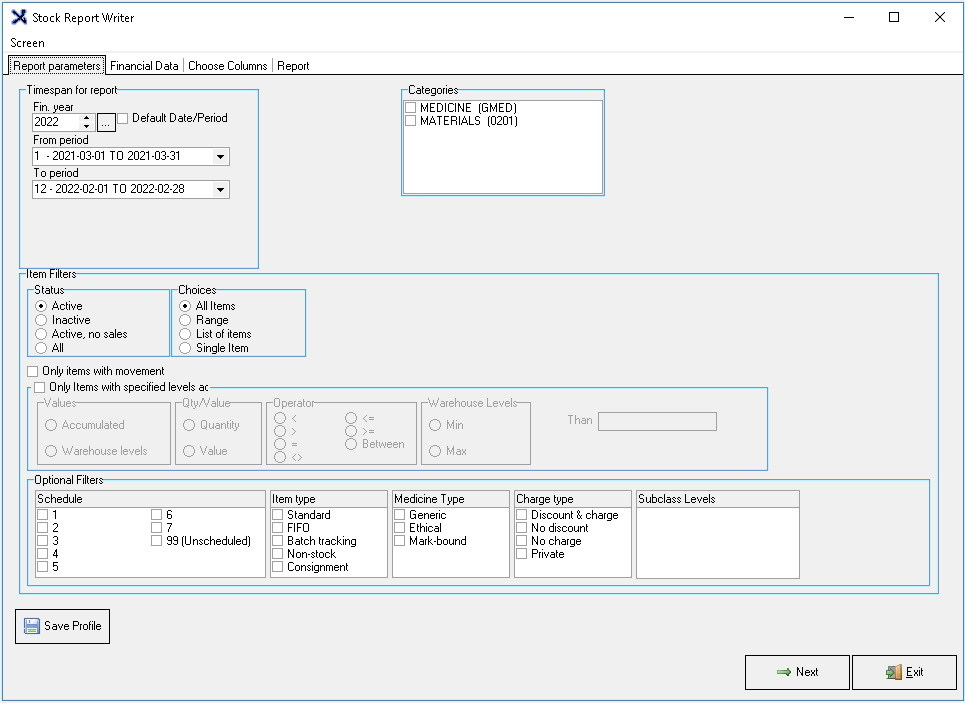
The Report parameters tab will open.
An explanation for each field will be given:
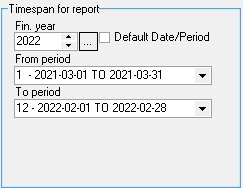
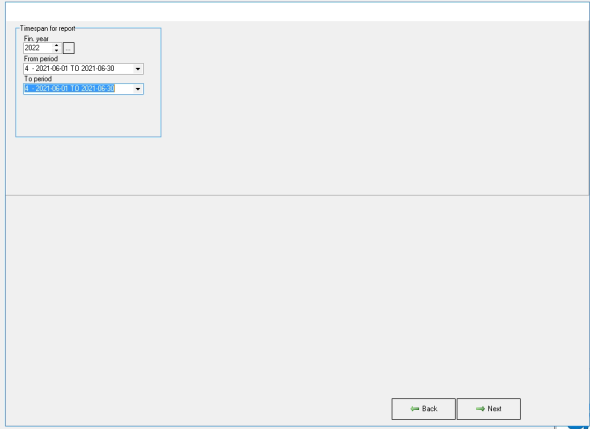
Timespan for report
The period of time that will be taken into consideration when the report is generated to determine what transaction data will be included in the report.
Fin year: The Financial year field will display the current Financial year we are in. The financial year is a period of twelve months used for tax or accounting purposes and for companies to determine and calculate their budgets, profits, and losses, for example, the South African tax year, runs from 1 March until 28/29 February of the following year unless specified that the client has their own financial year-end date.
Use the selector arrows to change the year.
From Period: The financial period start date for the report, including the first day of the specified financial period.
Click on the drop-down menu to select the desired option.
To Period: The financial period end date of the report, including the last day of the specified financial period.
Click on the drop-down menu to select the desired option.
Click the checkbox to Default Date/Period to the current period.
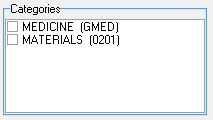
Categories
Allows the user the option to choose what stock items to be viewed on the report.
Medicine (GMED): Scheduled Medicine merely means a medicine declared to be such by the Minister of Health in the Schedules to the Medicines Act. Items are classifiable from schedule 0 to 10.
Materials (0201): Stock that can be used on patients to provide treatment or administered medicine also, known as Consumables or Surgicals.
Tick the checkbox of the Category to be viewed. One or both can be selected.
Please Note: For Hospitals, there will only be one default Category, Hospital Stock (Gmed) the Category consist of both Medicine/ Ethicals and Material/ Consumables/Surgicals.
Item Filters
Allows the user to select different filter options to be viewed on the report.
The following filter options are available:
Status
Active: List all the items that were made active for the practice to invoice
Inactive: Only the Inactive items and not the items that are active
Active, no sale: Only the items that are marked as Active, no sale
All:Will include all the items on the list, Active, Inactive and Active, no sale.
Click on the radio buttonnext to the Status options listed.
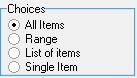
Choices
All Items: Will include all the items that have the markers indicated on the report setup.
Range: All items from a number to a number, for example from Item code GMED20 to item code GMED29, all the items between these numbers will be included with the markers that were set up.
List of items: Will give the choice to indicate a list of items, the list can be imported from a notepad or typed into the list function.
Single Item: Only one item that must be chosen will display with the markers as set up on the report.
Click on the radio buttonnext to the Choices options listed.
Only items with movement: Will be in the report if the item had any transactions (Invoices, Corrections or Adjustments), between the dates specified in the report settings.
Tick the check box to include only items that have had movement.
Only items with specified levels,
The report can be drawn to see items or warehouses with specific levels. The options become available if the checkbox is ticked.
The following options are available under the Only Items with specified levels:
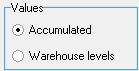
Values
Accumulated: When this option is selected (Warehouse Levels disappear)***
Warehouse levels: The option will be available to choose from which quantity the items must have before displaying the items in that warehouse.
Qty/Value
Quantity: Specified level on the total quantity of the stock items.
Value: Specified total rand value of the stock items.
Please Note: The Qty/Value field will only be available if the user selected the Accumulated option under the Values field.
Operator
> (Greater than): Will only draw items with a qty greater than the qty completed in the Than field.
< (Less than): Items will show with qty Less than the qty specified in the Than field.
= (Equals): Items will show with qty Equal to the qty specified in the Than field.
<> (Less than or greater but not equal): Items with qty Less or greater than the qty specify but not
<= (Smaller and equal than): Items will show with qty Less than the qty specified in the Than field.
>= (Greater than and equal): Items will show with qty Less than the qty specified in the Than field.
Between:
Please Note: If any of the Operator radio buttons was selected the user will need to complete the Than field.
Click on the Than text field to start typing.
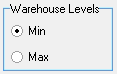
Warehouse Levels
Min: Minimum quantity stock levels.
Max: Maximum quantity stock levels.
Please Note: If the Warehouse option under the Values field was selected a selection will need to be done under the Operator field.
Option Filters
Allows the user to select items with a specific Schedule, Item type, Medicine type, Chare type or Subclass Levels.
The following Options Filters will be available:
Schedule
1 till 7: Medicine (GMED), items that are classified with a schedule according to the Health Council. Medicine (GMED).
99 (Unscheduled): Material (0201), non-stock items, consumables any item that does not fall in the 1-7 scheduled.
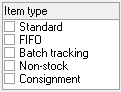
Item type
Standard: Items purchased by the Practice to use on patients or sell to patients.
FIFO: First in first out. To make sure the oldest stock is used first.
Batch tracking: Allows a product to be traced, end-to-end, from the manufacturer through a supplier to the practice. The process is used to keep track of which practices received specific batches of product and when they were received.
Non-stock: Product purchased normally to be used in the Practice, the quantity is not tracked and does not need to be counted when the stocktake is done.
Consignment: Consignment Stock is stock legally owned by one party, but held by another, meaning that the risk and rewards regarding the said stock remain with the first party while the second party is responsible for distribution or retail operations.
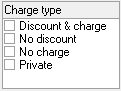
Charge type
Discount & charge: The item will be charged for and a discount may be applied if necessary.
No discount: The item is exempt from giving a discount and can only be invoiced on the full amount.
No charge: The item will not be charged for. On the invoice screen, the item will be billed with a 0.00 value.
Private: The items will be charged as private items and the patient will be liable to pay for the item.
Subclass Levels
Subclass Levels: This can only be selected if previously set up. You will then select the subclass level you want to view or leave blank if you want to view all.
Click on the Next button.
The Financial Data tab will open.
Will allow you to choose the Financial data columns that must be displayed in the report.
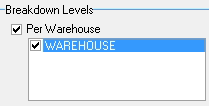
Breakdown Levels:
Per Warehouse: Will divide the transactions according to the Warehouse. If this is not ticked all the Warehouses will be added together and will not give a breakdown between the warehouses. Only the warehouse's detail will display.
Per Bin: This will only be applicable if the practice is not set up for counting locations. And still working with a Bin structure. (Not advisable)
Suppress zero Quantities and Values:
The report will give all the items as on the Report parameters setup, but not items with a zero value and zero quantity. if the report must include the zero level stock the tick can be clicked.
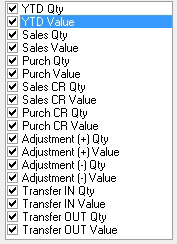
Quantity and Values:
Depending on what info you need to view on the report you can tick the specific box for that information to display.
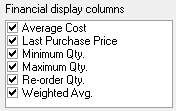
5. Financial display columns:
The financial columns include data specific to financial information. This will not be used on a daily basis but on a management scale.
Average cost: The Average cost depending on the setup of the practice will be the average of the last 5 years of transactions, normally only purchases.
Last purchase price: The price of the last purchase there was on the item.
Minimum, maximum, and re-order levels: These are the levels that were set up on the items and are also used when ordering stock.
Weighted Average: Depending on the practice set up the Weighted average is the purchases that were done during the last 5 years dived by the quantity that was bought.
After selecting the required Financial Data
Click on Next
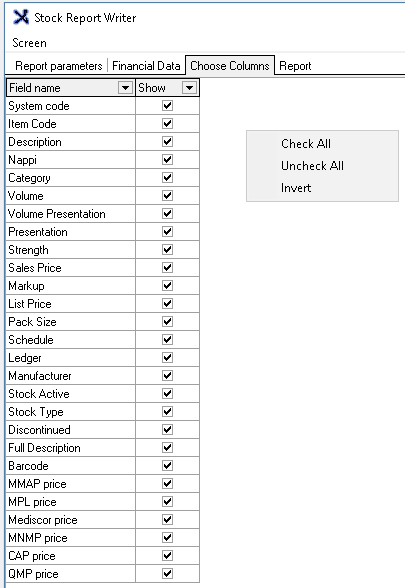
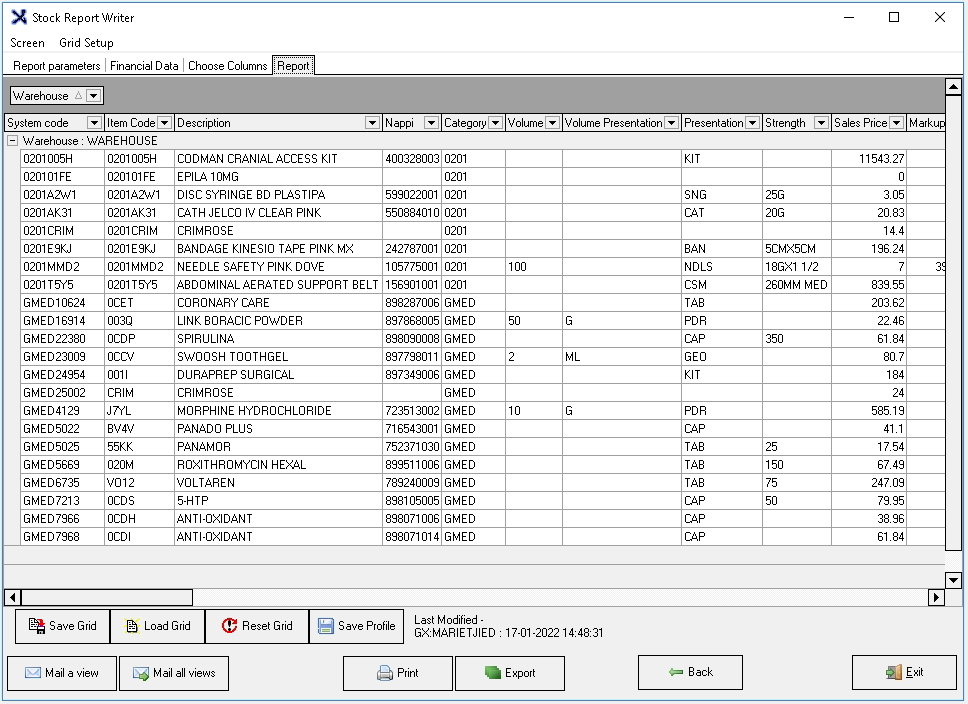
Choose Columns screen will open.
You can select each column that you want to view one by one or you can right-click anywhere in the white area and select all.