Printing of a single Counting Sheets displays a list of selected linked stock items in a specific chosen location with a designated column to write down the stock count to enter into the system after a stocktake has been done. This allows stock to be counted in multiple locations at the same time. This makes the stocktaking process more efficient and saves time.
Log into theGoodX Desktopusing your GoodX username and password.
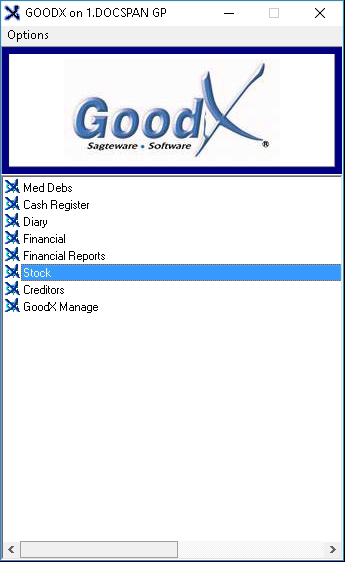
From the NavigatorDouble Click on theStock Module.
The main Stock Screen will open.
From the main Stock Module screen, on the Menu bar click on Stock Setup.
Click on Multi-Item Bin Linking from the sub-menu.
The Multi-Item Bin Linking screen will open.
From the Multi-Item Bin Linking screen select the desired location to print by clicking on it.
From the Menu bar, click on Print.
Click on Print counting sheets for selected location:This will allow the user to print a stock Counting Sheet for the selected counting location per
category and per warehouse. The number of pages that will be printed will be dependant on the number of linked items in the location that was selected.
A Print Preview of the Counting Sheet will appear on the screen.
Code: Product or Item reference number.
Description: A detailed explanation of the product or item.
Pack Size: How many items are in a box.
Packs: A place where the number of packs that have been counted can be written.
Units: A place where the number of units that have been counted can be written.
Active?: This shows whether the item is Active or inactive.
Use the First Page, Previous Page, Next Page and Last Page to navigate to the other pages that will be printed.
Click on the Printer Setup button on the toolbar at the top of the Print Preview screen, to make sure that the printer that will be used to print the Counting Sheets has been set up.
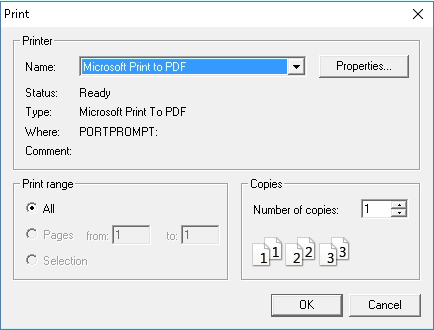
Select the correct printer on the Print screen.
Click on OK to continue to print.
Click on the Printer button on the toolbar at the top of the Print Preview screen, to print the Counting Sheet to the printer that has been set up.
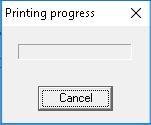
A Printing progress pop up will appear and the pages will be available at the printer.
To cancel the printing Click on the Cancel button on the Printing progress pop-up.
Click on the Close buttonon the toolbar to close the Print Preview screen to return to the Multi-Item Bin Linking screen.
Click on Done to close the Multi-Item Bin Linking screen to return to the Stock module main page.
To add items that are in a specific counting location but not on the Stock Take Counting Sheet please refer to the user manual: Item Linking.
After all the items have been counted the values will need to be captured, for an extensive explanation thereof please refer to the user manual: Capture Stock Take Values.