Sorry, this activity is currently hidden
Topic outline
Stock Management
Stock management gives the practice the ability to keep track of how much stock is in their inventory at any given time. Stock management can also be used to ensure that the funds of the business are not spent on unnecessary products and that the correct stock is available to treat patients. The user manuals focus on how to complete all the necessary processes to manage your stock well.
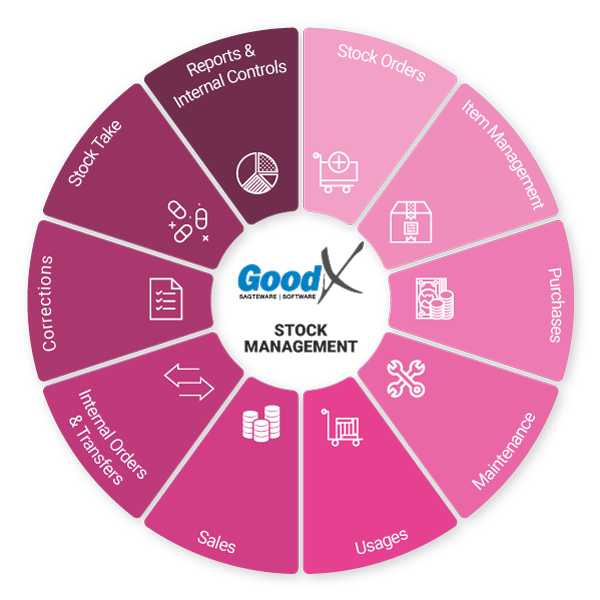
The following diagram illustrates the critical business processes with regards to stock management at a glance so that the user can follow all steps easily. The user manuals are grouped together under the headings of the diagram.

We suggest you read through the stock glossary and the stock management guidelines to familiarise yourself with:
- the jargon pertaining to stock management; and
- all information to assist you to complete all procedures
so that the stock captured on your software system will reflect the stock that you actually have in your practice.
We also put all the links to our stock webinar below for your convenience. (You can either navigate to the complete playlist or choose to navigate to the individual sessions listed below under the different headings.)
PRINTING BOOKS
- Click on the book you want to print.
- Click on the Adminsitration Menu on the right hand side of the screen.
- Click on "PRINT BOOK".
- At the top of the pop up screen there will be another link "Print Book", which allows you to choose your printer.
- In the printer settings, click on "More settings", which will open up another settings menu.
- The books are configured to have an optimal page layout if the printer settings are set to:
- a printing scale of 90%
- default margins
- A4 page size.


