Marking multiple stock items as inactive when the stock level reaches zero assists with stock control so that stock levels don't go into a negative, as inactive stock items can not be invoiced. When a stocktake has been completed and there are several active items with zero quantities, this feature will enable the user to mark all zero items as inactive at once. This saves time and each item will not have to be made inactive manually. This is also useful when a practice doesn't have a complete active stocklist when starting on GoodX.
Log in to the GoodX Desktop using your GoodX username and password.
From the Navigator Double Click on the Stock Module.
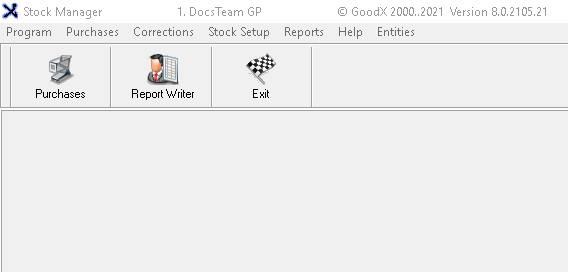
The main Stock Manager screen will open.
Click on Stock Setup on the menu bar.
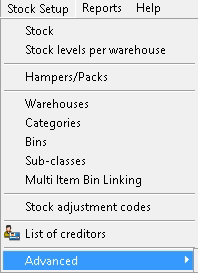
From the sub-menu click on Advanced.
Click on Mark ZERO-level items as inactive on the second sub-menu.
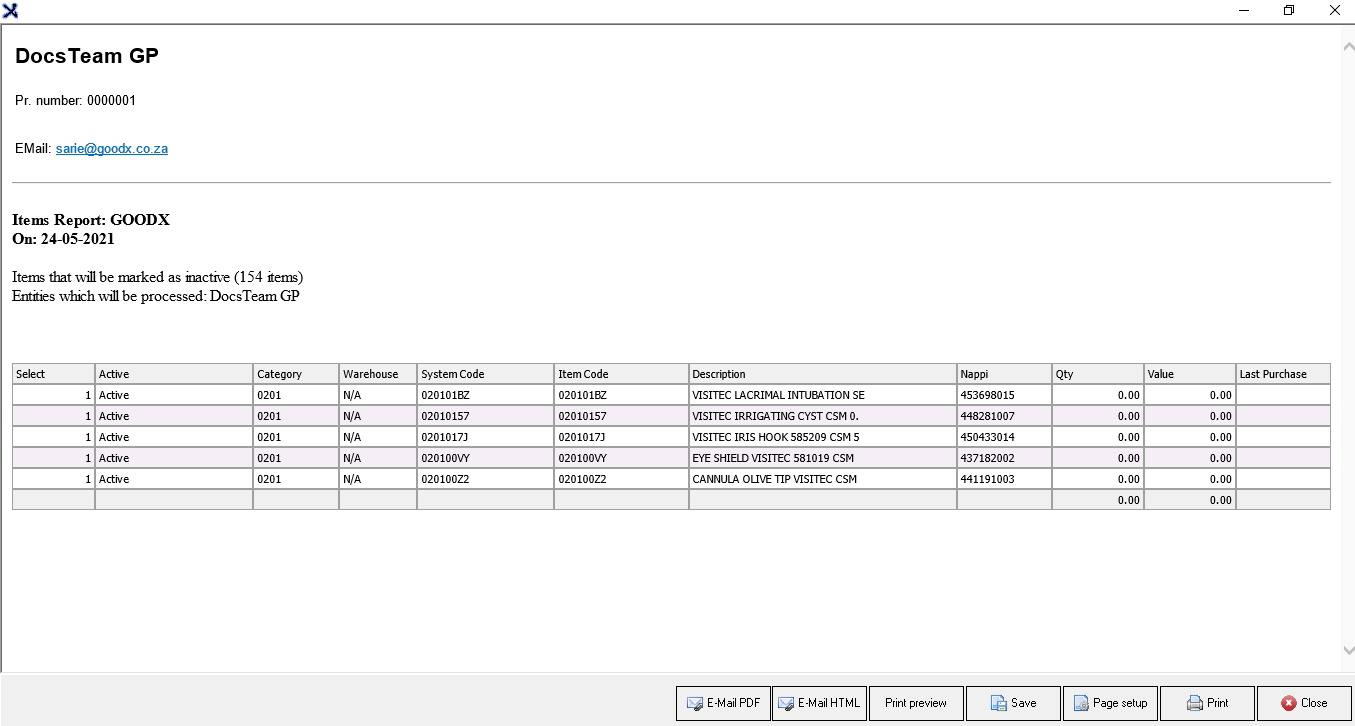
The Items Report screen will open with all active stock items with a zero quantity on them.
The stock information will be divided into columns:
Select: All items are selected by default to unselect an item click on the check box.
Active: The stock Item is currently active on the system.
Category: To which category the item is linked GMED (Medicine)/ 0201 (Material)
Warehouse: The place where the specific item is kept.
System code: The code that has been allocated to the stock item by the system.
Item Code: A unique identifier made up of letters, numbers or both allocated to the item.
Description:The name or details which identify the stock item.
Nappi: A unique identifier for ethicals, surgical or consumable products that enables electronic information transfer throughout the healthcare delivery chain.
Qty: The number of items currently in stock.
Value: The monetary value of the item.
Last Purchased:When this item was purchased last.
Click on Customise to filter the list using the Advanced Filter to search for specific items, using the filter will only mark the items on the filtered list as inactive when posted.
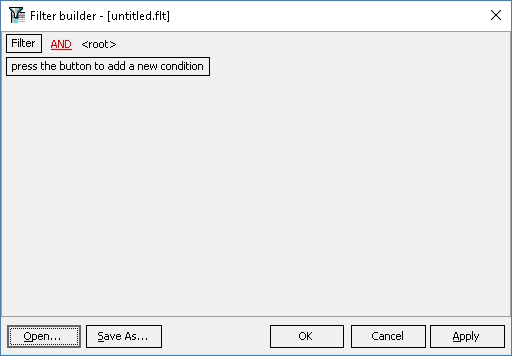
The Filter builder pop-up will open.
Click on press the button to add a new condition to search and filter for specific items.
Add the filter option to filter to the desired items.
Click on Apply to filter the list.
The list will shorten to only the results of the search.
Click on Ok to close the pop-up.
The list has been shortened with only the results.
Please note that if there are items on the filtered list that the user would not like to post as inactive they can be unselected in the Select column.
Click on Email to send the report via email, this will only be the filtered list.
Click on Print to Print the filtered list to the screen.
The Items Report will appear on the screen
Print options will become available for the list:
Email PDF: Attaches the report in a .pdf format to the email.
Email HTML: Sends the email with an HTML link.
Print Preview: Preview how the list will look when a hard copy is printed.
Save: Save a digital copy to the computer.
Page Setup: Opens the page setup screen.
Print: Prints a hard copy to the set-up printer.
Close: Closes the screen and returns to the Items Report screen.
On the Item Report screen:
Click on Cancel to close the Items Report screen without marking any zero level items as inactive.
Click on Post to mark the zero level items on the filtered list inactive.
The system will advise that the process has been completed.
Click on Ok to acknowledge and close the Stock Manager pop-up and return to the main Stock Management screen.