Making a Payment with a Payment Request Link
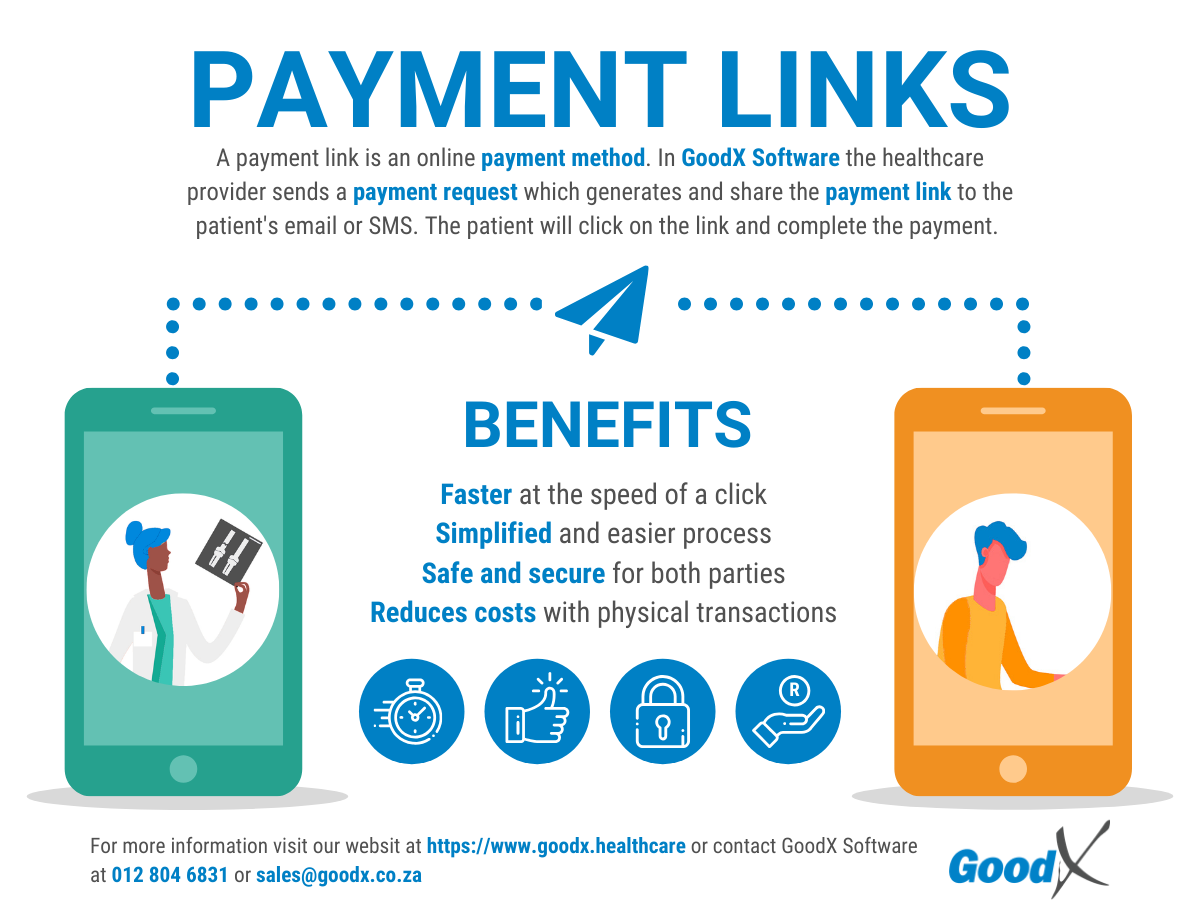
Making a payment with a Payment Request Link enables Debtors and Patients to settle their accounts at the Practice; simple, instant and secure. GoodX Payment Links are currently integrated with First National Bank (FNB). Patients will make payments through a secure FNB online payment platform, via the myGC Patient Portal. Practices that would like to use Payment Links, will need to be set up, therefore.
Please Note: Once the Patient completes the payment the Practitioner will be notified of the payment by means of an eRA. The eRA will be need to be imported via the ERA Management screen. For more information regarding how eRA's work, please refer to the user manual: WA: ERA's (Electronic Remittance Advice).
- Once the Practice has sent a Payment Request to the Patient they will receive an SMS or Email with a link. The link will be used to make a secure payment through the myGC Patient Portal. For more information on how to send a Payment Request, please refer to the user manual: Send Payment Request WebApp.
Please Note: Patients are not required to have a myGC account to be able to make a payment. myGC acts as a portal in order for the payment to be processed.
- Click on the Link on the SMS/Email that has been received.
- The Verify your Identity pop-up will open in the browser as a security measure to ensure the correct person is viewing the payment request.

- Click on the ID Number or Surname field to input either the Patients' identification number or last name that is linked to their file at the Practice.

Please Note: The user will not be able to proceed if the incorrect details have been filled in.
- Click on the Continue button to proceed.

- The myGC Payment screen will open.

- Click on the Pay All Outstanding button to make a payment.

- The Debtor/Patient will be directed to a secure FNB Payment Details screen where they will continue to make a payment.

- An explanation will be given for the options and information that is available on the FNB Payment Details screen:
- Time Remaining to complete transaction: The user has 8 minutes to complete the transaction before the payment link expires. The timer will count down as the user is busy with the transaction.
Please Note: The remaining time is a fixed timeframe that can not be changed.

- Merchant: The name of the Practice that is requesting for a payment to be made.
- Description: Details regarding the Transaction. The name of the Debtor/Patient will automatically be displayed to advise the user who the request is for.
- Merchant Order Number: An automatically generated reference number that is used as a reference number for the transaction.
- Outstanding Amount: The total value of the payment, that the Practice is requiring.
- Card Payment: Allows the user to securely make a payment by adding their bank card details.
- Click on the Cancel button to close the screen and cancel the transaction.
- A Payment Failed pop-up will appear to advise the user that their payment was unsuccessful and that they will need to try again later.
- Click on the Okay button to acknowledge the message and close the pop-up.
- Click on the Pay Now button to add the card details.
- The Card Capture section will open that allows the user to enter their card details for the payment.
- An explanation will be given for each field and option in the Card Capture section:
- Name on card: The name that appears on the front of the desired bank card that the user would like to use to make the payment, for example, A Moorehouse.
Please Note: Names that are stated on cards should be entered into the Name on card field exactly as they appear, to verify that the details correlate to the details that are on file at the bank.
- Card number: The 16-digit number that appears on the front of the bank card.
- Expiry month: The month in which the users' card will expire.
- Click on the Expiry month drop-down menu to select the month.
- Click on the desired month to make a selection.
- Expiry month: The month in which the users' card will expire.
- Expiry year: The year in which the user's card will expire.
- Click on the Expiry year drop-down menu to select the year.
Please Note: The year number will only display the last 2 digits of the year and not all 4 digits will be displayed on the card. For example, if the year is 2025, the year will display as 25.

- Transaction Type: Determines how the transaction is processed.
- Click on the relevant radio button to select the desired option:
- Straight: The full amount will be immediately processed in one transaction.
- Budget: Allows the user to determine over how many months they would like to pay off the account.
- When the budget option is selected a Budget period field will become available.
- Budget period: The number of months over which the payment will occur.
- Click on the Budget period drop-down menu to select the desired budget period.
Please Note: The users' bank account will need to be set up with the Budget feature. Budget features are usually only available on Credit Cards.
- Security code: The CVV/CVC number (Card Verification Value/Code) is a 3 or 4-digit code that appears on the back of the card, usually the last 3 digits.
- Click on the Cancel button to close the screen and cancel the transaction.
- A Payment Failed pop-up will appear to advise the user that their payment was unsuccessful and that they will need to try again later.
- Click on the Okay button to acknowledge the message and close the pop-up.
- Click on the Pay Now button to complete the payment.
- The user will be redirected to the 3D Secure Processing screen, where their payment will be processed.
Please Note: The user might need to follow extra steps depending on the security requirements of their bank. Each bank will follow a different protocol in this regard.
- Once the user's bank has processed the payment, the screen will redirect the user to the FNB Processing screen.

- A Payment Confirmation pop-up will appear to advise that the payment has been successful and that a receipt will be sent to the users' email address.
- Click on the Okay button to acknowledge the message and close the pop-up.