Add a Dependant to Main Member Profile
The user manual is currently being updated with new features. An updated version will be available shortly. We thank you for your patience.
Dependants are additional people on the Main Member's account for which the Main Member is responsible. The Main Member is financially responsible for the settling of any outstanding fees and monthly payments to the Medical Aid or Practice, on behalf of the Patient.
- The contents of this user manual will consist of the following information:
- Dependant Personal Info
- Add Dependant Photo
- Medical Aid Details
- Dependant Contact Details
- Dependant Addresses
- Log in to the myGC App using your myGC username and password.
- The myGC Dashboard will open.

- Click/Tap on the Complete My Medical Aid Info button on the myGC Dashboard.

- The Setup screen will open on the Medical Aid tab.
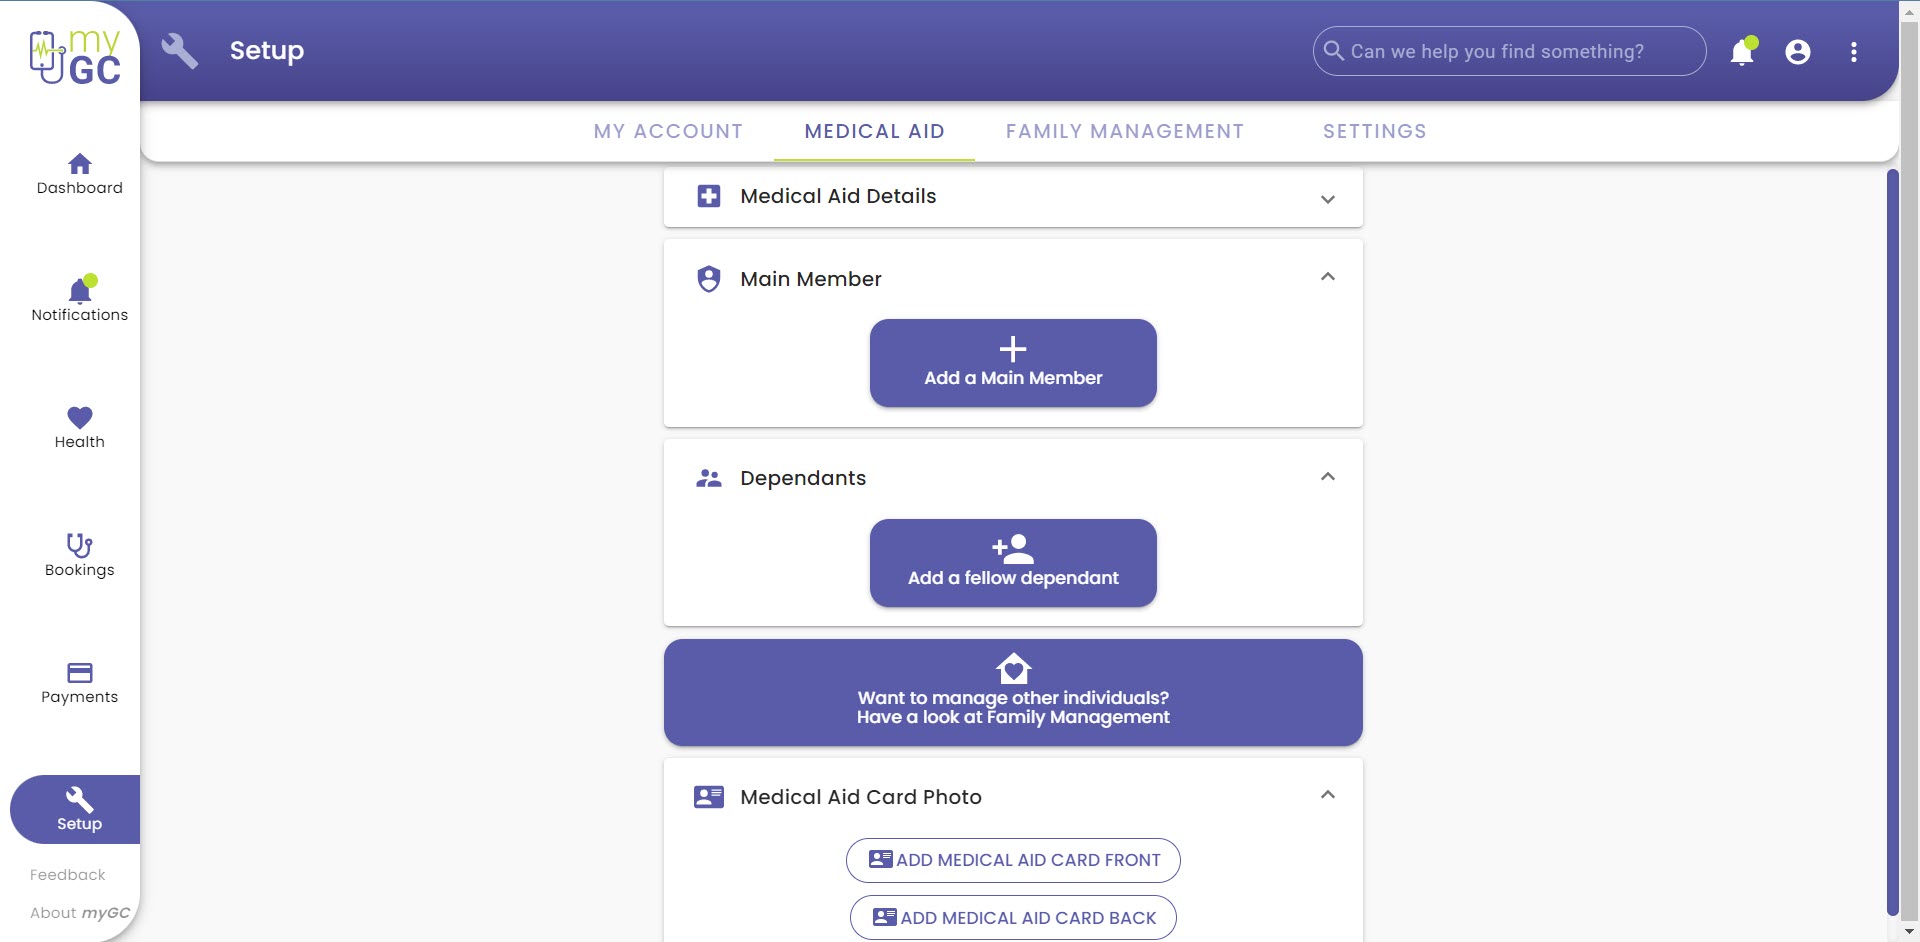
- Navigate to the Dependants panel.

- Click/Tap on the Add a Fellow Dependant button.

- The Medical Aid New Dependant screen will open.

- An explanation will be given for each panel:
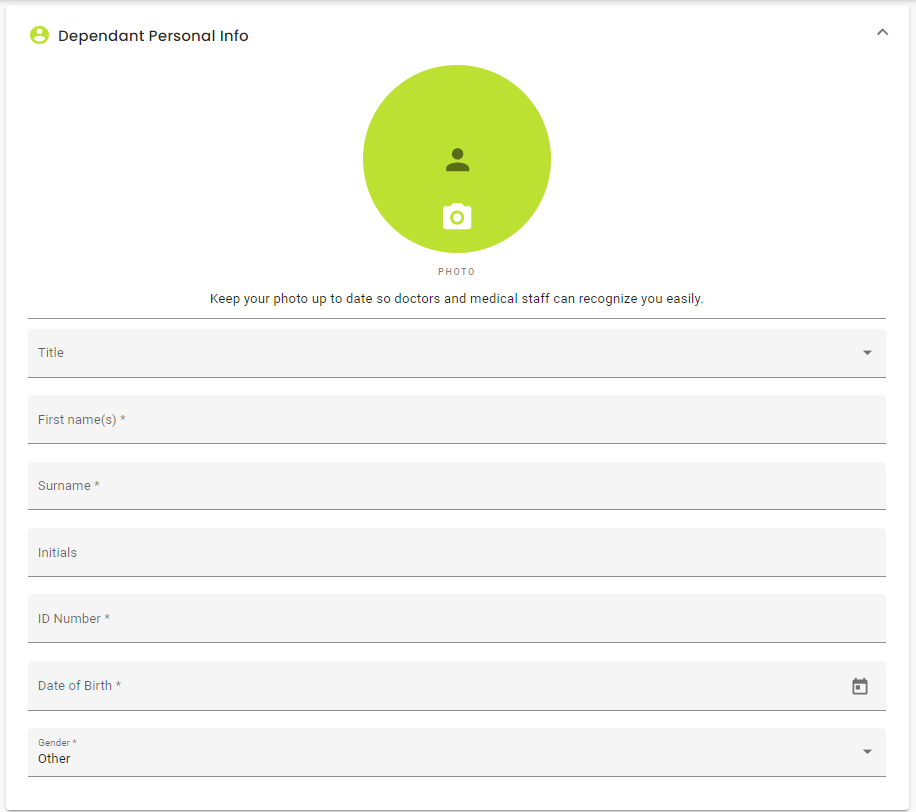
Dependant Personal Info
The demographic information of the Dependant, for identification and documentation purposes. Demographic information could include details such as an ID Number, First and Last Names, Date of Birth, etc.
Add Dependant Photo
- Click/Tap on the Photo button to upload an image of the Dependant to make the Dependant more easily identifiable by a Practice.

- The Photo screen will open.
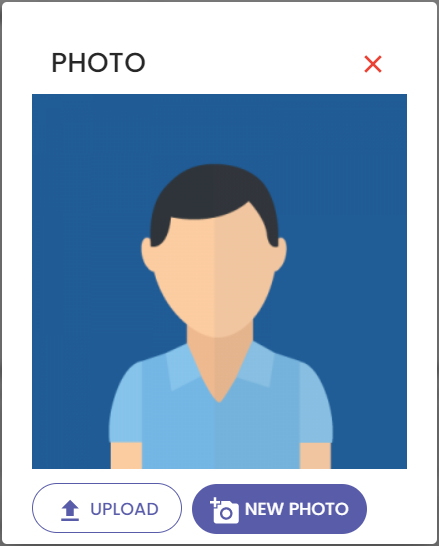
- Click/Tap on the Upload button to upload an image from an external file on the user's device.
![]()
- The Open File screen will open, and the user will have to Navigate through their device to locate the desired image for upload.
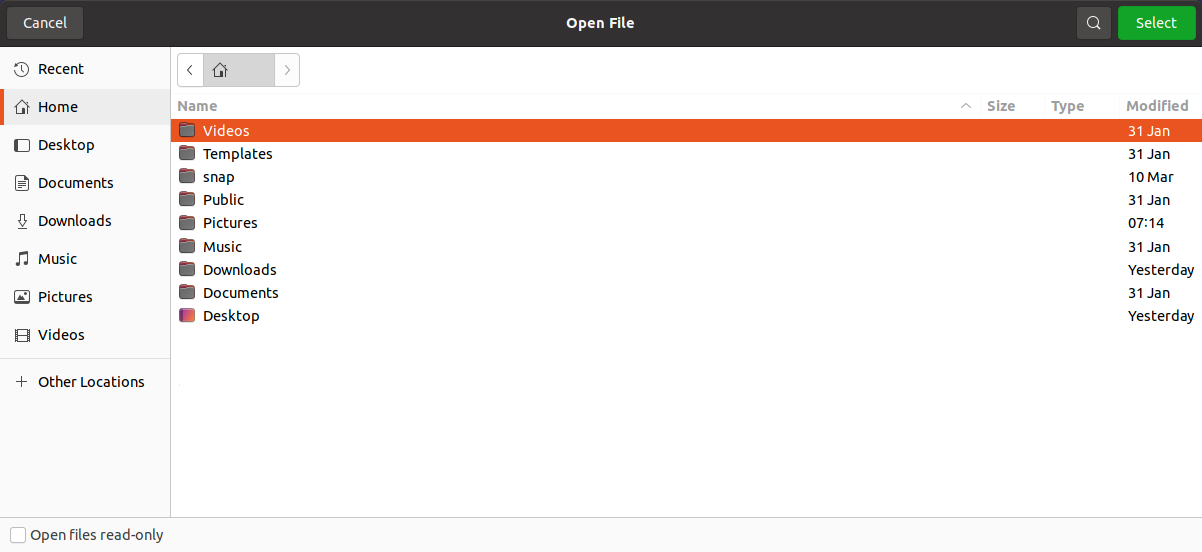
Please Note: The user's external files upload process will differ depending on the operating system used on the user's device.
- Select the desired image to upload.
- The Use Photo? screen will open with the desired image.
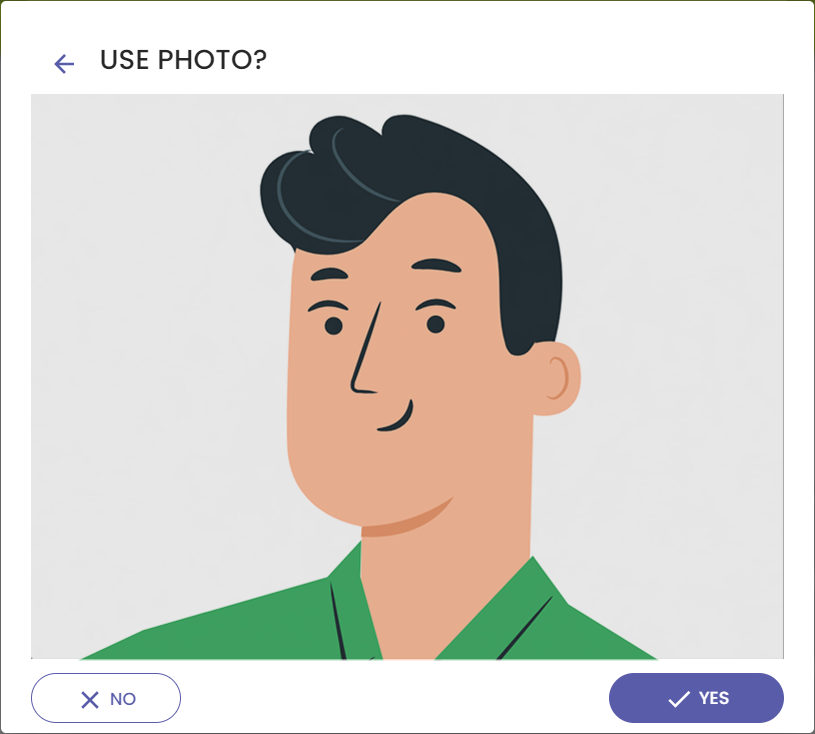
- Click/Tap on the No button if the user does not wish to use the uploaded image. The user will be returned to the Photo screen to choose between uploading an existing image or capturing a new image
![]()
- Click/Tap on the Yes button if the user would like the uploaded image to display as their Dependant photo.
![]()
- Alternatively, Click/Tap on the New Photo button if the user would to take a photo using their device's camera.
![]()
- The New Photo screen will open.
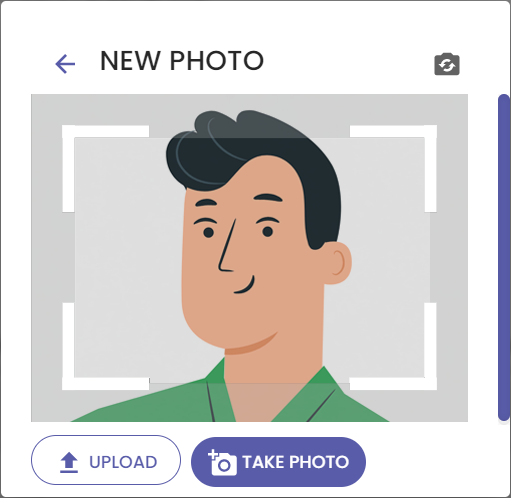
Please Note: The upload button is still available if the user would prefer to upload an external image instead of capturing a new image.
- Click/Tap on the Take Photo button.
![]()
- The Use Photo? screen will open.

- Click/Tap on the No button if the user does not wish to use the captured image. The user will be returned to the previous New Photo screen to retake the image.
![]()
- Click/Tap on the Yes button if the user would like the captured image to display as their Dependant photo.
![]()
- The Dependant's photo will be displayed at the top of the Dependant Personal Info panel.

- An explanation will be given for each field on the Dependant Personal Info panel:

- Title: The marital status, or profession, of the Patient.
- Click/Tap on the Title drop-down menu to view the available options.
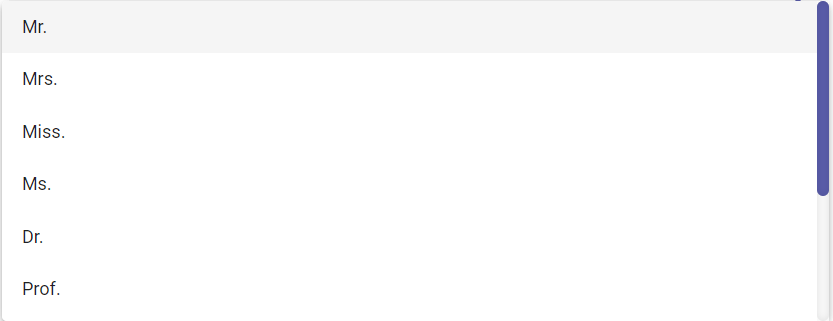
- Select an option from the list that has become available:
- Mr.: Men who do not have another professional or academic title, regardless of marital status.
- Mrs.: A married woman who does not have another professional or academic title.
- Miss.: An unmarried woman, who does not have another professional or academic title.
- Ms.: A woman whose marital status is not known, who does not have another professional or academic title.
- Dr.: A medical or academic doctor with a PhD degree.
- Prof.: A university academic with the highest degree.
- Mast.: Unmarried man under the age of 18 who does not have another professional or academic title.
- Rev.: An officially appointed religious leader.
- Ds.: A religious leader of the Dutch Reformed Church (Nederduitse Gereformeerde Kerk).
- Mx.: A gender-neutral title for persons who do not wish to conform to a specific gender.

- First Name(s): The first name of the Patient that the booking will be for.

- Surname: The last name of the Patient that the booking will be for.

- Initials: The first letter of a Patient's first names and last name.

- ID Number: The official identification number of the Patient. The ID Number should be between 6 and 13 digits. For an explanation of how an RSA ID number validates, please refer to the glossary entry: ID Number - RSA.

- Date of Birth: The day, month and year on which the Patient was born.
- Click/Tap in Date of Birth field to open the Date Picker.
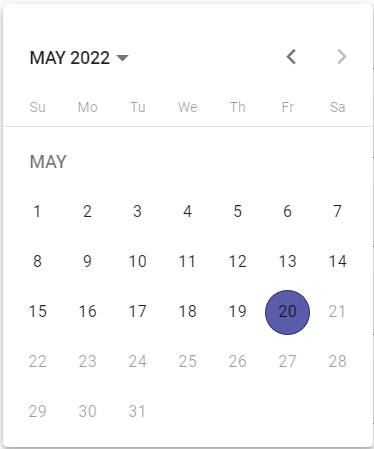
- Select the correct date by Navigating through the dates on the Date Picker.

- Gender: The biological sex of the Patient.
- Click/Tap on the Gender drop-down menu to view the available options.

- Select an option from the list that has become available:
- Female: The Patient has a female reproductive system
- Male: The Patient has a male reproductive system.
- Other: The Patients' medical-related gender is not known.
Medical Aid Details
A Medical Aid helps to pay for the Patient's healthcare needs, such as nursing, surgery, dental work, medicine and hospital accommodation depending on the Medical Aid plan. The Main Member pays monthly contributions in order to have medical cover to a Medical Aid Scheme.
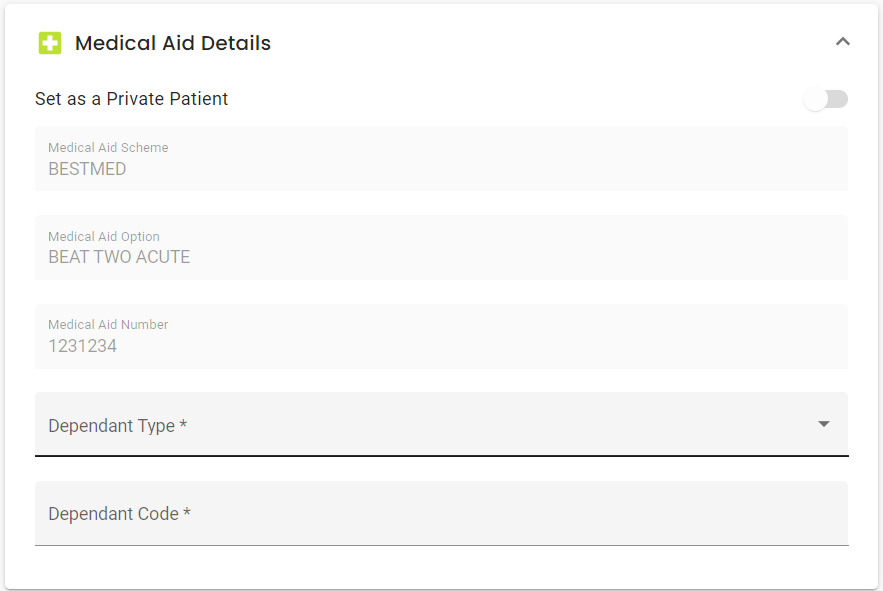
- An explanation will be given for each field on the Medical Aid Details panel:
Please Note: The user is unable to make any changes to the greyed out Private Patient setting, Medical Aid Scheme, Medical Aid Option or Medical Aid Number fields. These fields are predetermined by the information saved on the Main Member's Medical Aid details.
- Set as a Private Patient: If the Main Member who is responsible for the account does not have any form of Medical Aid, the Dependant is automatically set as a Private Patient.

Please Note: When the Main Member has been set as a Private Patient, the additional Medical Aid fields will not be available.

- Medical Aid Scheme: The name of the company with which the person that is responsible for the account has Medical Aid.

- Medical Aid Option: The name of the Medical Aid plan corresponding to the Medical Aid of the person who is responsible for the account.

- Medical Aid Number: The Medical Aid membership number associated with the account of the person who is responsible for the account.

- Dependant Type: The relation that the Patient has to the Main Member.
- Click/Tap on the Dependant Type drop-down menu.

- Select the desired Dependant from the drop-down list.

- Dependant Code: A number allocated to the Patient, for Patients that have Medical Aid, which will correspond to the Dependant Number on the Medical Aid Policy.
Dependant Contact Details
The contact information by which the Dependant can be reached for further communication.
- Click/Tap on the Dependant Contact Details panel to access additional fields.

- The Dependant Contact Details panel will expand.
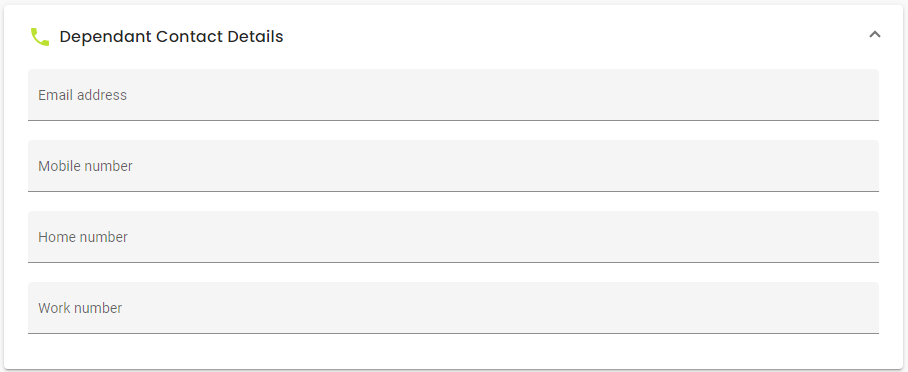
- An explanation will be given for each field on the Dependant Contact Details panel:

- Email Address: An electronic mailing address where communication can be sent to the Patient. An email address will be validated using specific criteria like an @ sign.

- Mobile Number: The cellular number where the Patient can be reached. Cellphone numbers need to have at least 10 digits to be valid.

- Home Number: A landline number where the Patient can be reached telephonically.

- Work Number: A telephone number where the Patient can be reached at their place of work.
Dependant Addresses
The permanent place of residence where the Dependant lives as well as the postal address is where the communication will be sent from the Practice to the Dependant.
- Click/Tap on the Dependant Addresses panel to access additional fields.

- The Dependant Contact Details panel will expand.
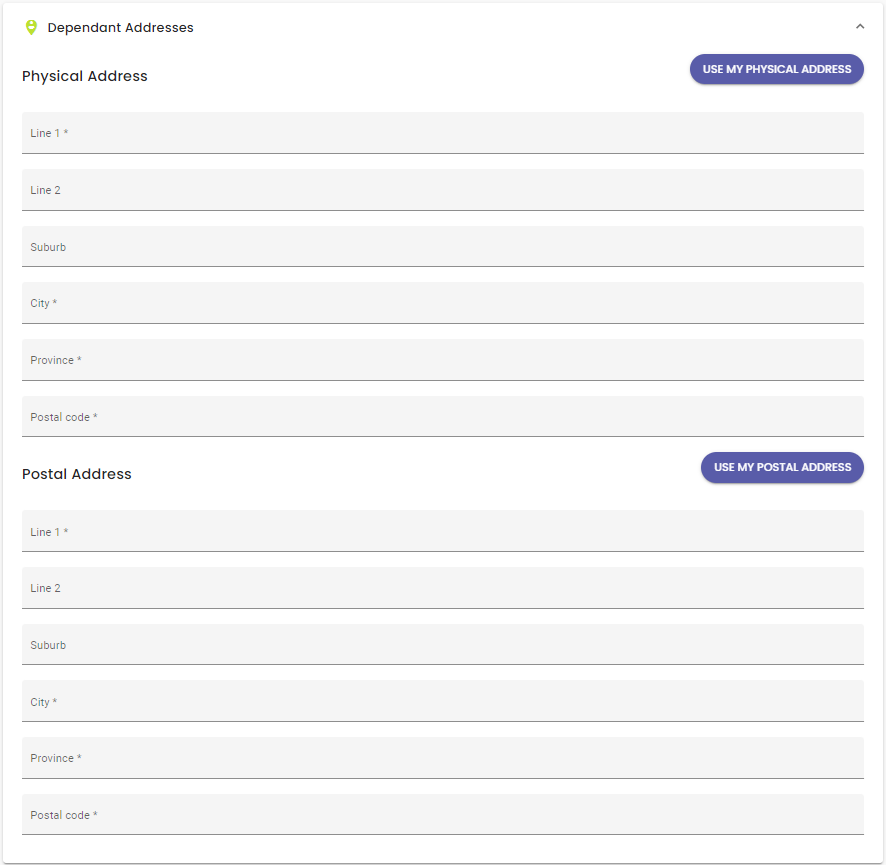
- An explanation will be given for each Physical Address field:

- Click/Tap on the Use My Physical Address button if the Dependant lives at the same physical address as the Main Member. The Main Member's information will automatically be filled into the open fields.
![]()
- Physical Address: The permanent place of residence where the Dependant lives.
- Line 1: The house number and street name associated with the address, for example, 46 Tambotie Street.
- Line 2: An extra line of space for any additional information associated with the address, for example, Two Rivers Estate.
- Suburb: The name of the district associated with the address, for example, Val-De-Grace.
- City: The municipality that is associated with the address, for example, Pretoria.
- Province: The larger region that is associated with the address, for example, Gauteng.
- Postal Code: A series of numbers that is associated with the address, for example, 0184.
Please Note: Both the Physical Address and Postal Address fields are linked with Google Maps, and will show Google Maps results as information is typed into the provided fields. Only 1 character is required to start the filtering of results.

- An explanation will be given for each Postal Address field:
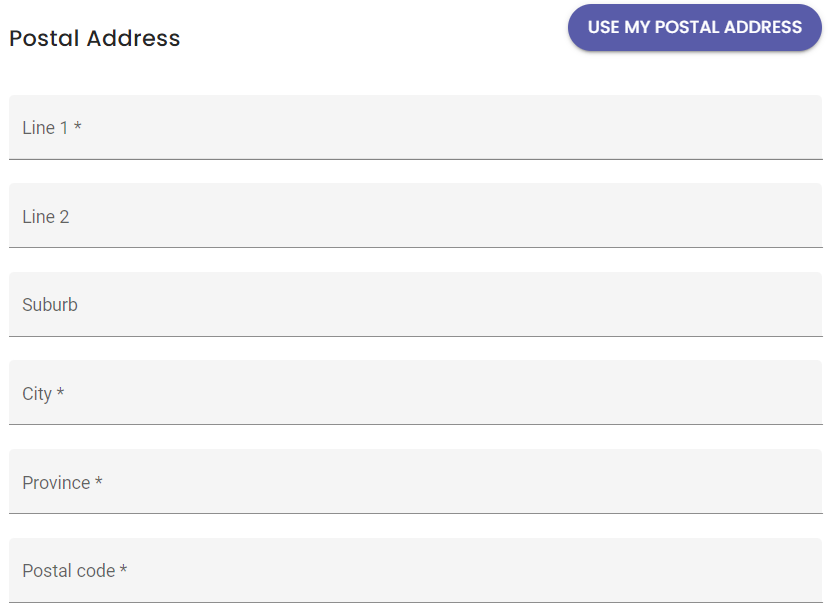
- Click/Tap on the Use My Postal Address button if the Dependant uses the same postal address as the Main Member. The Main Member's information will automatically be filled into the open fields.
![]()
- Postal Address: The address where a hard copy of the communication will be sent from the Practice, to the Dependant.
- Line 1: The house number and street name associated with the address, for example, 46 Tambotie Street.
- Line 2: An extra line of space for any additional information associated with the address, for example, Two Rivers Estate.
- Suburb: The name of the district associated with the address, for example, Val-De-Grace.
- City: The municipality that is associated with the address, for example, Pretoria.
- Province: The larger region that is associated with the address, for example, Gauteng.
- Postal Code: A series of numbers that is associated with the address, for example, 0184.
- Click/Tap on the Save Dependant button once all of the relevant information has been filled into each field, to save the Dependant's details.
![]()