Sorry, this activity is currently hidden
Topic outline
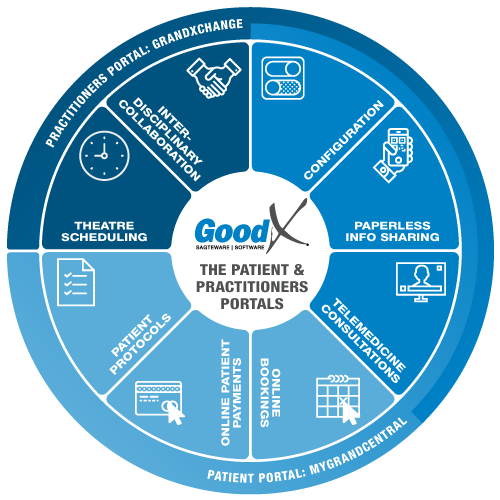

The myGrandCentral (myGC) Patient Portal is a web and mobile application which is integrated into GoodX. The application makes doctor-patient administration a paperless and pleasant experience.
Features available in myGC
- Online bookings
- Paperless information sharing (eg e-scripts & sick notes)
- Telemedicine consultations (Web App)
- Interdisciplinary bookings
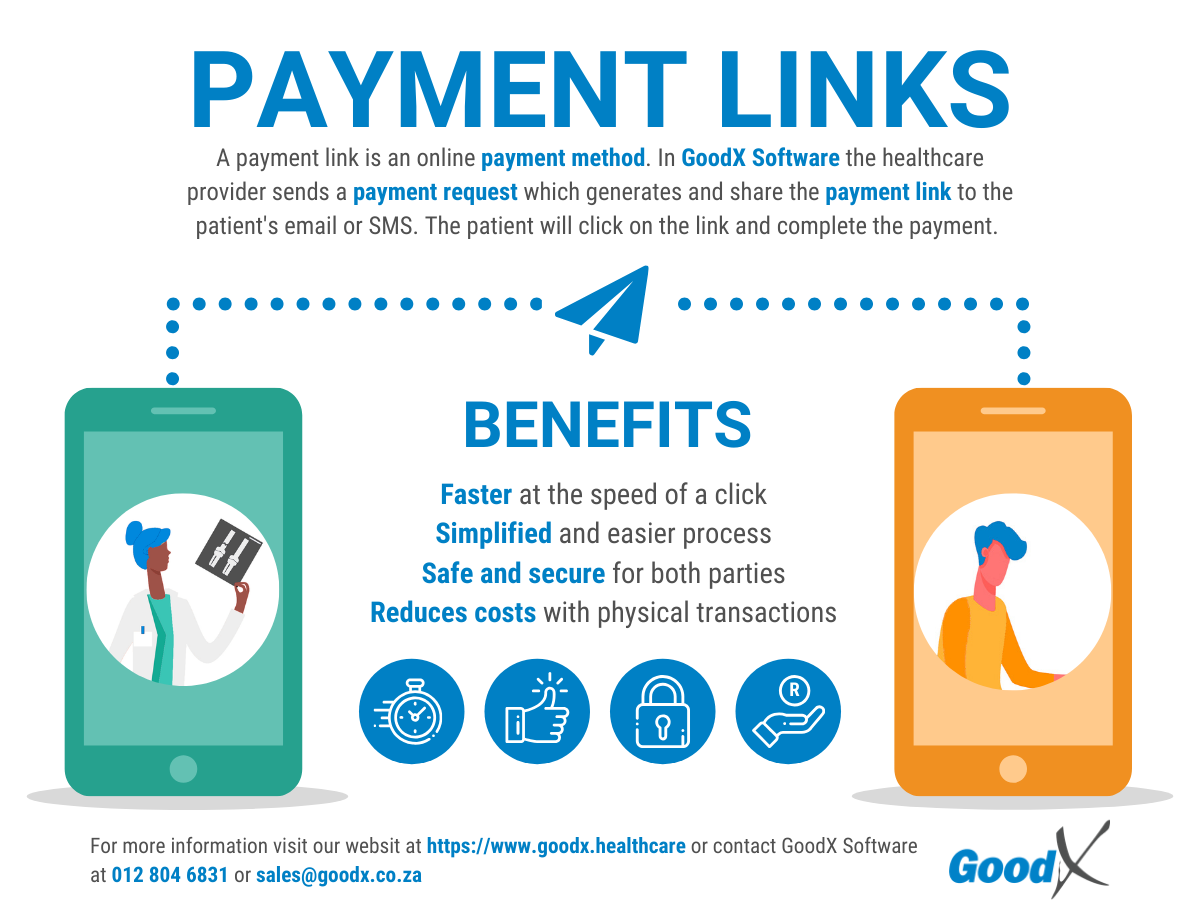
- Online patient payments
- Patient protocols (Web App)
- Dashboard
Patients are connected via the web and mobile apps. To register a profile on myGC, visit https://www.mygc.co.za.
The Medical Practice is connected through GoodX to the Patient via the myGC Patient Portal.
Patients are connected to the Medical Practice via the myGC website. To register a Profile on myGC, visit https://www.mygc.co.za.