Case Account - Estimate Invoices
Why Use This Function:
The Estimates tab offers a comprehensive overview of all Estimates associated with a Patient's Case. It also allows you to perform various actions directly from the Case Account, such as viewing or editing, downloading, emailing, accepting, and rejecting Estimates.
💡Please Note: Hospital Accounts are linked to each specific Case and not the overall Account of the Debtor/Patient. Each Case is billed separately.
The Contents of This User Manual:
- Filters
- Columns
- Invoice Lines
- Actions
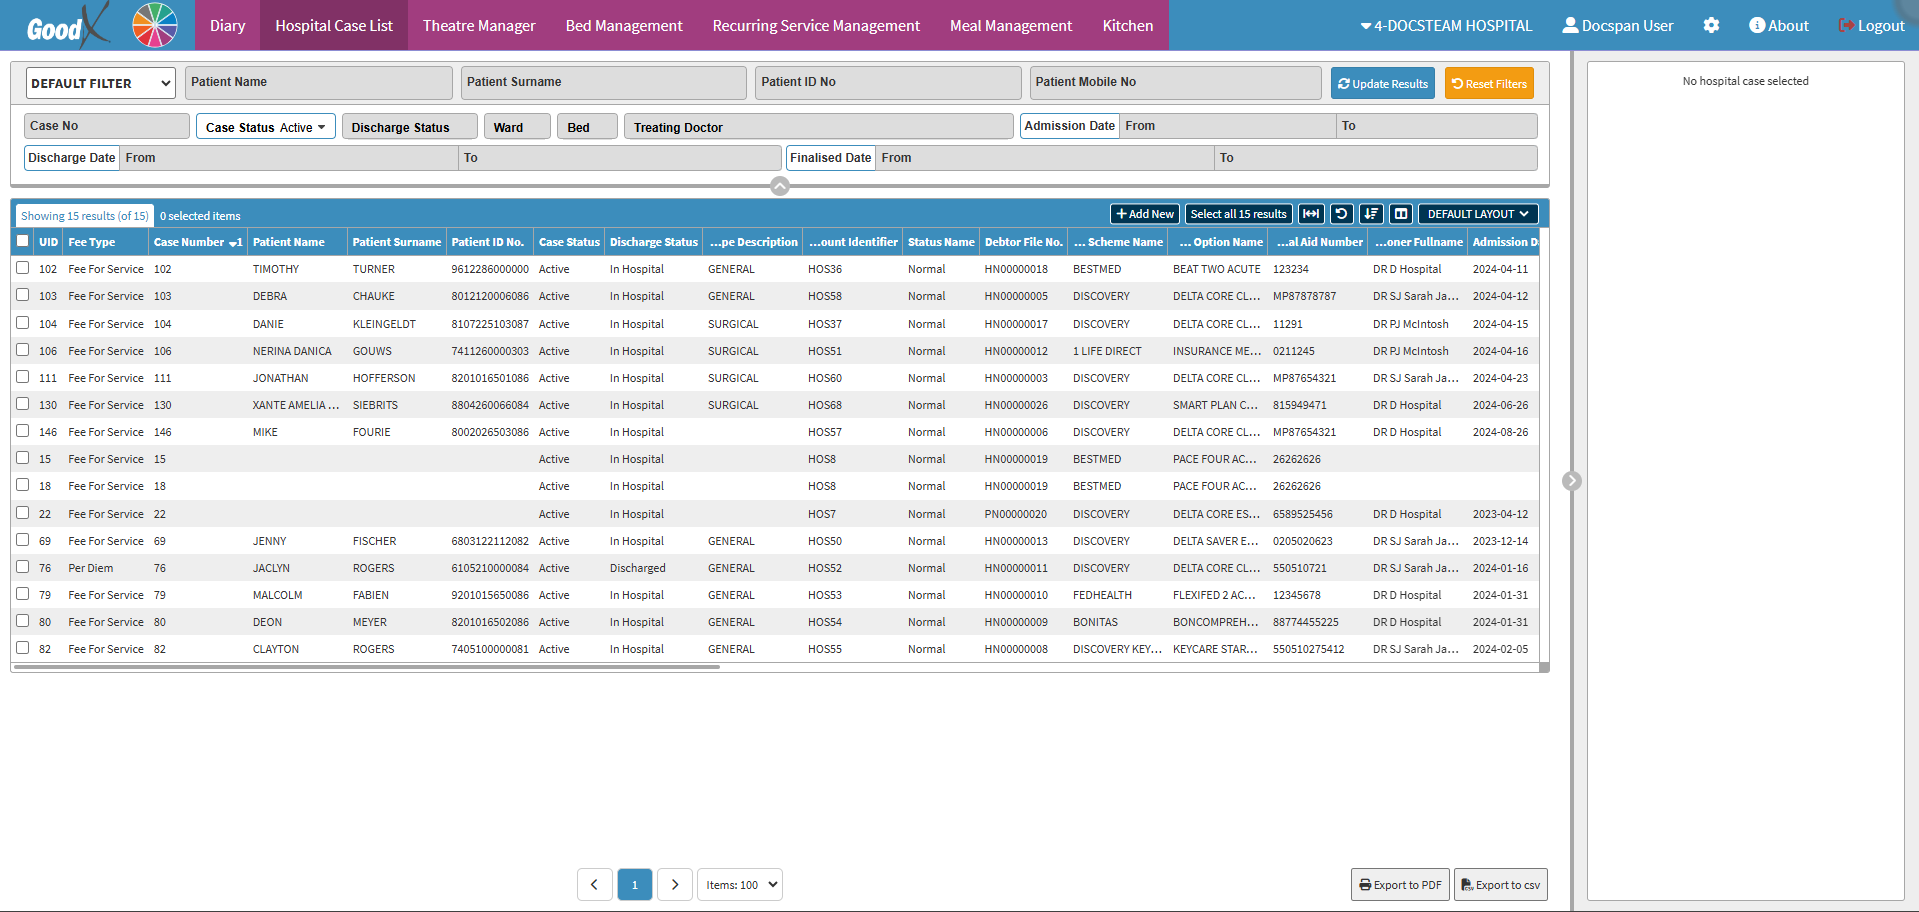
- This user manual will start on the Hospital Case List screen.

- For more information regarding the Hospital Case List please refer to the user manual: Hospital Case List Screen: Navigation and Use.
- Click on the Case of which you want to view the Case Account.
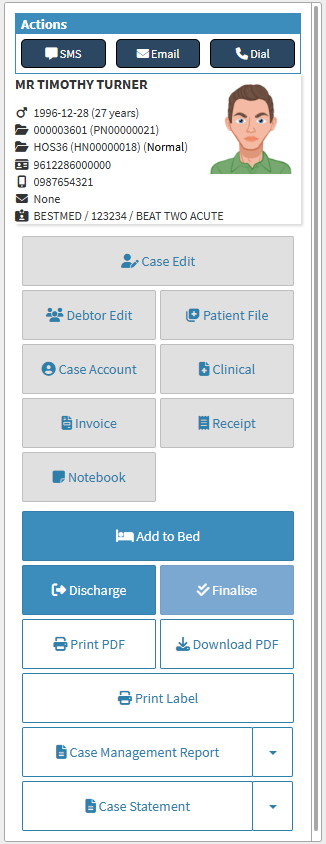
- The Hospital Case List sidebar will open.

- Click on the Case Account button to access the Account Information of the Case.

- The Case Account screen will open.

- Click on the Estimate Invoices tab.
![]()
- The Estimate Invoices screen will open.

Filters
Allows you to narrow down or refine the results displayed on the Case Account - Estimates tab.- Click on the desired checkbox to include/exclude certain data from the result:
- Pending: Estimates that have been created and saved in the system but have not yet been approved, finalised, or actioned and still in the process of being completed.
- Billed: The Patient has been billed for the procedures as set out in the Estimate.
- Accepted: The Patient has approved the codes and cost of the Estimate.
- Rejected: The Patient has declined the Estimate.
Columns
All the information on the Estimate Invoices screen is divided into Columns to logically group related information together.- Estimate Number: The unique system-generated number that has been allocated to the Estimate.
- Estimate Date: The Date (yyyy-mm-dd) the Estimate Invoice was created.
- Name: The name/description allocated to the Estimate Invoice.
- Status: The current stage within the billing process that the Estmate is in.
- Debtor Number: The number of the Hospital Case linked to the Estimate Invoice.
- Patient Name: The Patient who the Estimate is for.
- Total: The total amount of the Estimate Invoice.
- View Estimate: Opens the Invoice and allows for changes to be made.
- Click on the View Estimate button to view the Estimate and make changes.
![]()
- Merge Files: Allows you to select several Estimates and merge them into one file.
- Click on the Select All Files to Merge Into One File check box.
![]()
- More Actions will become available.

- All the files that were selected will be displayed above the Action buttons.

- Click on the Download Selection button to download all the selected Estimates as one file.
![]()
- Click on the Email Selection button to send the merged files to the desired recipients via email.
![]()
- For more information regarding how to Send an Email, please refer to the user manual: Send an Email.
- Double-click on the Estimate.
![]()
- More Options will become available.
Invoice Lines
Shows all line items that were added to the Estimate.
- The Invoice Lines will be divided into columns:
- #: The Invoice line number.
- Code: The Billing Code.
- Description: A detailed explanation or name of the item.
- Diagnosis: The ICD10 code and name linked to the Invoice Line.
- Qty: The number of the specific item that was added to the Estimate.
- Invoice Amount: The total price of the item/procedure in this specific line.
Actions
Makes multiple actions available for the Estimate.- Click on the Actions tab.
![]()
- Click on the Download Estimate button to save a copy of the Invoice to your device.
![]()
- Click on the View/Edit Invoice button to open the Invoice so that changes can be made to the Estimate.
![]()
- Click on the Email Estimate button to send this Invoice to the desired recipient.
![]()
- For more information regarding how to send an email, please refer to the user manual: Send an Email.
- Click on the Switch Actions button to be directed to the Switch Details screen.
![]()
- For more information on the Switch Details screen, please refer to the user manual: WA: Switch Response.
Last modified: Thursday, 14 November 2024, 3:28 PM