The Claim Details Tab provides an overview of all claims submitted to the Medical Aid on a specific case. It allows you to view the status of each claim and also check the claim responses. You are also able to fix Claim errors by Editing, Reversing and Re-submitting the Claim. It is important to review the Switch History and Claim Responses daily to ensure successful claim processing.
Please Note: In order to Submit the claim of the Case to the Medical Aid, the Patient needs to be Discharged and the Case needs to be Finalised.
The contents of this user manual will consist of the following information:
Claim Actions
Claim Details
Warning/Rejection Messages
Switch Details
Switch Statuses
Invoice Lines
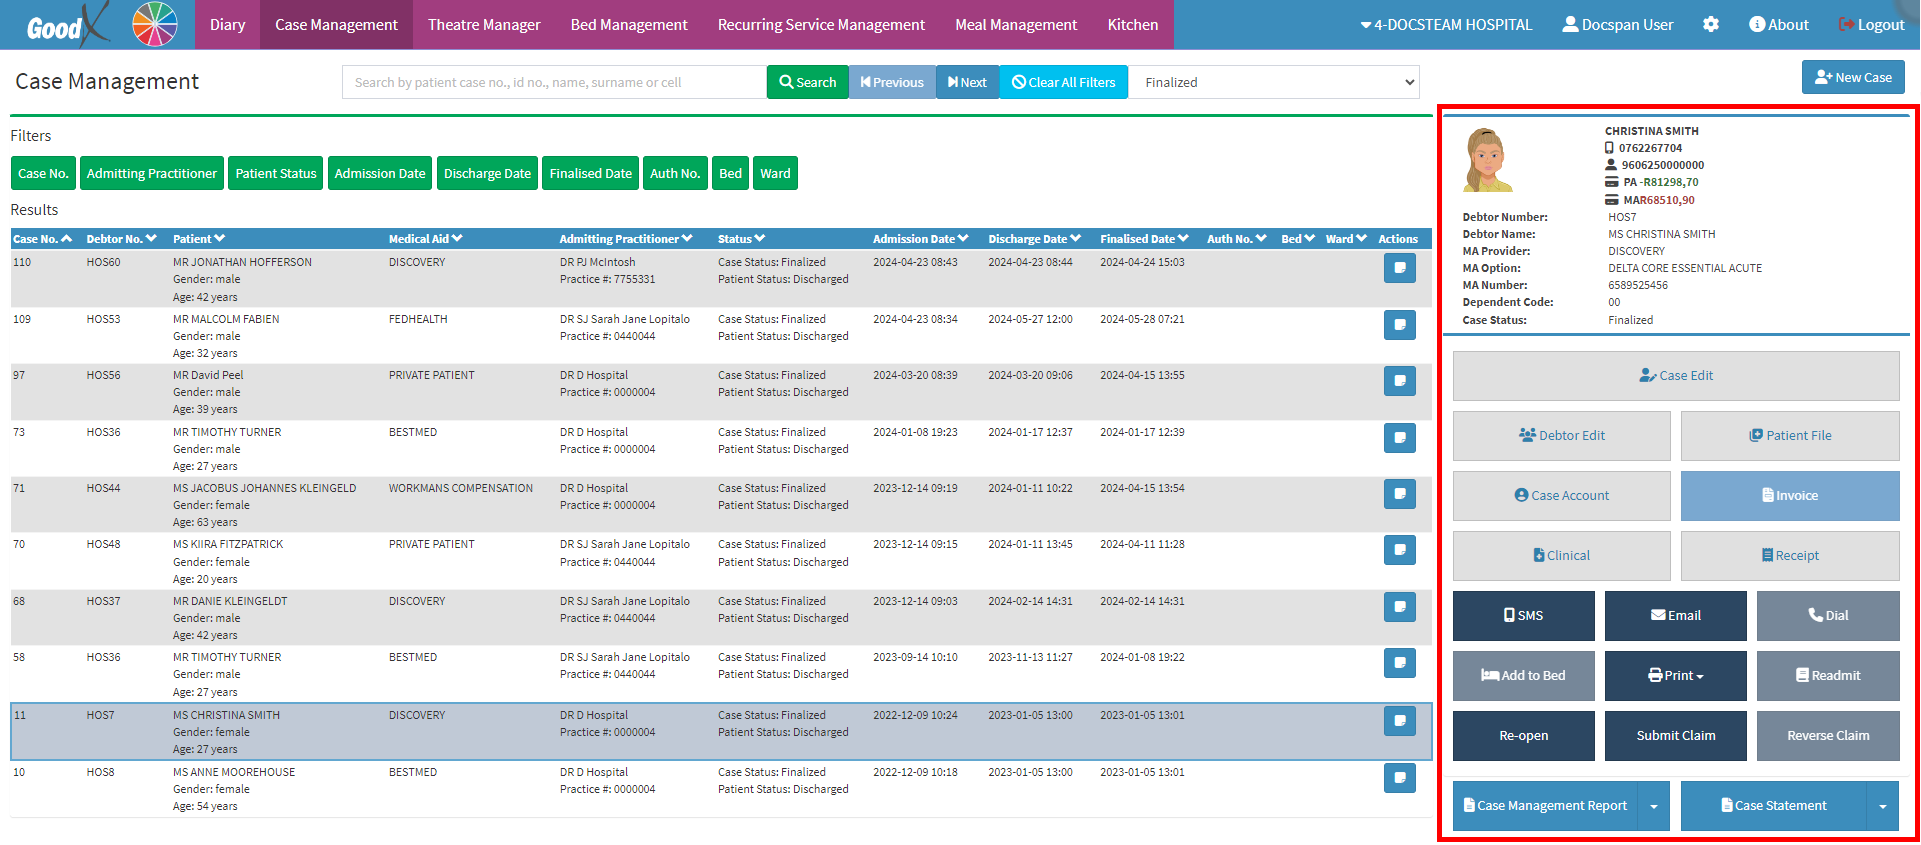
This user manual will start on the Case Management screen.
For more information regarding the Hospital Case screen, please refer to the user manual: Case Screen Overview.
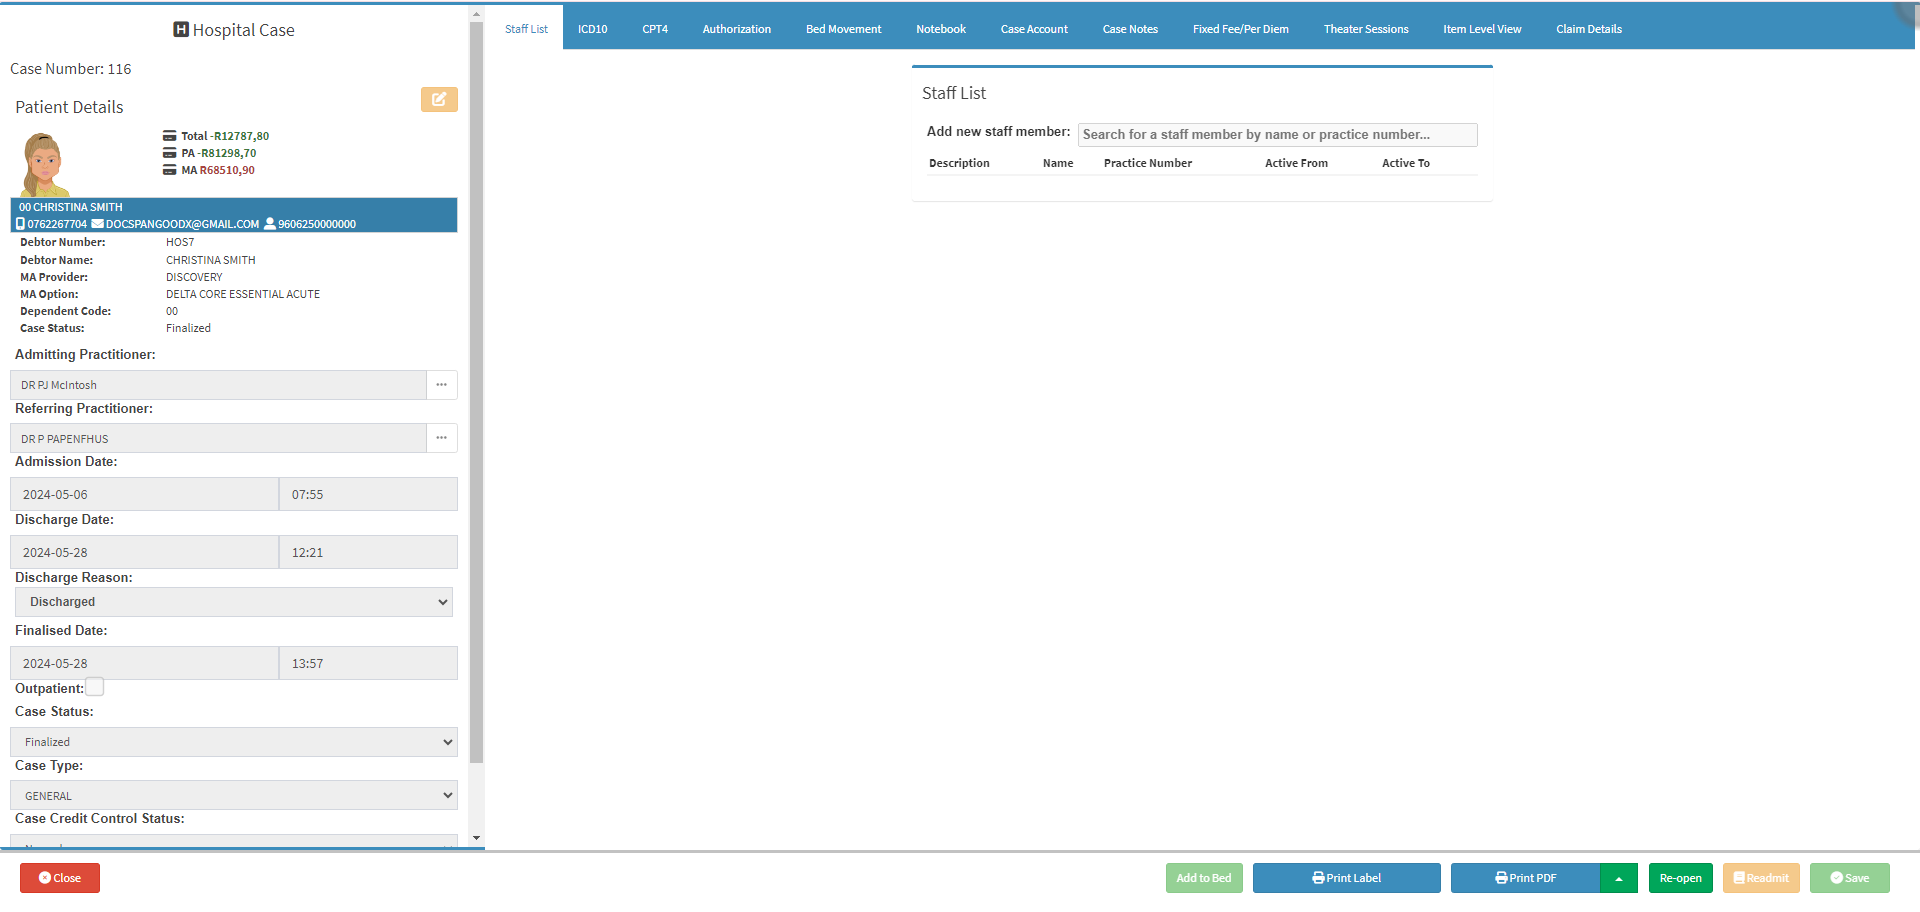
Click on the Claim Details tab.
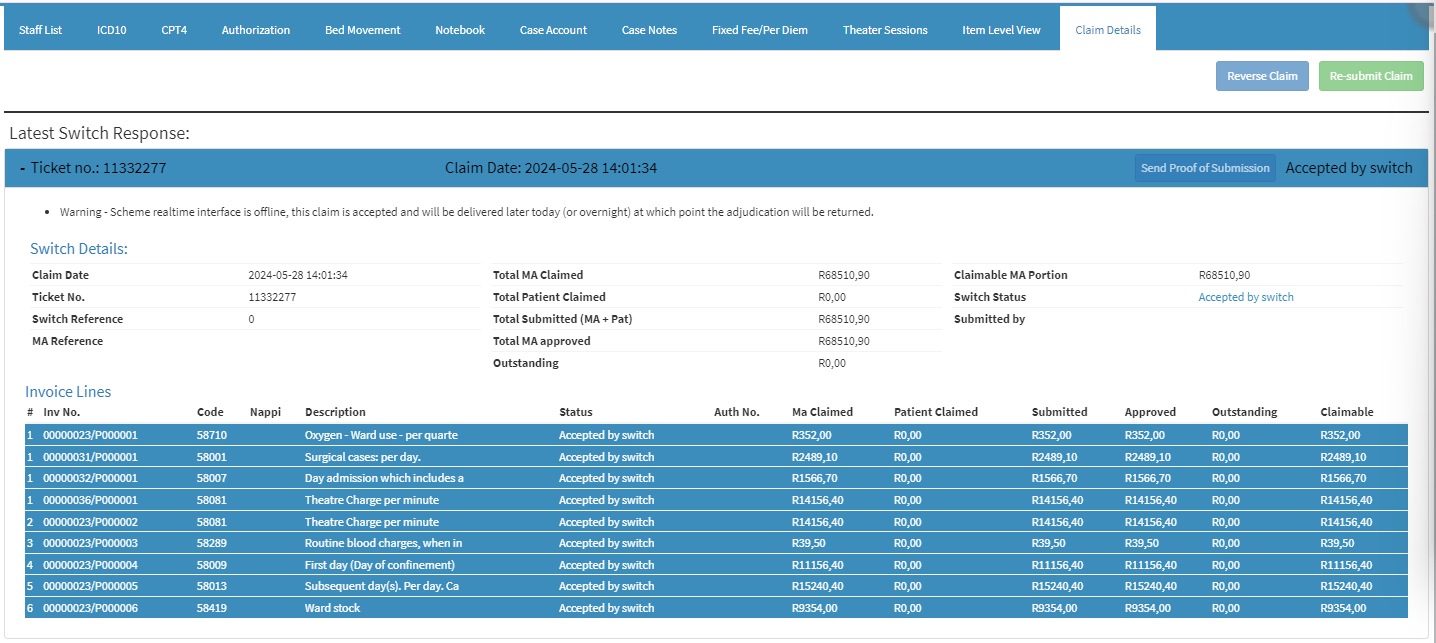
The Claim Details screen will open.
Claim Actions
Actions that are available for the Claim.
Click on the Reverse Claim button to reverse the Claim, if you need to make amendments.
Click on the Re-submit Claim button to resend the Claim to the Medical Aid.
Please Note: If the Action buttons are greyed out, they are unavailable and therefore can not be used.
Claim Details
Information regarding the Claim that was submitted
Ticket no.: (11332277): The Claim reference number that was generated by the GoodX Switch.
Claim Date: (2024-05-28 14:01:34): The Date and Time on which the Case Account was submitted to the Medical Aid.
Send Proof of Admission: Allows you to Send Proof to theMedical Aid that the Claim was Submitted.
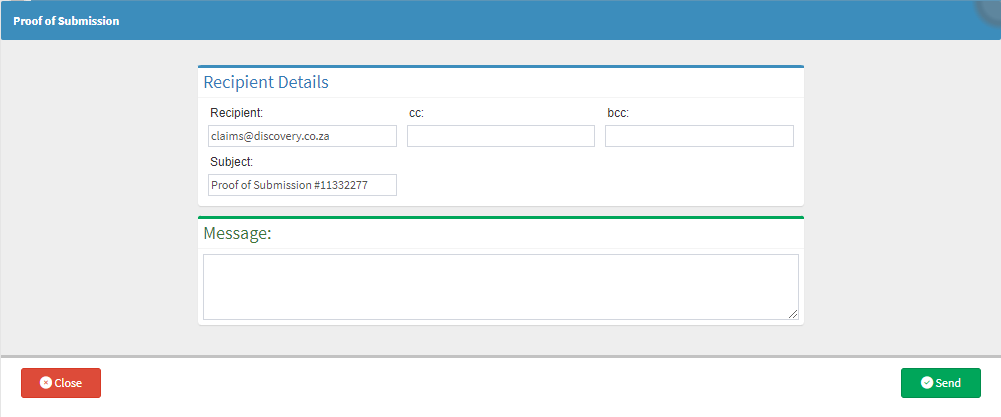
Click on the Send Proof of Submission button.
The Proof of Submission screen will open.
Complete all relevant fields.
Click on the Send button to send the Proof of Submission.
Please Note: If the Send Proof of Submission button is greyed out, it is unavailable and therefore can not be used.
Switch Statuses
The different Statuses that the Claim can be in during the Claiming process.
Claim Not Submitted: The Case Claim has not been Submitted to the Medical Aid.
Accepted by Switch: The Claim has been submitted to the Medical Aid via the Switch, to be processed.
Medical Aid Rejection: The Claim has been submitted, but it has been Rejected by the Medical Aid.
Medical Aid Accepted: The Medical Aid has Accepted the entire Claim and will make payment, accordingly.
Medical Aid Partially Accepted: Only certain items of the Claim have been accepted by the Medical Aid and others have been rejected.
Warning/Rejection Messages
Advises that there are possible issues or to give more information regarding the Claim or Switch.
Switch Details
The Switch Information regarding the Claim.
Claim Date: The Date (yyyy-mm-dd) and Time (hh:mm:ss) the Claim was Submitted.
Ticket Number:The Claim reference number that was generated by the GoodX Switch.
Switch Reference: The Reference number that the Switch allocated to the transaction.
MA Reference: The Reference number that the Medical Aid has allocated to the Claim.
Total MA Claimed: The amount that the Hospital is Claiming from the Medical Aid.
Total Patient Claimed: The amount that the Patient is Claiming from the Medical Aid.
Total Submitted (MA + Pat): The Total amount that was Submitted to the Medical Aid. The Total includes both Medical Aid and Patient portions of the Claim.
Total MA approved: The Total amount that has been approved by the Medical Aid.
Outstanding: The amount that is not covered by the Medical Aid and the Patient is now liable for.
Claimable MA Portion: The maximum amount that the Hospital is able to Claim, from the Medical Aid.
Switch Status: The current stage of the claim within the Switch process.
Submitted by: The User that submitted the claim to the Medical Aid via the Switch.
Invoice Lines
The Items that have been billed on the Case and submitted as part of the Medical Aid Claim.
#: The Number associated with each line.
Inv No.: The Invoice Number on which the specific item was Invoiced.
Code: The Billing Code linked to the item or procedure.
Nappi: A unique identifier for Medicines, Surgical or consumable products.
Description: A detailed explanation of the item or procedure that was billed.
Status: The Status of the line item.
Auth No.:Authorisation Number - Confirms the pre-approval for the specific item/procedure billed on the line, for which a Patient is covered.
MA Claimed: The line amount that has been submitted to be Claimed from the Medical Aid.
Patient Claimed: The line amount that is being Claimed by the Patient.
Submitted: The total amount of the line that was Submitted to the Medical Aid.
Approved: The Pre-approved amount of the line.
Outstanding: The line amount that is not covered by the Medical Aid and the Patient is now liable for.
Claimable: The maximum line amount that the Hospital is able to Claim, from the Medical Aid.