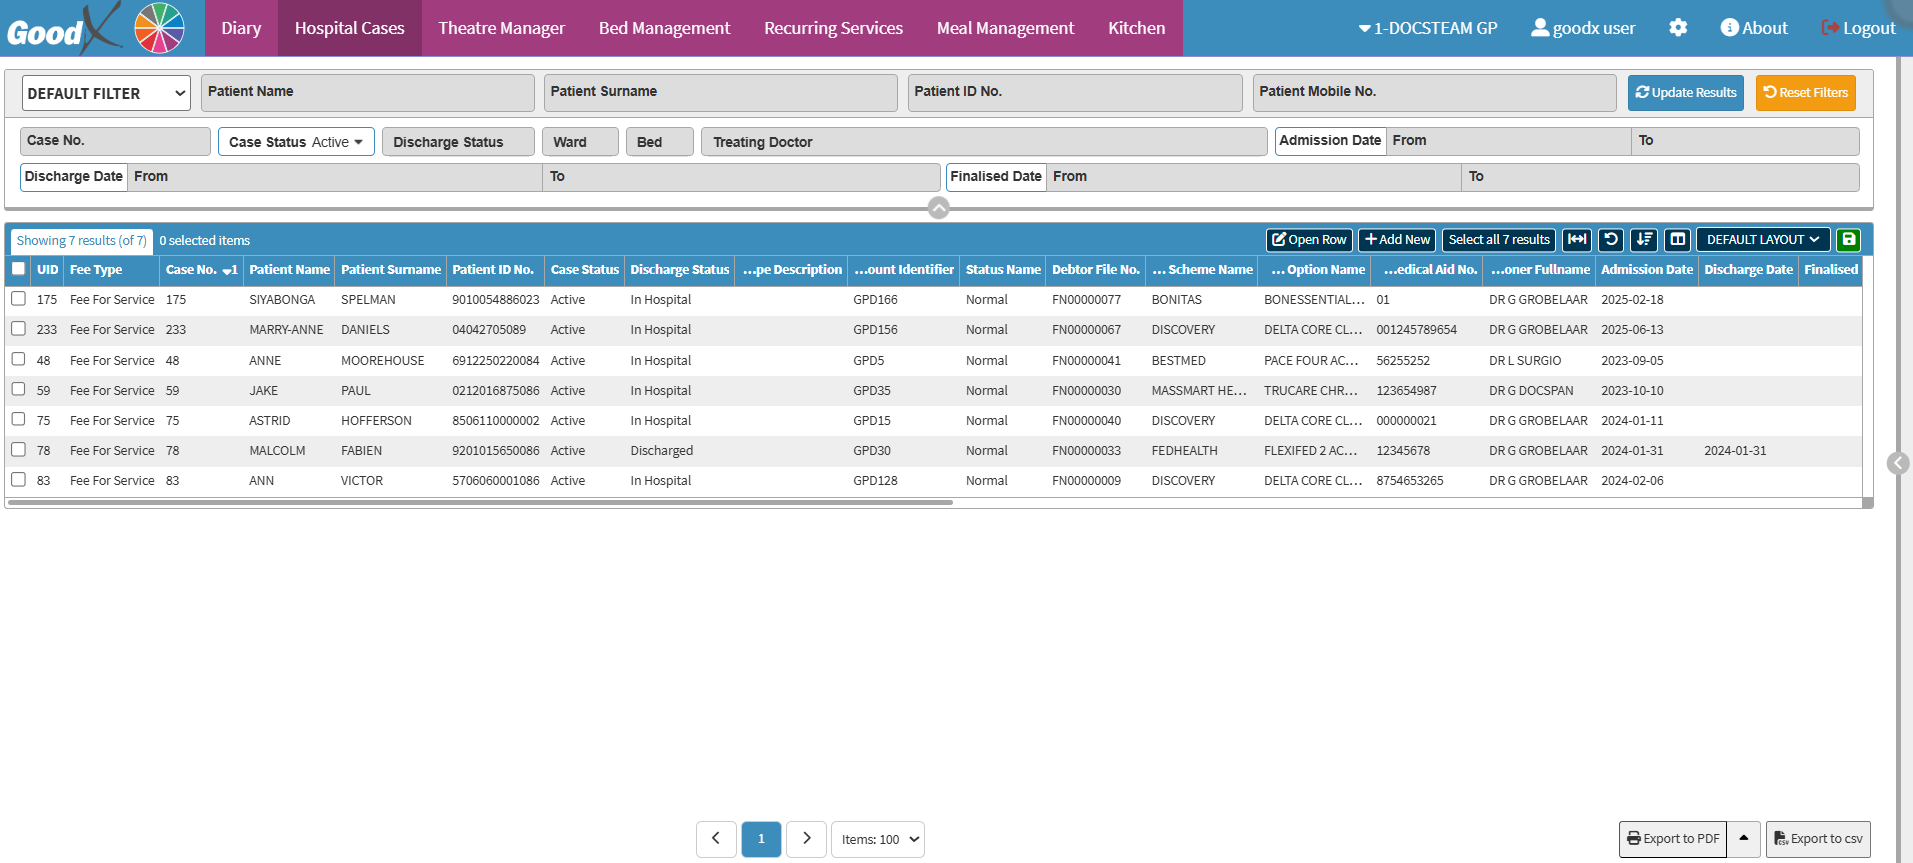
The Hospital Case Information function provides a central point where all case-related details can be viewed, managed, and actioned. The function helps streamline daily workflows by giving quick access to Filters, Columns, Action Buttons, and Page Options that make it easier to locate specific cases, review Patient and Debtor information, and monitor financial and administrative progress. Efficient navigation of the Hospital Cases screen supports accurate processing, faster follow-ups, and improved oversight of all active and completed Hospital Cases.
The Contents of This User Manual:
Filters
Screen Columns Action Buttons
Columns
Page Options
This user manual will start on the Hospital Cases screen.
For more information on how to navigate to the Hospital Cases screen, please refer to the user manual: Hospital Segment.
Filters
Allows you to narrow down or refine the results displayed on the Practitioners List tab.
Click on the Default Filter drop-down menu to select how the screen will be filtered.
Click on the Patient Name field to enter the name of the Patient you are searching for.
Click on the Patient Surname field to enter the surname of the Patient you are searching for.
Click on the Patient ID No. field to enter the ID number of the Patient you are searching for.
Click on the Patient Mobile No. field to enter the number of the Patient you are searching for.
Click on the Case No. field to enter the number of the Patient you are searching for.
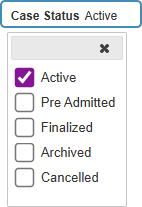
Click on the Case Status drop-down to select the Case Status you want to filter on.
Click on the Discharge Status drop-down menu to select the discharge status you want to filter on.
Click on the Ward drop-down menu to select the ward status you want to filter on.
?Please Note: The options available depend on the wards' setup for your Practice.
Click on the Discharge Status drop-down menu to select the discharge status you want to filter on.
?Please Note: The options available depend on the beds' setup for your Practice.
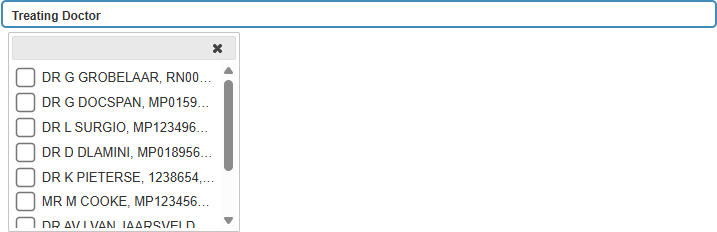
Click on the Treating Doctor drop-down menu to select the Treating Practitioner status you want to filter on.
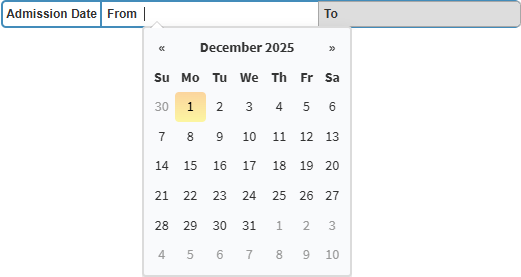
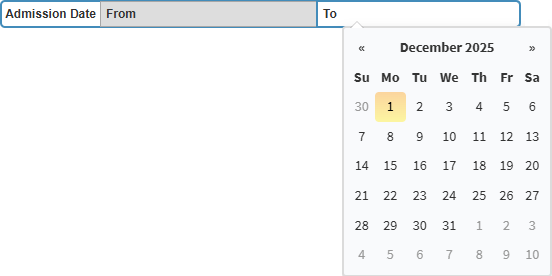
Click on the Admission Date From field to select the admission date you want to filter on from the date picker that becomes available.
Click on the Admission Date To field to select the admission date you want to filter on from the date picker that becomes available.
Click on the Discharge Date From field to select the admission date you want to filter on from the date picker that becomes available.
Click on the Discharge Date To field to select the admission date you want to filter on from the date picker that becomes available.
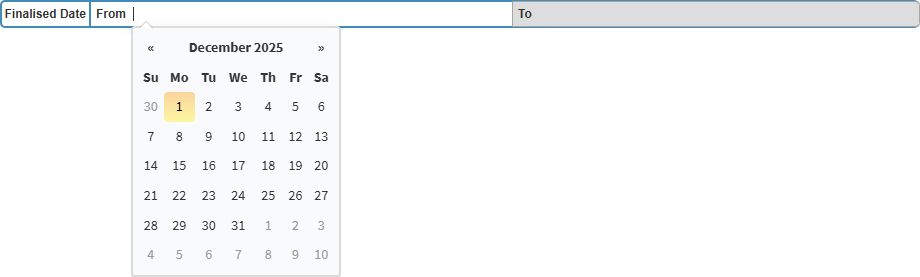
Click on the Finalised Date From field to select the admission date you want to filter on from the date picker that becomes available.
Click on the Finalised Date To field to select the admission date you want to filter on from the date picker that becomes available.
Screen Columns Action Button
Several additional Options are available for the Columns. These additional Options are to help you adjust the List, refine the Search and give more specific results.
Click on the Open Row button to open your selected Hospital Case.
Click on the Add New button to add a New Practitioner.
For a comprehensive explanation of How to Add a New Practitioner, please refer to the user manual: How to Add a New Practitioner.
Click on the Select All Results button to select all the Practitioners.
Click on the Expand Widths button to auto-fit the column width to the information within all columns.
Click on the Reset Widths button to restore the original Widths after any modifications are done.
Click on the Sort Columns button to sort the Columns in the order that you desire.
All the information on the Hospital Casest screen is divided into Columns to logically group related information together.
UID: The unique system-generated identifier assigned to the Hospital Case.
Fee Type: The billing category applied to the Hospital Case.
Case Number: The reference number allocated to the Patient’s Hospital Case.
Patient Name: The Patient’s first name as recorded on their file.
Patient Surname: The Patient’s surname as recorded on their file.
Patient ID No.: The identity number linked to the Patient.
Case Status: The current progression stage of the Hospital Case.
Discharge Status: The status indicating whether the Patient has been discharged.
Hospital Case Type Description: A description of the type of Hospital Case that was created.
Debtor Account Identifier: The Main Debtor’s Account Number linked to the Patient.
Status Name: The workflow or processing status assigned to the Hospital Case.
Debtor File No.: The File Number automatically generated for the Patient.
Medical Aid Scheme Name: The name of the Medical Aid Scheme linked to the Patient.
Medical Aid Option Name: The Plan or Option selected under the Patient’s Medical Aid.
Medical Aid No.: The Medical Aid Membership Number of the Patient.
Treating Practitioner Full Name: The full name of the Practitioner responsible for the Patient’s care.
Admission Date: The date the Patient was admitted.
Discharge Date: The date the Patient was discharged.
Finalised Date: The date the Hospital Case was marked as finalised.
Auth Nos: The Authorisation Number assigned by the Medical Aid.
Auth Amount: The amount approved for the Patient’s stay or treatment.
Bed Description: The description of the bed allocated to the Patient.
Ward Description: The name or description of the ward where the Patient was placed.
Copayment: The Patient’s payable portion as determined by the Medical Aid.
Financial Turnover: The total financial value associated with the Hospital Case.
Fee Amount: The calculated fees linked to the Case.
Financial Outstanding: The remaining balance is still outstanding for the Case.
Financial Patient Outstanding: The Patient’s portion of the outstanding amount.
Outpatient: Indicates whether the Patient was treated as an outpatient.
Auth Days: The number of days approved by the Medical Aid.
Remaining Days: The number of authorised days still available.
L.O.S: The Patient’s Length of Stay.
Auth Date: The date the medical authorisation was issued.
L.O.S/Auth Date: A comparison of the Patient’s Length of Stay relative to the Authorisation Date.
Claim Process Status: The current status of the claim submission process.
Claimed By: The user who submitted the Claim.
Date of Claim Submission: The date the Claim was submitted to the Medical Aid.
Finalised By: The user who marked the Hospital Case as finalised.
Page Options
All the additional options that are available for the page.
Click on the Previous button to navigateto the previous page.
Click on the Page Number button to navigate to the desired page.
Click on the Next button to navigate to the next page.
Click on the Items drop-down menu to select the number of items that will be displayed on the screen.
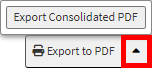
Click on the Export to PDF button to save a PDF file of all the data as a comprehensive report.
Click on the Export to PDF drop-up menu to access the Export Consolidated PDF option that allows you to generate a single document that combines all the data from multiple sources to provide an overview.
Click on the Export to CSV button to save the Report in a CSV format.