DA: Create a New Case with a New Debtor
A New Case and A new Debtor will be created when this is the first time the patient is coming to the Hospital and does not have a file at the Hospital.
- Open the Hospital Patient Admin Module.
- Click on the Cases icon.

- The Case Management Screen will appear with the list of Cases.

TAKE NOTE:
- Use the Tab button or mouse to navigate between fields.
- The Function Keys (F1-F12) help you to select action buttons.
- Click on the New Admission icon.
- The Debtor fixed data list is displayed.

- To add a Debtor click on the
icon or press (F3).
- Choose the Type of Debtor
- The program selects Normal Debtor by default. However, if the patient is an Insurance Examination or Injury on Duty (IOD) you will need to select the appropriate option.
- Click OK.
- Capture the information of the Main Member (the account holder). This person will be liable for the settlement of the account should the Medical Aid decline payment.

- Always add a Medical aid Number, even with private patients (with Private patients you can use your file number or a full stop as the medical aid number).
- Use the Tab button or mouse to navigate between fields.
- The Function Keys (F1-F12) help you to select action buttons.
![]()
TAKE NOTE: The ellipsis buttons ![]() will take you to lists from where information can be copied.
will take you to lists from where information can be copied.
- To copy the physical address details to the postal address, press * (or Shift+F8) and Tab.

- If you want to add a debtor that is not on medical aid, choose PRIVATE PATIENT, PRIVATE ACUTE and enter a full stop (.) in the medical aid number field.

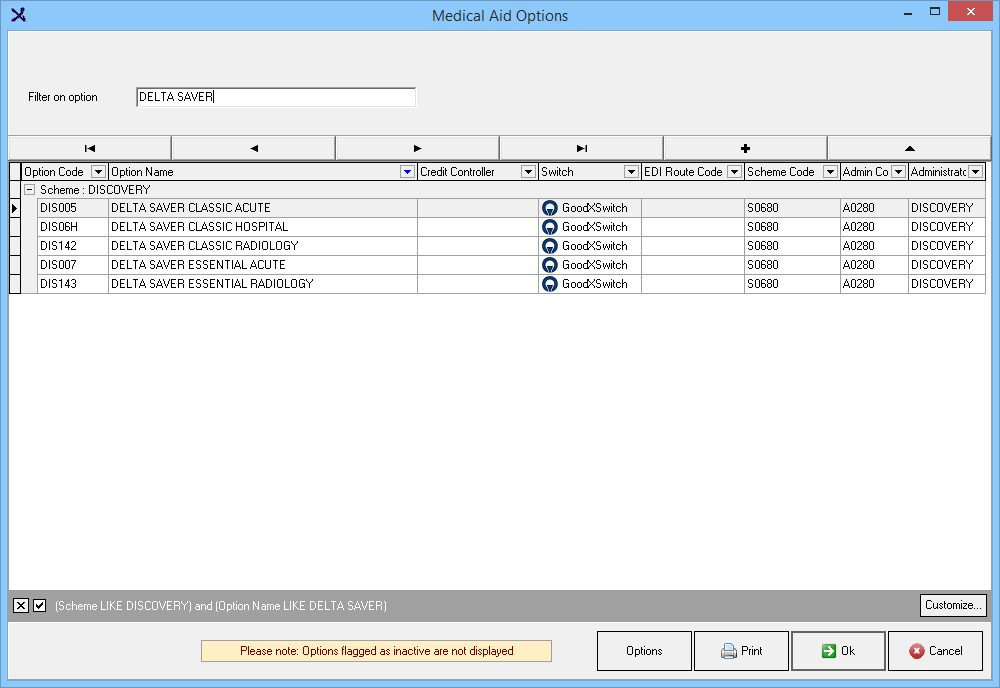
- To add a medical aid you can type in the medical aid name in the space provided or use the ellipsis button
 to search for the medical aid.

- The same with the acute.
- To add an acute option you can type in the option name in the space provided or use the ellipsis button
 to search for the option.
TAKE NOTE: If you are using a switching house like GoodX Switch, make sure that your acute is linked with that switching house. If not, contact GoodX.

![]()
- To Copy your main member details as the Guarantor, type in * and Tab. If the Guarantor information is blank the Main Member information will be used as the Guarantor information.

- Click on Save (F2).
- The program will not allow you to save until all mandatory fields have been completed.
- Click Yes to Post this record and create a new file for the Debtor.
- The next screen displays details of the Patient.
- The Main Member information will duplicate to the Patient screen.
- If the Main Member is not the Patient click here to add a new dependant.
- Complete any additional information eg. the Dependant Number.
- Click on OK (F2).
The New Case screen will open to create the Case.
- How to Complete the Case please click here and follow the steps.
Last modified: Tuesday, 20 July 2021, 10:35 AM