Debtor Status List
The user manual is currently being updated with new features. An updated version will be available shortly. We thank you for your patience.
A Debtor Status allows the Practice to display a preset up warning on a Debtors' file. The warning will be displayed every time a booking is made. An icon will also display on the booking timeslot when a booking is made for a patient to whom the Practice has allocated a status. Statuses can be set up to suit the needs of the Practice. For example, a status can be added to indicate that the Debtor is a slow payer, the Patient has a payment arrangement, is eligible for discounts/special rates, pays on time or the Debtor's account has been handed over for collection.
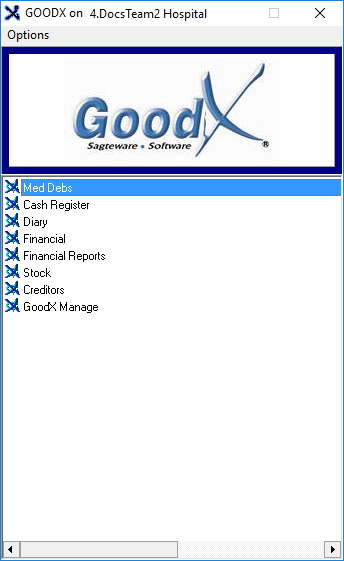
- Log in to the GoodX Desktop App with your username and password.
- From the Navigator, Double Click on the GoodX Med Debs Module.

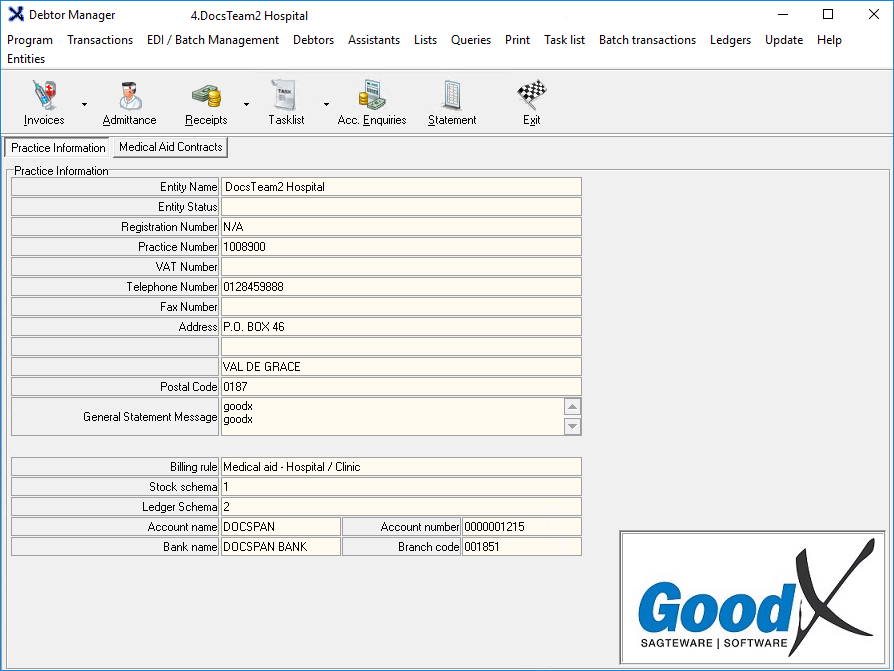
- The Debtor Manager screen will open.

- Click on Lists on the menubar.
![]()
- Click on the Deb Status List submenu.

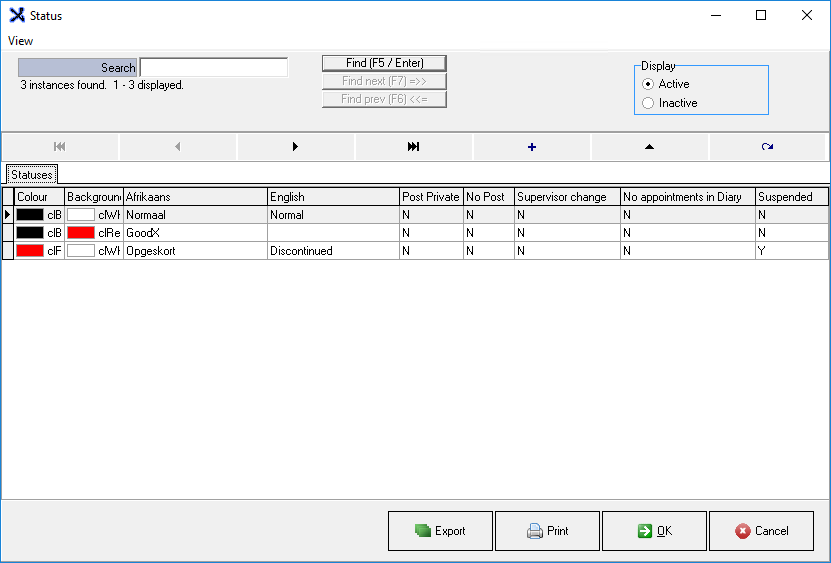
- The Status screen will open.

- An explanation will be given for each field and option available on the Status screen:
![]()
- Search: This function allows the user to search through the app. The user can search for functions, booking options, and even doctors via the search bar.
- Click on the Search field and type the name of the Status which the user is looking for.
Please Note: As the user types the list will shorten, based on the search criteria.
- Click on the Find (F5/Enter) button to start the search.
![]()
- Display: Allows the user to select the items which they would like to display on the list.

- Select an option by clicking on the relebant radio button.
- Active: Codes that are used by the Practice.
- Inactive: Codes that are either no longer used, relevant to the Practice or have been discontinued.
![]()
- The Skip to Start button will allow the user to go all the way to the start of the Status list.
![]()
- The Skip to End button will allow the user to go all the way to the end of the Status list.
![]()
- The Backward button takes the user down the list one space at n time.
![]()
- The Forward button takes the user up on the list one space at a time.
![]()
- Allows the user to create a new Debtor Status. Fpr more information regarding how to add a new Debtor Status, please refer to the user manual: Set up Debtors' Status
- Click on the Plus button to add a status.
![]()
- Edit: Allows the user to makechanges to an existing Debtor Status.
- Click on the Edit button to edit a status.
![]()
- Refresh: Allows the user to reload the Status screen.
- Click on the Refresh button to reload the screen.
Please Note: When multiple users are creating Debtor Status' simultaneously, the screen does not automatically refresh refreshing the Status screen will allow the user to refresh the list to see all other statuses that have been created by other users, without having to close and reopen the screen.
- Click on the Export button to Save the Status in a folder.
![]()
- Click on the Print button to print the Status list.
![]()
- Click on the OK button to save and return to the Status screen.
![]()
- Click on the Cancel button to return to the Debtor Manager screen.
![]()