Hospital Case List Sidebar: Navigation and Use
Why Use This Function:
The Hospital Case List sidebar is located on the right-hand side of the Hospital Case List Screen which has several options and information about the Patient admitted to the Hospital and is mainly used to navigate to the different screens quickly via the buttons, for example, a user is able to navigate to the Debtor Information-, Account Details- and the Invoice Details Screen.
The Contents of this User Manual:
- Actions
- Patient Information
- Case Edit
- Debtor Edit
- Patient File
- Case Account
- Clinical
- Invoice
- Receipt
- Notebook
- Add to Bed
- Discharge
- Active Case
- Discharged Case/Inactive Case
- Finalise/Re-open
- Print PDF
- Download PDF
- Case Management Report
- Email Case Management Report
- Case Statement
- Email Case Statement
- Bulk Actions
- This user manual will start on the Hospital Case List screen.
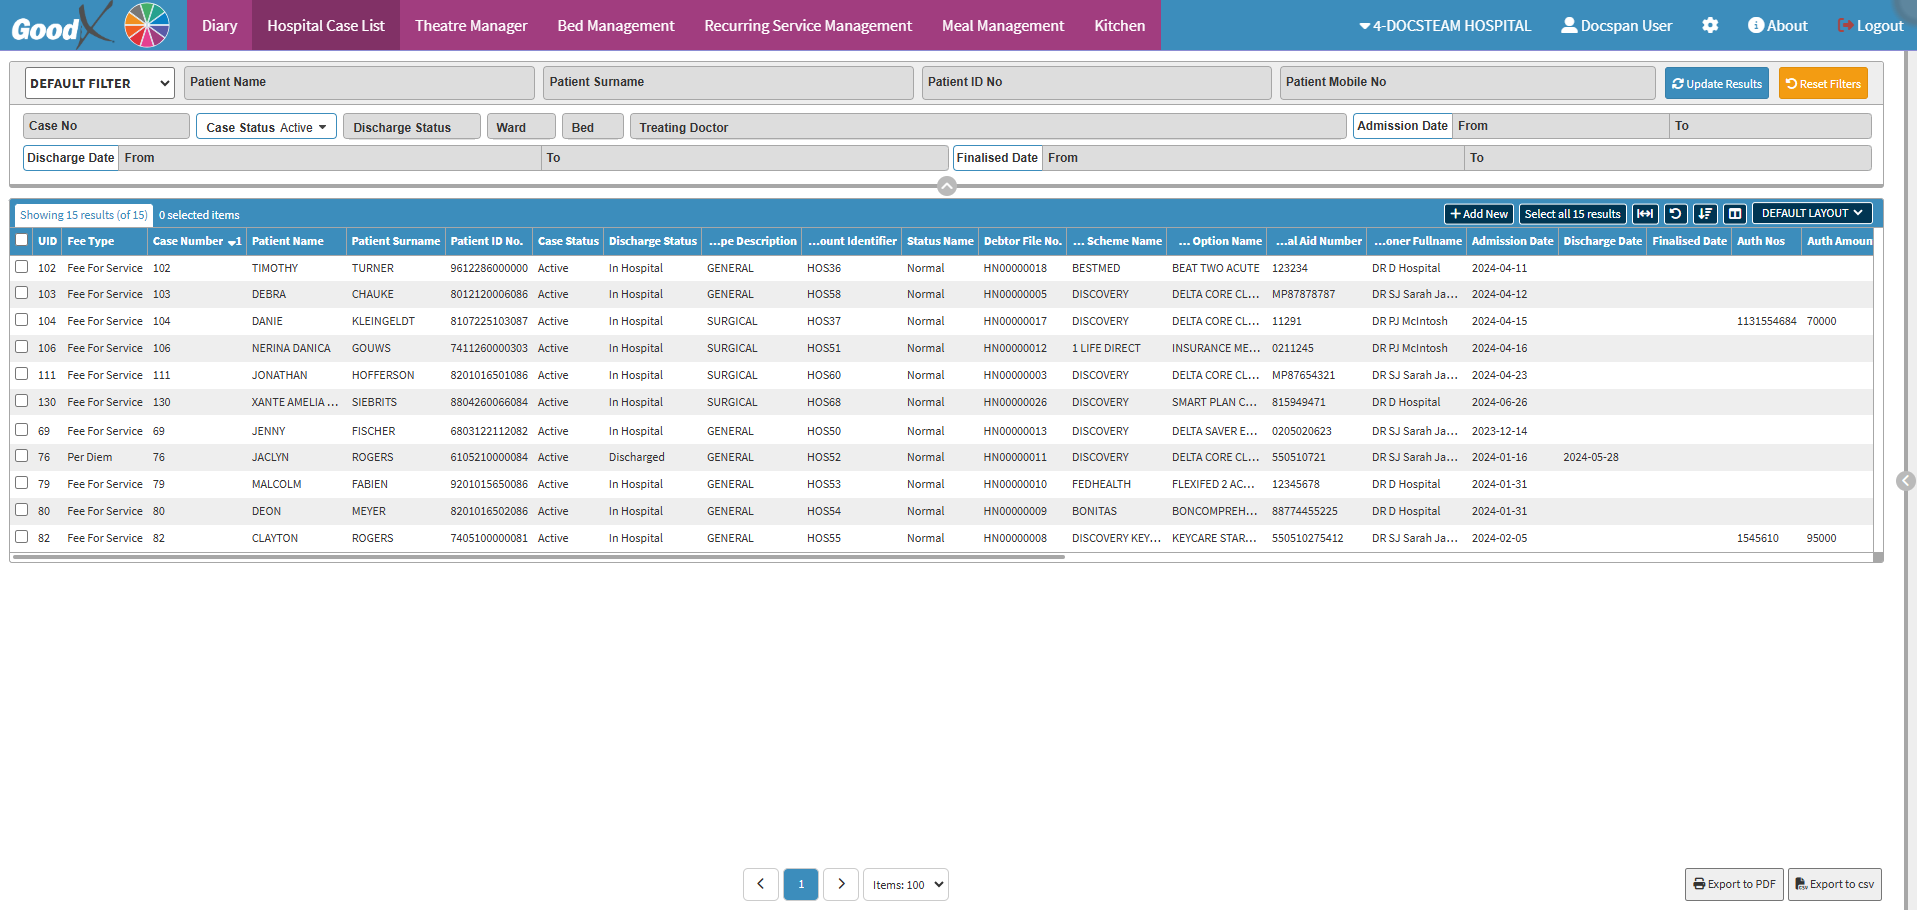
- Click on the desired Hospital case.
![]()
- Click on the Sidebar Expander to open the Hospital Case List sidebar.
- The Hospital Case List sidebar gives you access to more options on a specific Case.
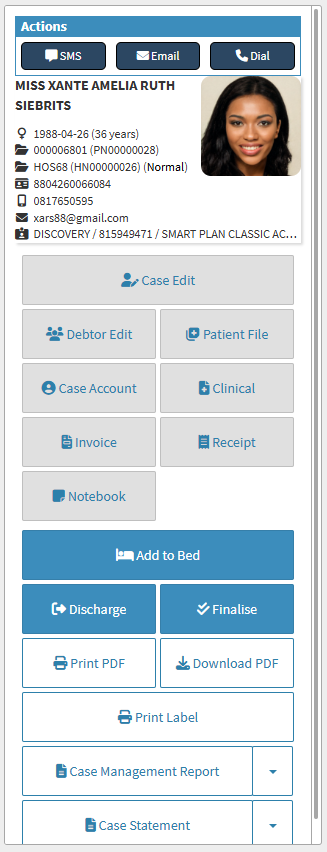
Actions
Options to communicate with the Patient.
- Click on the SMS button to send a text message to the Patient.
![]()
- For more information regarding how to Send an SMS, please refer to the user manual: Send an SMS.
- Click on the Email button to send an Email to the Patient.
![]()
- For more information regarding how to Send an Email, please refer to the user manual: Send an Email.
- Click on the Dial button to make a call to the Patient using VoIP.
![]()
- For more information regarding Making a VoIP call, please refer to the user manual: Making a VoIP Call.
💡Please Note: VoIP Calls are an extra service that comes at a separate fee. Once you are signed up for VoIP, it will first need to be configured in order to work. For more information regarding how to set up the VoIP Call configuration, please refer to the user manual: VoIP Settings: Navigation and Use.
Patient Information
The Demographic Information regarding the Patient linked to the Hospital Case.
- An explanation will be given for the information that appears in the Patient Details section:
- Patient Name (MISS XANTE AMELIA RUTH SIEBRITS): The Title, Full Name and Surname of the Patient.
- Sex/Date of Birth/Age (♀️ 1988-04-26 (36 years)): The Gender, Date that the Patient was born, as well as their current Age.
- Account Identifier/File Number (000006801 (PN00000028)): The Electronic File Number as well as the File Number of the Patient's hard copy file.
- Debtor Number/File Number/Status (HOS68 (HN00000026) (Normal)): The File Number of the Debtor, the Debtor's hard copy File Number as well as the Status of the Debtor account.
- ID Number (8804260066084): The Identification Number of the Patient.
- Cellphone Number (0817650595): The Cellphone Number where the Patient can be reached.
- Email Address (xars88@gmail.com): The Patient's Email Address.
- Medical Aid Details (DISCOVERY/815949471/SMART PLAN CLASSIC ACUTE): The Name, Membership Number and the Plan name of the Patient's Medical Aid.
Case Edit
Enables you to modify or update information regarding a particular Case.
- Click on the Case Edit button to add or update the details regarding the Patient's admission to the Hospital.

- For more information regarding how to make changes to a Hospital Case, please refer to the user manual: How to Edit a Hospital Case.
Debtor Edit
Allows you to make changes to the Debtor/Patient's information, as well as to view more information regarding the Patient.- Click on the Debtor Edit button to make changes to the Debtor/Patient's Demographic Information.

- For more information regarding how to Edit/View Debtor/Patient Details, please refer to the user manual: View or Update Debtor and Patient Information.
Patient File
Gives you access to information about a Patient's past Clinical Data such as Scripts, Sick Notes, Investigation forms, etc. The information can inform the Practitioner of potential health problems that the Patient may be at risk for and give the Practitioner insight into the Patient's condition.
- Click on the Patient File button to access the previous Clinical Data of the Patient.

- For more information regarding the Patient File, please refer to the user manual: Patient File Screen: Navigation and Use.
Case Account
Gives you access to all the Account details of the specific Hospital Case.- Click on the Case Account button to access the Account Information of the Case.

- For more information regarding the Case Account Details screen, please refer to the user manual: Navigating and Understanding the Case Account Details Screen.
Clinical
Gives you access to all the Clinical forms where the symptoms, signs, diagnosis, treatment, and follow-up of a Patient can be captured. You are also able to access the Patient's Medical and Clinical History.- Click on the Clinical button to access the Clinical Case screen.

- For more information regarding how the Clinical screen works, please refer to the user manual: Clinical Screen: Navigation and Use.
Invoice
Allows you to capture an Invoice on the specific Case.- Click on the Invoice button to access the Invoice Details screen, where the Invoice can be captured.

- For more information regarding how to create and capture Invoices, please refer to the user manual: The Hospital Invoice Screen: Navigation and Use.
Receipt
Allows you to capture a payment made towards the Hospital Case account.- Click on the Receipt button to capture a Receipt.

- For more information regarding how to capture Receipts, please refer to the user manual: The Receipt Screen.
Notebook
Records of account-related data, communication, and crucial details within a Debtor's electronic file. It also captures records of SMS and Email communications with Debtors. This function is exclusively for staff members and should not be used for Clinical Notes or other personal and sensitive information.
- Click on the Notebook button to access the Patient's Notebook.

- For more information regarding how the Notebook works, please refer to the user manual: Case Screen - Notebook Tab.
Add to Bed
Allows you to add the Patient to a Hospital Bed.
- Click on the Add to Bed button to transfer the Patient to a Bed.

- For more information regarding how to Add a Patient to a Bed, please refer to the user manual: Transferring a Patient to a New Ward/Bed.
Discharge
When the Patient is ready to be released from a Hospital, Sub-Acute, or Rehab facility and is able to go home or be transferred to a suitable facility for further treatment, they need to be Discharged.💡Please Note: There is a difference on the sidebar between when the Case is Active and Discharged/Inactive.
Active Case
- Click on the Discharge button to Discharge the Patient from the Hospital.

- For more information regarding how to Discharge a Patient please refer to the user manual: How to Discharge a Patient.
Discharged Case/Inactive Case
When a Patient has already been Discharged the button will change to a Readmit button on the sidebar.
- Click on the Readmit button to Admit the Patient back to the Hospital.

Finalise/Re-open
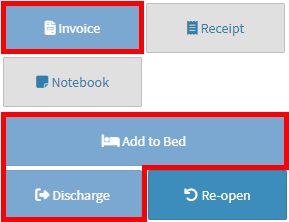
Once the Patient has been discharged and all billing has been done, the Case will be completed. If any changes need to be made, you will need to Re-open the Case.- Click on the Finalise button to complete the Hospital Case.

- Once the Case has been Finalised the button will change to Re-open and you will be able to Re-open the Case.
- Click on the Re-open button to Re-open the Case.

💡Please Note: When a Case has been Finalised, you will no longer be able to capture an Invoice for the Case or Add the Patient to a Bed as the buttons will be greyed out and these functions will no longer be available to use.
Print PDF
Opens the Case in a PDF format so that it can be printed.- Click on the Print PDF button to Print the details of the desired Case to a PDF document.

Download PDF
Saves a copy of the Case to your computer as a PDF for later use.- Click on the Download PDF button to save a copy of the specific Case to your device.

Print Label
Prints Patient Labels that can be put on the Patient's hard copy file, the Theatre and Billing charge sheet, and on the Clinical Notes of the Patient etc.- Click on the Print Label button to Print Labels for the Patient.

Case Management Report
Gives you a comprehensive overview of a Patient's medical Case and the Management of their stay in the Hospital.- Click on the Case Management Report button to view the Case Management Report.

- For more information the Case Management Report, please refer to the user manual: Case Management Report (Clinical).
Email Case Management Report
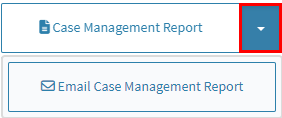
Allows you to Email the Case Report to the desired recipients.- Click on the Case Management Report drop-down menu and Click on the Email Case Management Report button.
Case Statement
Gives an overview of all captured transactions for this specific Case.- Click on the Case Statement button to view the Statement of the Case.

Email Case Statement
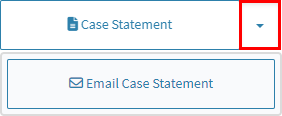
Allows you to Email the Case Statement to the desired recipients.- Click on the Case Statement drop-down menu and Click on the Email Case Statement button.
Bulk Actions
You are able to send the same SMS and Email to multiple Patients on the Case List.
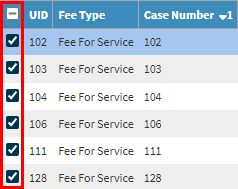
- Tick the corresponding Checkbox to select the desired Patients on the Hospital Case List screen, for whom you would like to send the same Correspondence.
- Click on the SMS button to send the same Text Message to the selected Patients.
![]()
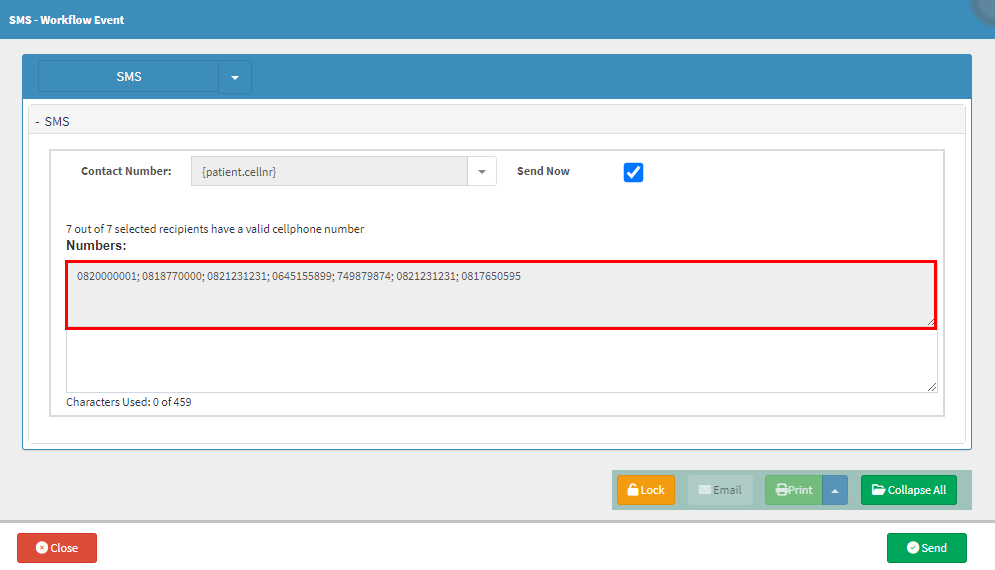
- For more information regarding how to SMS Patients, please refer to the user manual: Send an SMS.
- Click on the Email button to send the same Email to the selected Patients.
![]()
- For more information regarding how to Email Patients, please refer to the user manual: Send an Email.
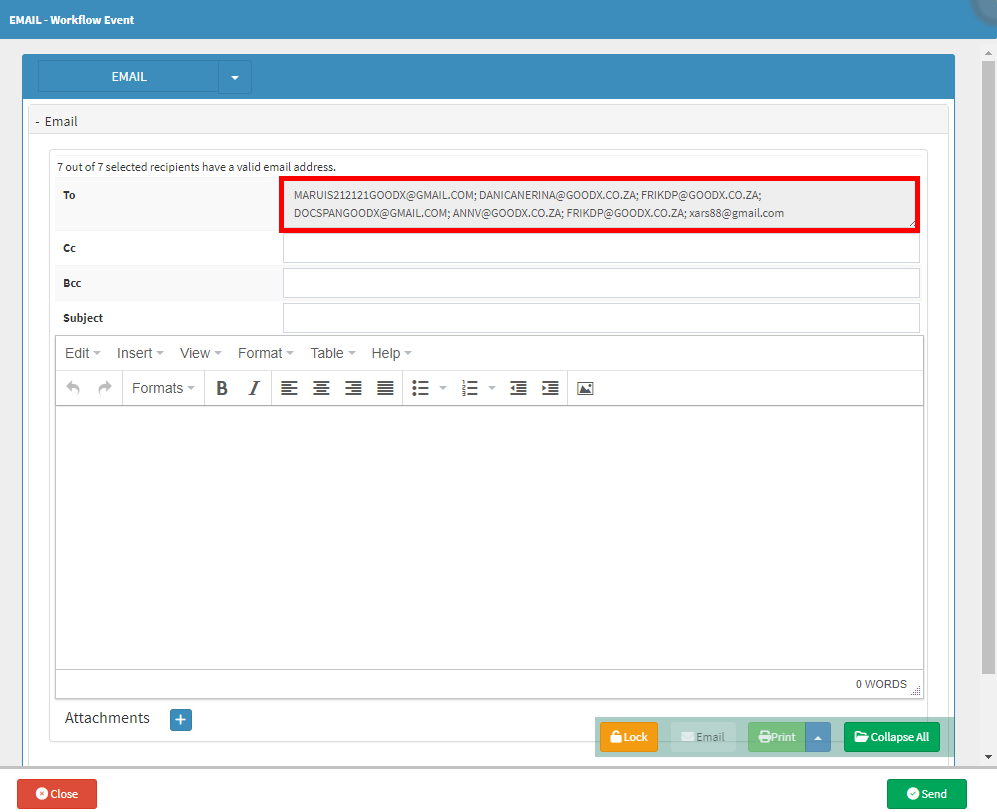
💡Please Note: All the Email Addresses of the selected Patients will be lined up on the EMAIL - Workflow Event.
- Click on the Dial button to create a Call Event for each of the selected Patients.
![]()