Print PDF: Select Columns for Printing
Selecting Columns enables a User to customise which Columns of a Report are to be added to a PDF Document.
- This user manual will start on the Reports screen.
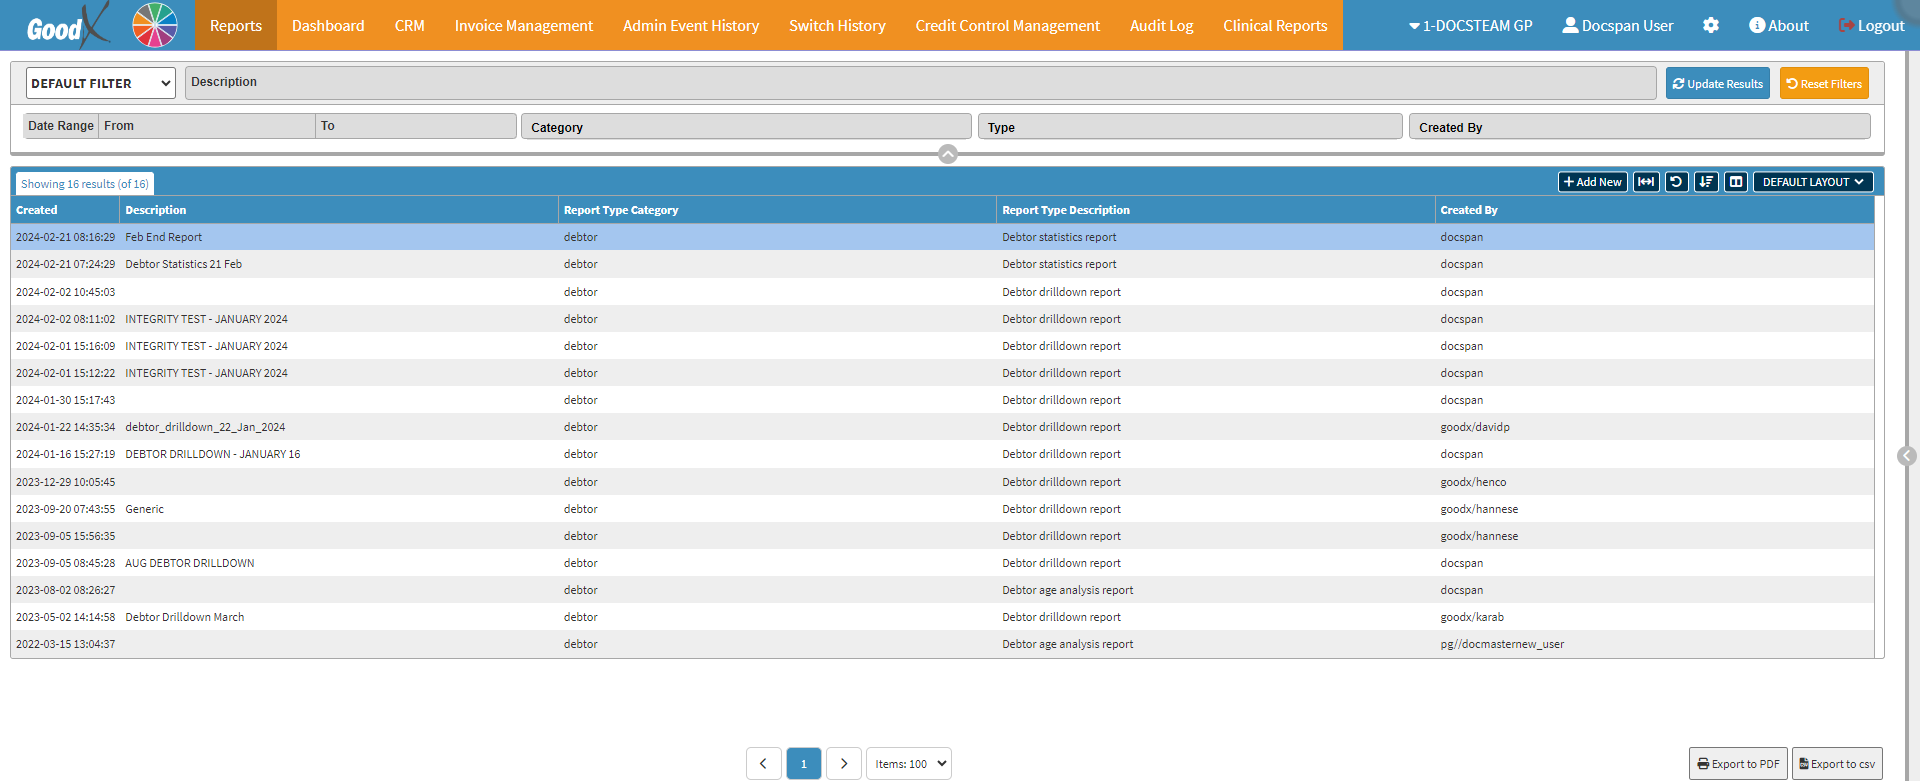
- Double-Click on the desired Report.
![]()
- The Report Profile screen will open.
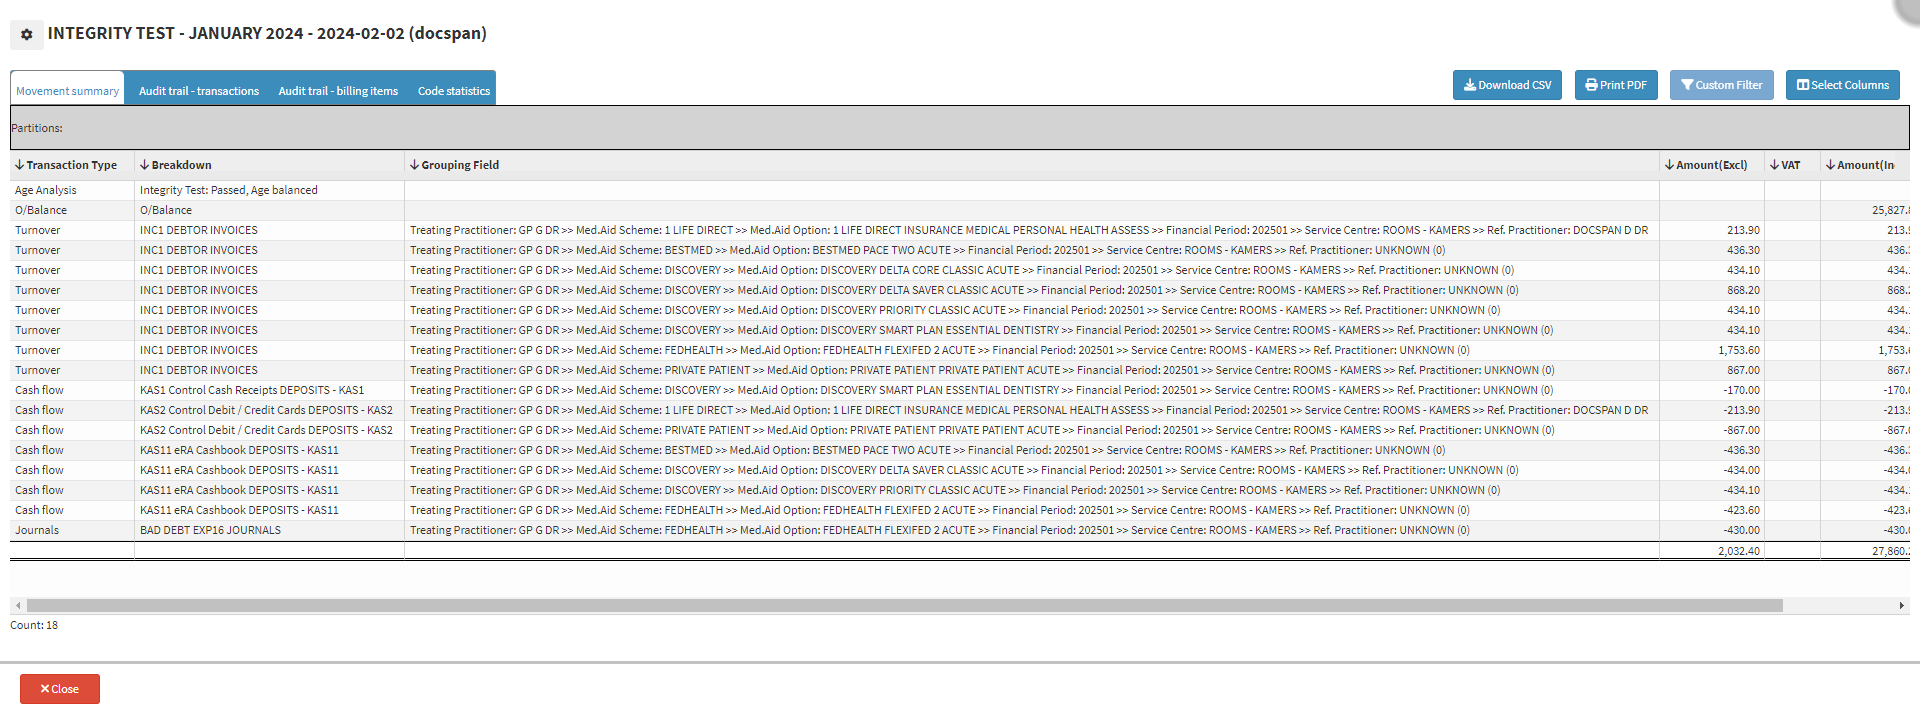
- Click on the Print PDF button in the top-right corner of the screen.
![]()
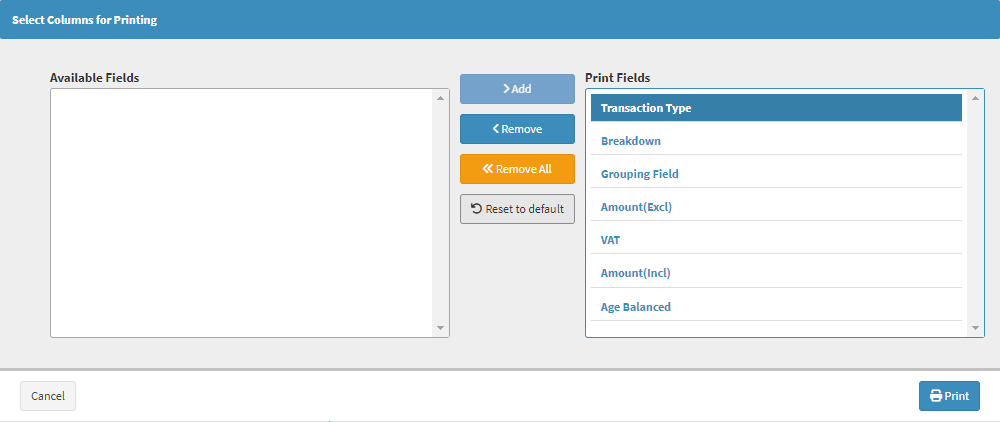
- The Select Columns for Printing screen will open.
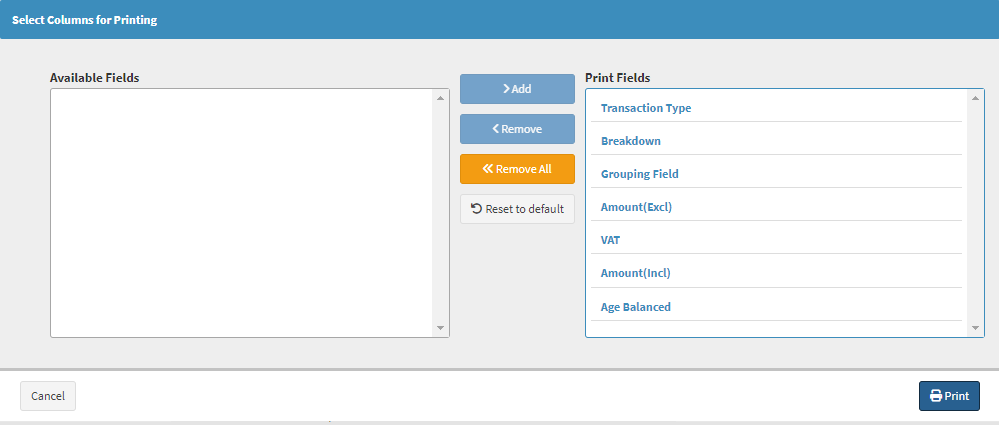
Please Note: All the Columns will by default display in the Print Fields section.
- Click on the Remove All button to Remove All Columns from the Print Field section.
![]()
- All Columns will move to the Available Fields section.
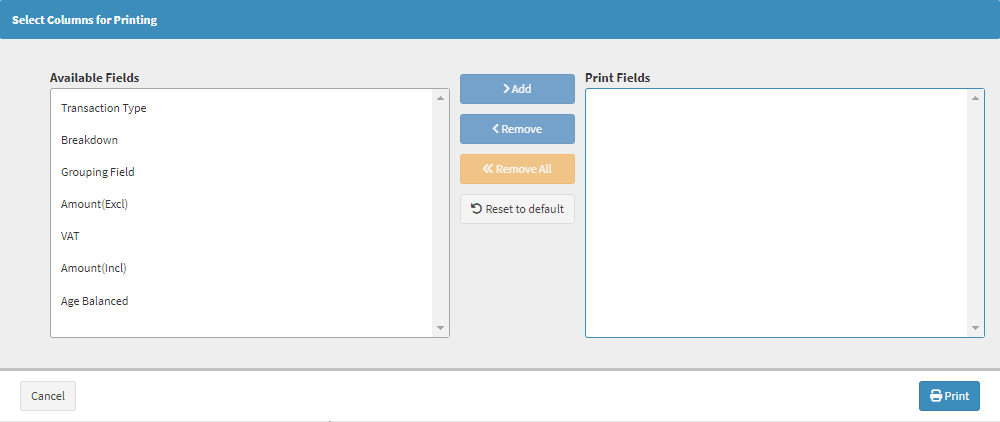
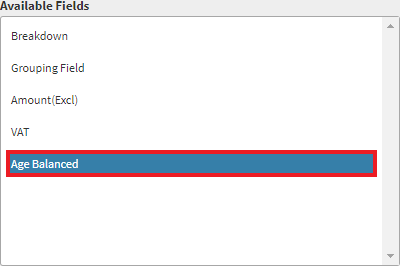
- Click on the desired field of the Column that you would like to see on the Report PDF.

- Click on the Add button to Add the selected field to the Print Fields section.
![]()
- The Selected Column will move to the Print Fields section.
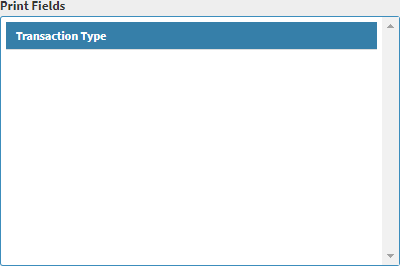
- Click on the desired Column that you want to remove from the Print Fields section.
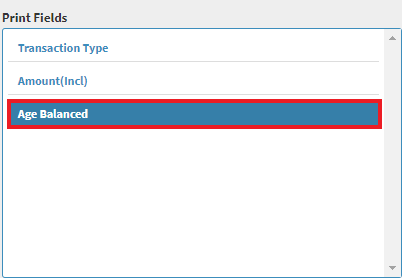
- Click on the Remove button to Remove the selected field from the Print Fields section.
![]()
- The Selected Column will move to the Available Fields section.
- Click on the Reset to Default button.
![]()
- All the Changes that where made will be Reset to Default.
- Click on the Print button.

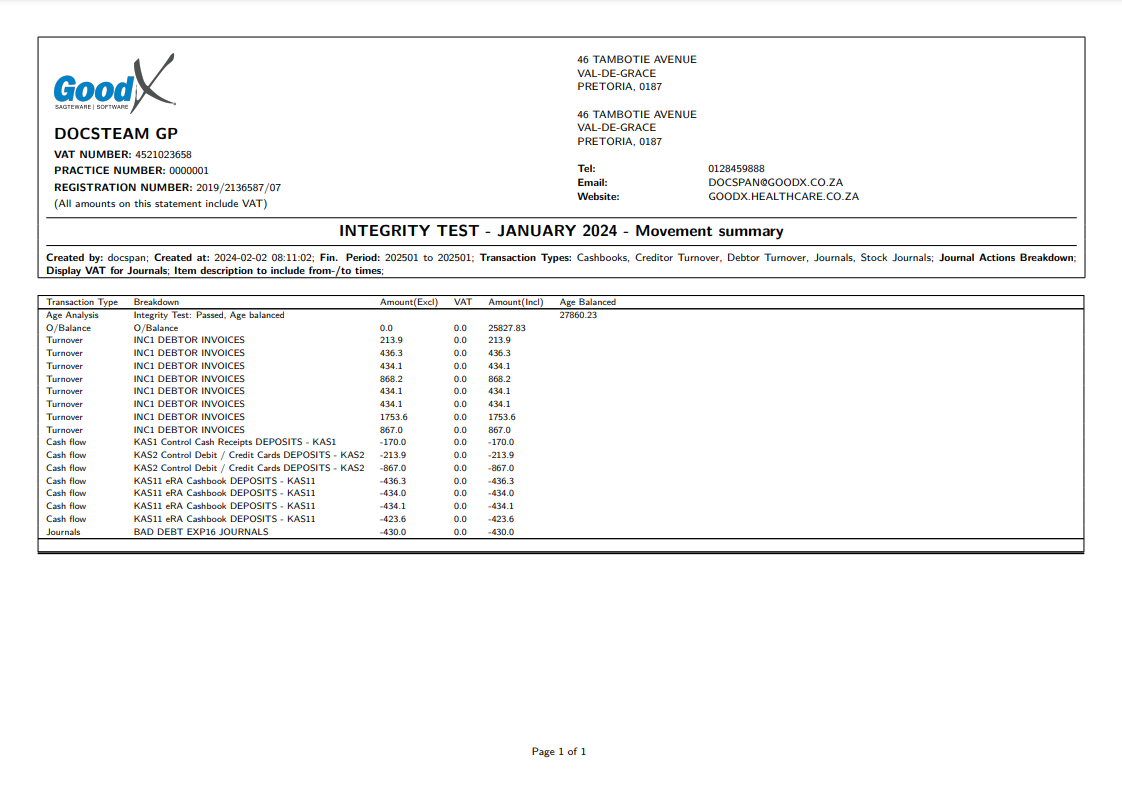
- The chosen Report will be downloaded, in a PDF format, with all chosen Columns included.
Last modified: Monday, 25 March 2024, 9:58 AM