The doctor on call needs to capture certain information when a patient is handed over at the start of a new shift. The information needs to be captured in the Patient Handover section when the Patient Handover box is ticked.
Please Note: Refer to the Disposal Overview Manual for more information on How to access the Disposal section in the EMR Form. Click on the link or related button at the beginning of this Manual to open the Disposal Overview Manual.
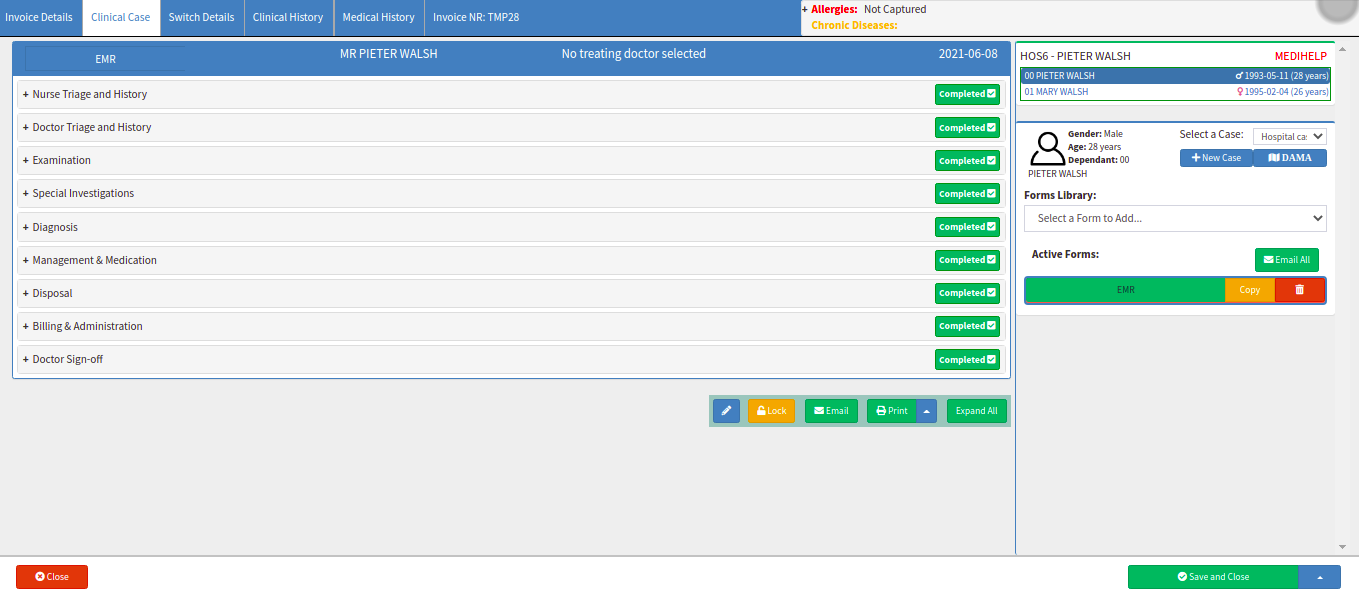
Click on the Disposal panel to expand it.
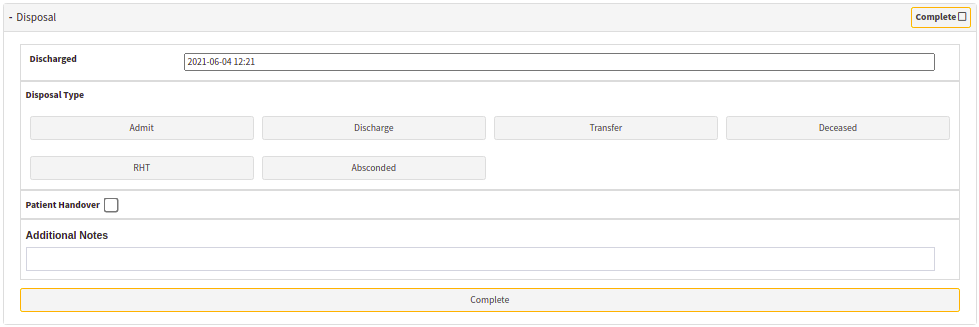
The Disposal screen will open when the panel is expanded.
The Doctor will complete what happened to the Patient while they were in the ER. Were they admitted to the Hospital, Discharged, Transferred to another facility or Died. Under every option is a section that needs to be completed.
Patient Handover
The doctor on call needs to capture certain information when a patient is handed over at the start of a new shift. The information needs to be captured in the Patient Handover section when the Patient Handover box is ticked.
Tick the Patient Handover checkbox.
The Patient Handover screen will open.
The following Information needs to be completed in the Patient Handover section:
The Date and Time of the Handover - the date and time will default to the current date and time on the system automatically but can be edited by the user.
The Handover To field is the details of the doctor that will continue with the treatment of the patient - this field is a searchable input field allowing the user to search for a treating doctor from the Treating Doctor List in GoodX. You can search by Title and Surname and select the Dr from the list.
The Notes field is for Notes made by the doctor handing over the patient are a free text area where the user can type a handover note. They can include any notes and important detail regarding the patient prognosis and treatment up to the point of handover.
The Complete tab/s will turn green to indicate the section/s is completed.
Click on the Close button to exit the EMR screen without saving.
Click on Save and Close to save the form or the changes made.
Clickon the Save and Close drop-up arrow for more options:
Save: Click on the Save button to save the information captured on the Form.
Save Lines to New Macro:Click on the Save Lines To New Macro button to save the lines captured as a Macro.