Triage Configuration: Booking Types
Why Use This Function:
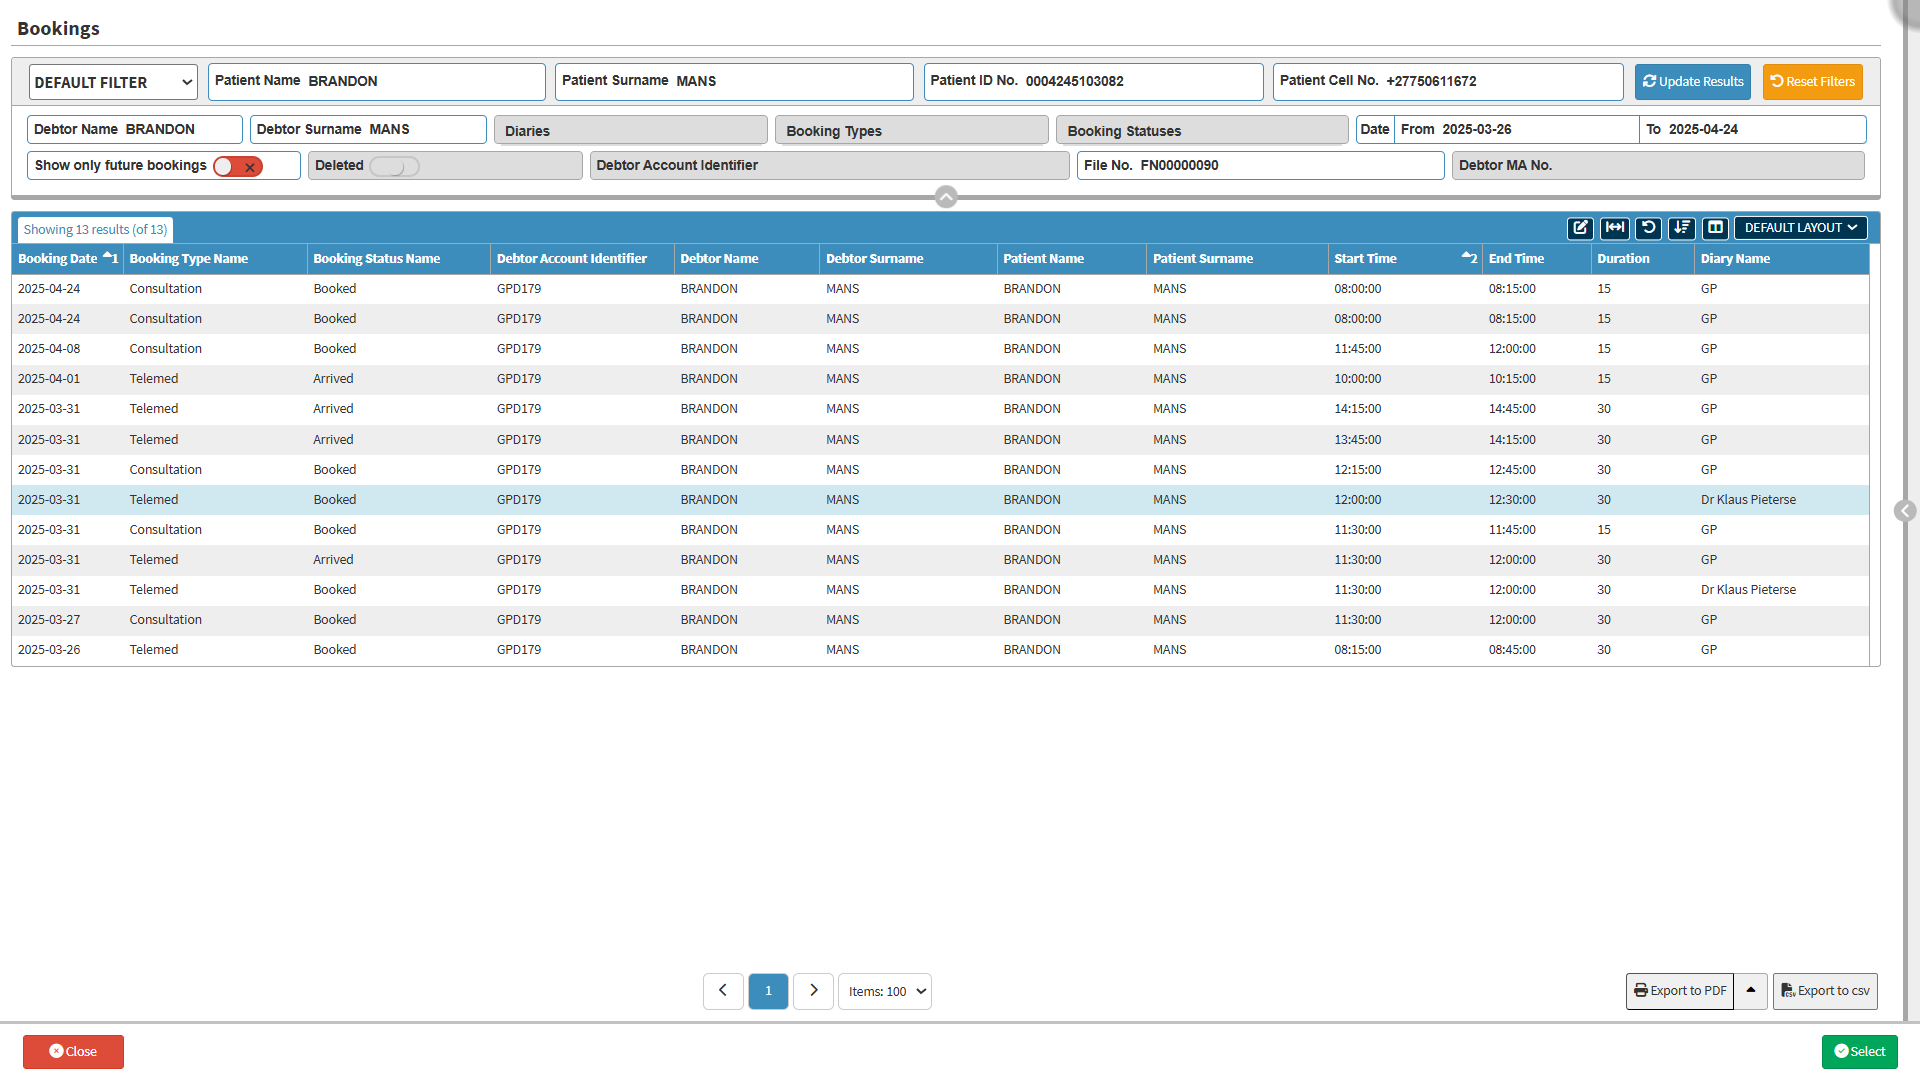
Having the ability to search for a Debtor’s booking provides a quick and efficient way to navigate across all available diaries. This powerful feature allows you to effortlessly locate bookings linked to a specific Debtor, saving time and reducing the need to manually browse through individual schedules. Whether you're reviewing appointments or making updates, the search function streamlines the process, making it faster and more intuitive to find and edit a Debtor's or Patient’s booking.
The Contents of This User Manual:
- Filters
- Page Options
- Export
- This user manual will start on the Diary screen.

- Click on the Search for Debtor Bookings button.

- The Bookings screen will open.
Filters
Filters can be applied to narrow down the data and achieve more accurate and relevant results.

- Select Context Filter from the drop-down menu.

- Context Filter: Gives extra filter options to refine the information on the list.
- Default Filter: Predetermined filters that will always be available to search with.
- Complete the Patient's Name in the Name field.

- Complete the Patient's Surname in the Surname field.

- Complete the Patient's ID No or Passport number in the ID No. field.

- Complete the Patient's Cell No. in the Cell No. field.

- Complete the Debtor's Name in the Debtor Name field.

- Complete the Debtor's Surname in the Debtor's Surname field.

- Click on the Diaries drop-down menu and select the appropriate option.

- Click on the Booking Types drop-down menu and select the appropriate option.

- Click on the Booking Statuses drop-down menu and select the appropriate option.

-
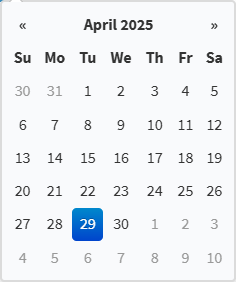
Click on the Date From field, which opens the Date Picker.

- Select a date from the date picker.

-
Click on the Date To field, which opens the Date Picker.

- Select a date from the date picker.

- Click on the Show Only Future Bookings slider to show all future and past bookings.

- Click on the Show Only Future Bookings slider a second time to include only future bookings.

- Click on the Deleted slider to exclude or include deleted bookings.

- Click once to view Bookings that have not been deleted.

- Click a second time to view the Bookings that have been deleted.

- Click on the Debtor Account Identifier field and enter the Debtor Account Identifier.

- Click on the File No. field and enter the Patient File Number.

- Click on the Debtor MA No. field and enter the Debtor Medical Aid Number.

- Click on the Update Results button after all filters have been set.

- The Bookings screen will display the chosen filters applied.

- Click on the Reset Filters button to empty all filter columns.
Last modified: Tuesday, 27 May 2025, 10:06 AM