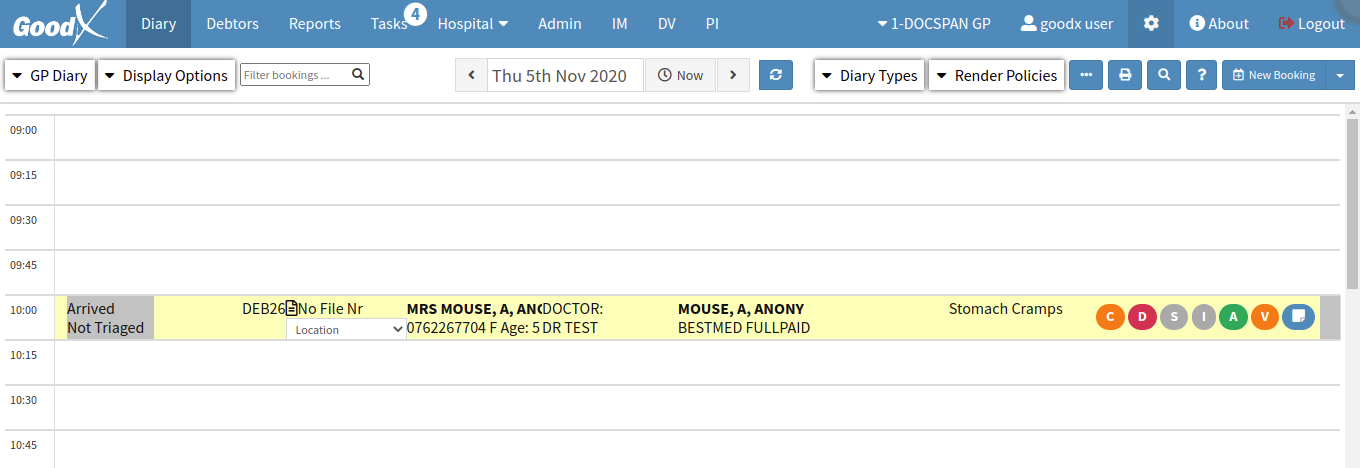
Triage Configuration: Booking Status
Setting up Booking Status' for a Triage Unit saves time and allows for total customization in the triage unit in order to assist with patient flow in the unit and allows for the unit to determine in which order the patients should be treated.
A triage unit typically has different ways of determining Booking Status':
- New Patient: A patient who has come into the emergency room, whose details have never been captured on the system.
- Triaged: The patient has been assessed by means of injury, check of vitals etc and placed in a specific triage state.
- Triaged: The patient has been assessed by means of injury, check of vitals etc and placed in a specific triage state.
- In Treatment: The patient is currently being treated.
- Treatment Complete: The patient has been treated and can be discharged.
- Done: The patient has left the emergency room.
- The contents of this User Manual will consist of the following information:
- Set up
- Add New Status
- Delete
- Re-Enable
- Outstanding Threshold
- Log in to the GoodX WebApp using your GoodX username and password.
- The Diary screen will open.
Set Up
- From the main Diary screen click on the Settings button on the Navigation bar indicated by a gear wheel.

- The Settings screen will open.
- Click on the Diary Settings tab.

- The Diary Settings will open.
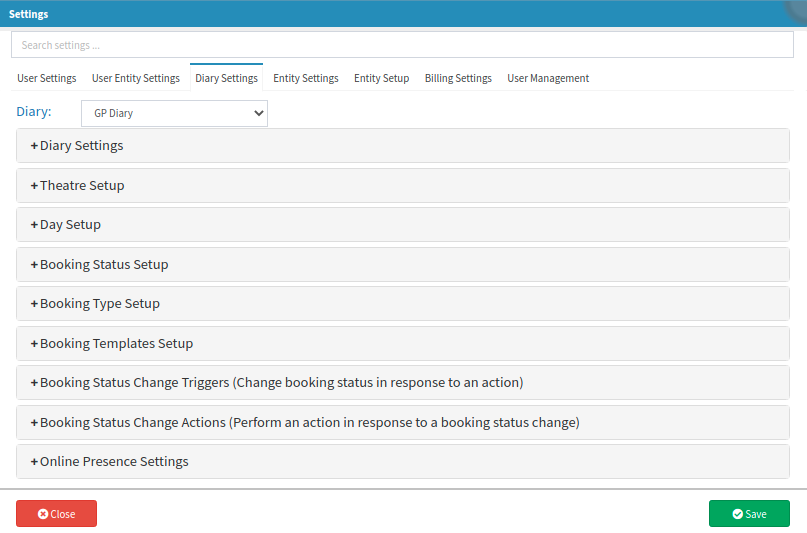
- Select the Diary on which the set up would like to be done, from the Diary drop-down menu. Diary settings are set per diary to customize the program to the specific needs of the user.

- Click on the Booking Status Setup panel to expand the settings.

- The Booking Status Setup panel will expand and the setup of the booking status' can be changed to suit the needs of the practice.
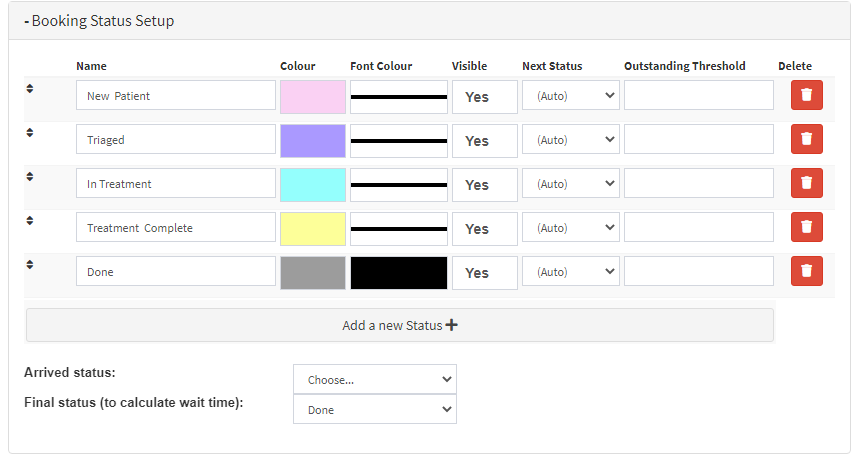
- For an explanation of what each column is for please refer to the user manual: Booking Status Setup.
Add New Status
- Add a new status by clicking on the Add a new Status + button.
- Capture the details of the New Booking Status and choose the preferred options per line.
![]()
Delete a booking status
- Click on the Red Delete button, which is indicated by a trashcan to delete a booking status line.

- An Attention pop up will appear with a confirmation message to make sure that the status should be deleted (disable) the status.
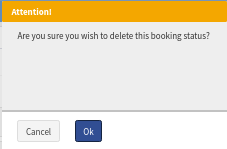
- Click on Cancel to close without saving the changes.
- Click on OK to confirm to delete the booking.
- The status will only be disabled and NOT deleted permanently.
Re-enable a booking status
- Click on the Green re-enable button, to re-enable a booking status line, after it was deleted.

- An Attention pop up will appear with a confirmation message to make sure that the booking status should be re-enabled (activated).
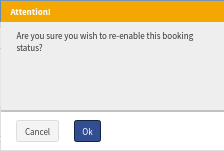
- Click on Cancel to close without saving.
- Click on OK to confirm that the booking status will be re-enabled.
- Click on Close to exit the Settings screen without saving.
![]()
- Click on Save to save the new Settings.
![]()
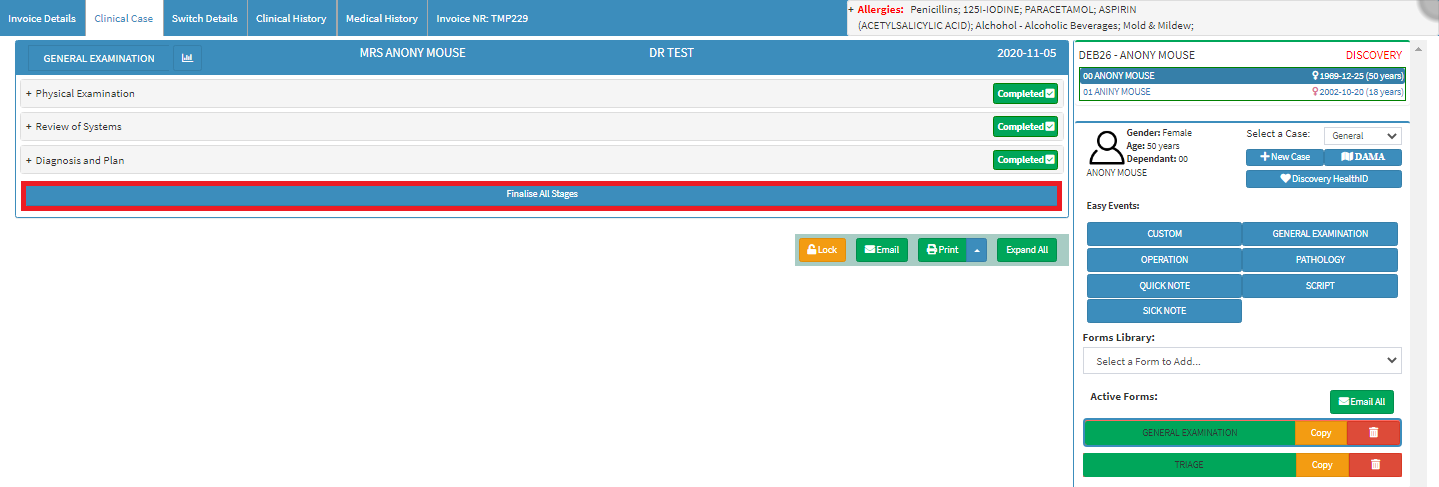
- To see the way the bookings statuses will advance please refer to the user manual: Advancing the Status of a Booking

- The booking status will automatically change to Done and the booking will be greyed out.

- To change the status, if the booking status was accidentally advanced, please refer to the user manual: Un-arrive Patient
Outstanding Threshold
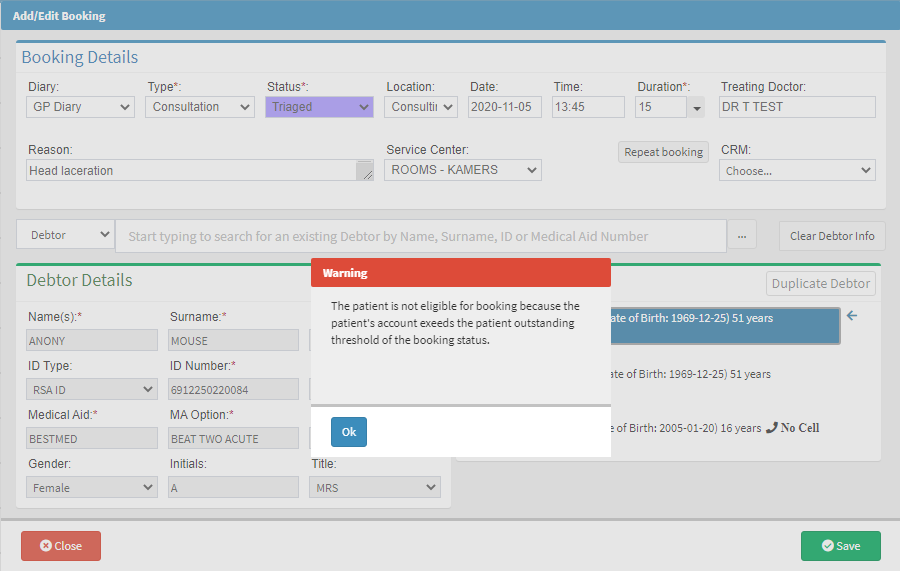
A new feature has been added that advises that the patient is not eligible for booking because the patient's account exceeds the patient outstanding threshold of the booking status.
- Capture an amount in the Outstanding threshold field in the corresponding line of the desired booking status.

- When making a booking from the diary, the system won't allow the patient to be booked if their account exceeds the amount that was set up in Booking Status Setup.
- A Warning message will pop up to advise: The patient is not eligible for booking because the patient's account exceeds the patient outstanding threshold of the booking status.
 .
.
- The patient will need to make a payment before they will be assisted further.
Last modified: Wednesday, 5 May 2021, 11:36 AM
