EMR Form: Examination
The purpose of the EMR Form is to provide decision support to healthcare professionals with respect to the rendering of healthcare services to an individual patient and accommodate data exchange in the Emergency Room.
In the Physical / Medical Examination, the Doctor examines the Patient for any possible signs or symptoms of a Medical condition or accident. In the Examination section, the Doctor can add images related to the illness or injury of the Patient or mark the sketches provided after examining the Patient.
- The contents of this User Manual will consist of the following information:
- Examination Screen Explained
- Vitals
- Add Image
- Add Document
- Examination Sketches
- Log in to the GoodX WebApp using your GoodX username and password.
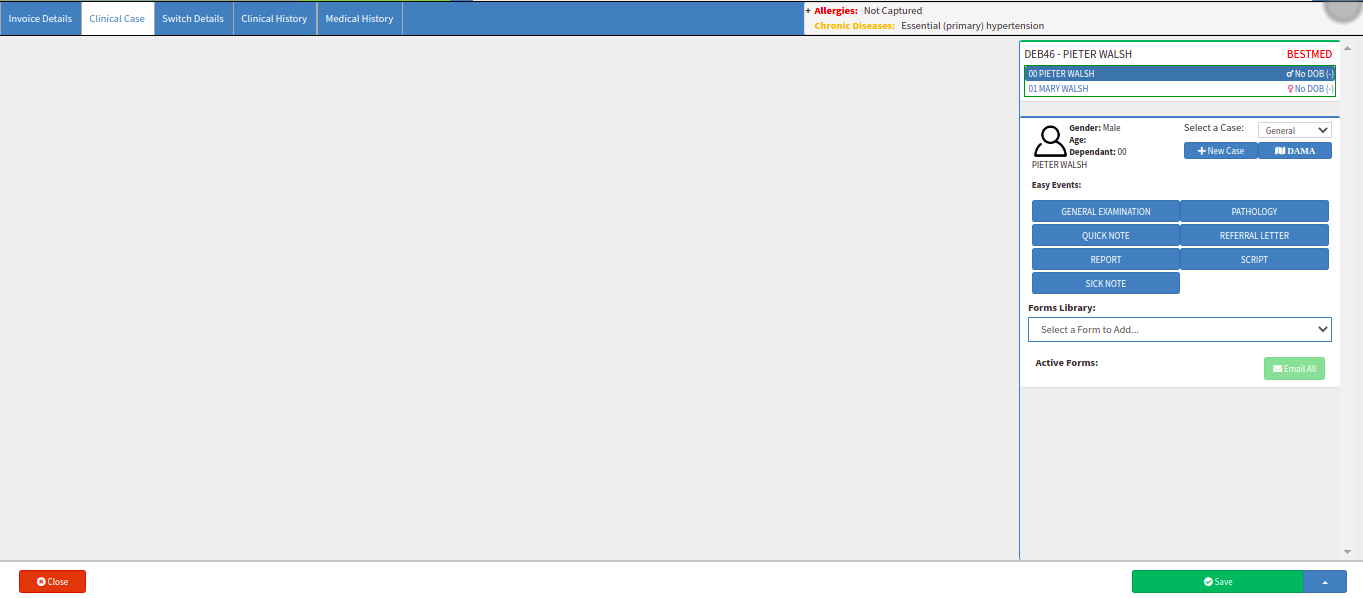
- From the Diary main screen, click on the correct Patient booking.

- The Sidebar will open on the right-hand side of the screen.

- Click on the Clinical button.
![]()
- The Clinical Case screen will open.

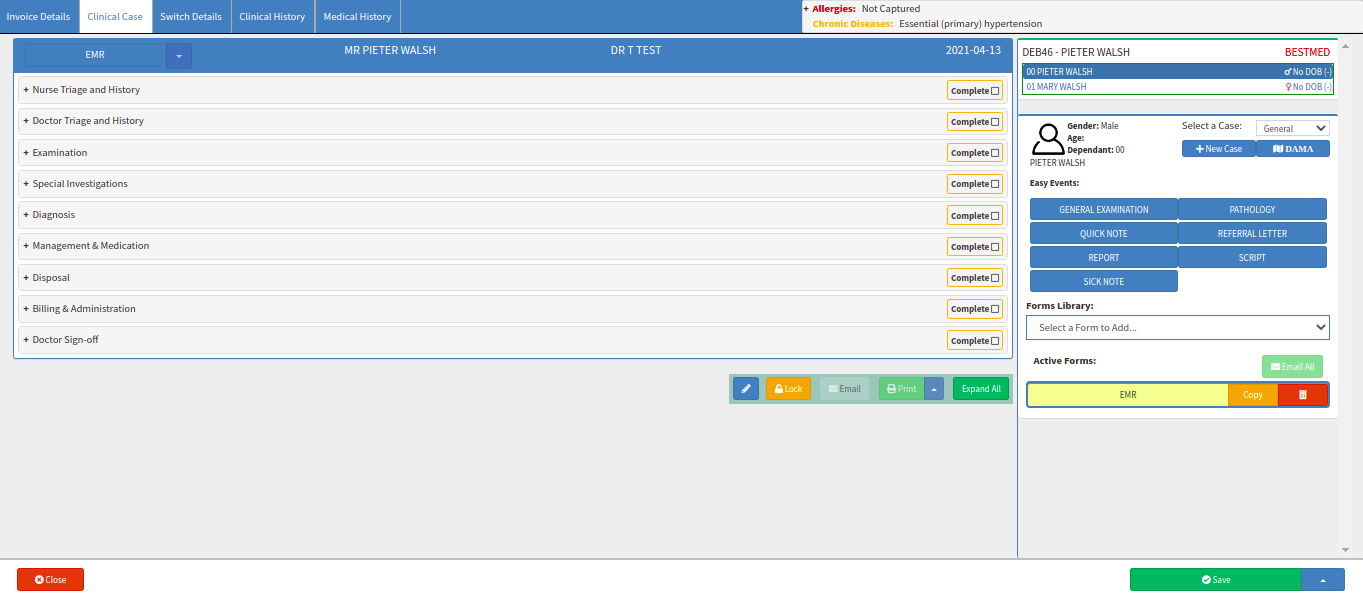
- From the Forms Library drop-down, select the EMR form to complete.

- The EMR Form screen will open.

- Click on the Examination panel to expand it.
- The Examination screen will open when the panel is expanded.
Examination Screen Explained
- The following information will be completed in the Examination section of the EMR Form:
- Clinical Associate: The Clinical Associate field will only display information if the user is set up as a Clinical Associate. Clinical Associates are mid-level healthcare professionals who have the knowledge and skills to assist medical team members in improving patient care under the supervision of a doctor.
- General Examination: The following information can be completed to indicate if the J.A.C.C.O.L.D results are All Normal for the Patient. The Doctor can click on one or more of the following illnesses to indicate if the Patient has it or not. The Doctor can indicate by ticking the box next to the N/A, Yes, No, Normal or Abnormal box if any of the following options apply to the Patient:
- Clubbing / Anaemia / Jaundice / Cyanosis / Oedema / Dehydration / Lymphadenopathy / Colour.
- If the user selects Yes or No next to one of the conditions, a Note field will open where the user can complete a Note regarding the Patient and that specific condition.
- Click in the Note field. The Doctor can do any Note here regarding the General Examination options after Examining the Patient.
In the Vitals subsection, the Doctor can capture details such as the Patient's Heart Rate, Blood Pressure, and Temperature.
- Click on the (+) Vitals button to add the Vital Measurements of the Patient.
- The Vitals sub-panel will open.
- Click on the red Delete Entry button to remove / delete the specific Vitals entry for the Patient.
Primary Survey
The Primary Survey is a fast way to determine how to treat any life-threatening conditions that a patient may be suffering from in order of Priority.
- Click on the Primary Survey button to open the Primary Survey section for the Doctor to complete.
Please Note: Refer to the Primary Survey link or related button to open the Manual for an extensive explanation of the Primary Survey section.
Focused
A Focused Examination is a thorough examination of a specific body system that is related to the problem or current concerns. After a change or new symptom occurs, a focused assessment collects important information about the patient's current condition.
- Click on the Focused button to open the Focused section for the Doctor to complete.
Please Note: Refer to the Focused link or related button to open the Manual for an extensive explanation of the Focused section.
Systemic
An examination of the Patient's past medical history is part of the Systemic Examination. The reason for their visit to the emergency room and / or the problems the Patient are currently experiencing, as well as the findings of the physical examination.
- Click on the Systemic button to open the Systemic section for the Doctor to complete.
Please Note: Refer to the Systemic link or related button to open the Manual for an extensive explanation of the Systemic section.
Add Image
- Click on the (+) Add Image button. The user can upload any Images regarding the Patients Examination.
- The Video Capture screen will open. The user can upload the Image from this screen.
Please Note: Refer to the How to Upload an Image / Photo and Use Phone as Clinical Camera Manual for more information on How to add images.

Add Document
- Click on the (+) Document button to upload any documents related to the Patient Examination.
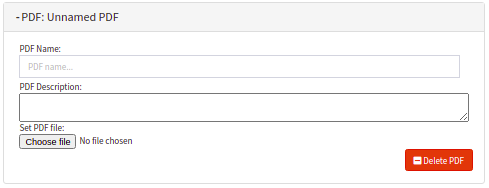
- The PDF: Unnamed PDF screen will open. The user can upload any PDF documents related to the Patients Examination from here.

- PDF Name: The Name of the PDF Document that you are uploading to the Examination section.
- PDF Description: The user can capture any description for the PDF, for example, what the PDF document is for or about.
- Set PDF File: The user can upload the applicable PDF file under the Set PDF file.
- Click on the Choose file button to select the PDF document from your computer and upload it to the Examination section.
![]()
Please Note: The document that the user wants to upload, must be searched on your Computer in the folder it is saved in and selected from that folder to upload into the EMR Form.
- Click on the (-) Delete PDF button to remove and delete the uploaded PDF Document.
![]()
Examination Sketches
The Doctor can indicate on the Sketches of the Human body what injuries / illnesses the Patient has. This is where the Doctor can draw and indicate more detail about the Patient's issues that are specified in terms of the different systems in the Human Body.
- Click on the Examination Sketch to open the Sketch.
- The Video Capture screen will open.
Please Note: Refer to the How to Upload an Image / Photo link or related button to open the Manual for more information on the different options on the Video Capture screen.
- Click on the Edit button to make Notes and indications on the Examination Sketch.
- The Examination Sketch will now be Editable. The Doctor can use the different drawing options under the Image header to draw or make Notes on the Sketch that apply to the Patient injury or illness.
- Click on the Close button to exit the Examination Sketch without saving the Sketch.
- Click on the Save button to save the Examination Sketch and the Notes the Doctor made.
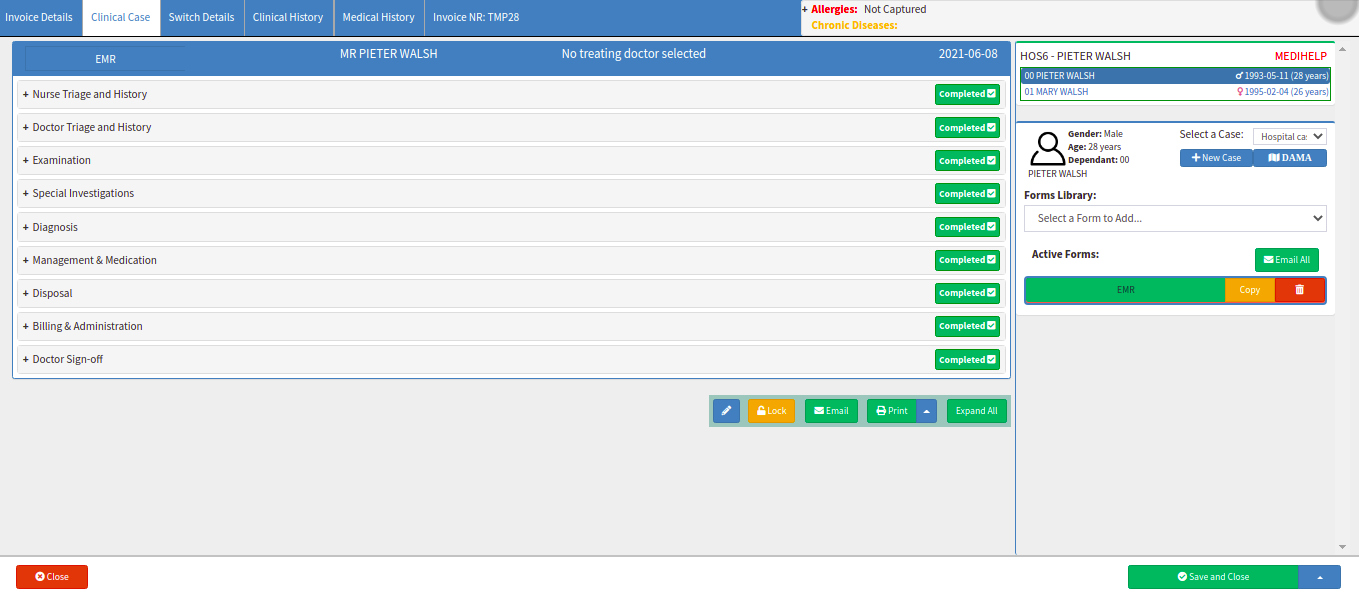
- Click on the Complete tick box when you've selected and completed a Disposal type.

- The Complete tab/s will turn green to indicate the section/s is completed.

- Click on the Close button to exit the EMR screen without saving.
- Click on the Save and Close drop-up arrow for more options:

- Save: Click on the Save button to save the information captured on the Form.
- Save Lines to New Macro: Click on the Save Lines To New Macro button to save the lines captured as a Macro.
- Click on Save and Close to save the form or the changes made.
![]()