How to Manually do an ERA
Why Use This Function:
Manually processing an Electronic Remittance Advice (ERA) is necessary when automatic upload is not possible because it ensures payment details are accurately entered into the system. The manual process helps to update Debtor accounts with the correct payment information, which is crucial for proper account management. By doing so, the risk of billing errors is minimised, ensuring financial records are consistent and outstanding balances are accurately reflected. Attention to detail ultimately supports smoother financial operations and improves the overall efficiency of the billing process.- This user manual will start on the ERA Management screen.
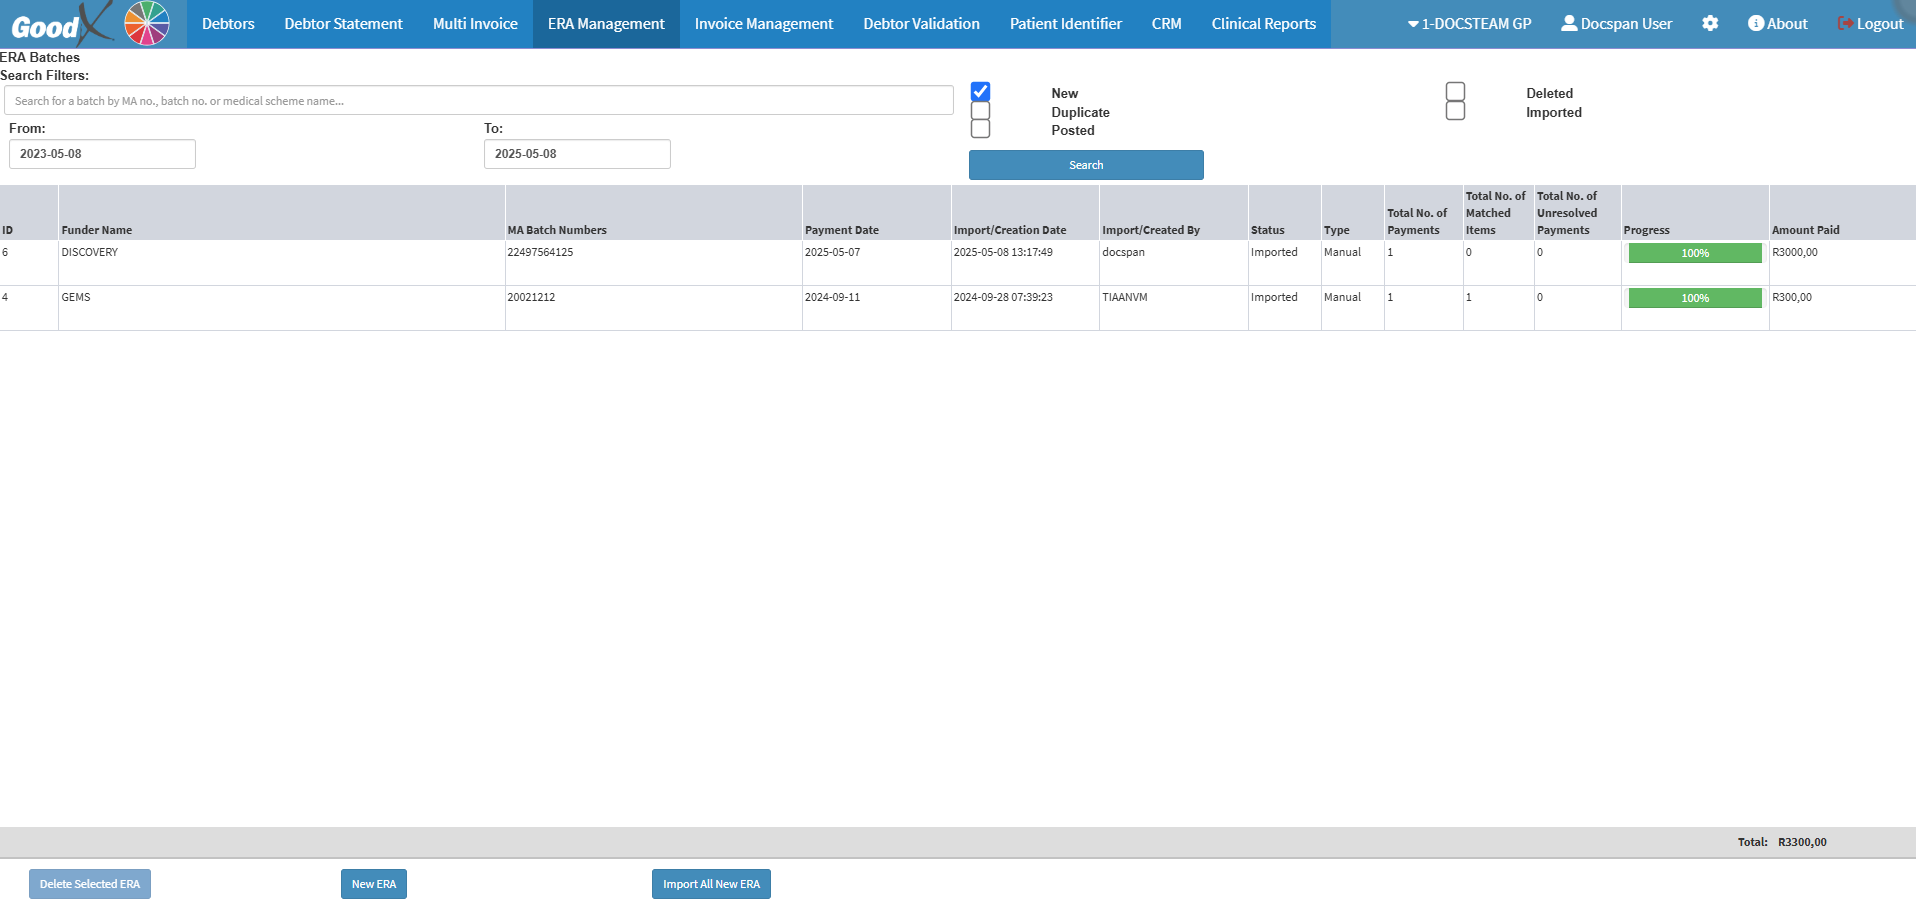
- For more information on how to navigate to the ERA Management screen, please refer to the user manual: Debtors Segment.
- Click on the New ERA button.
![]()
- The ERA Batch Details screen will open.
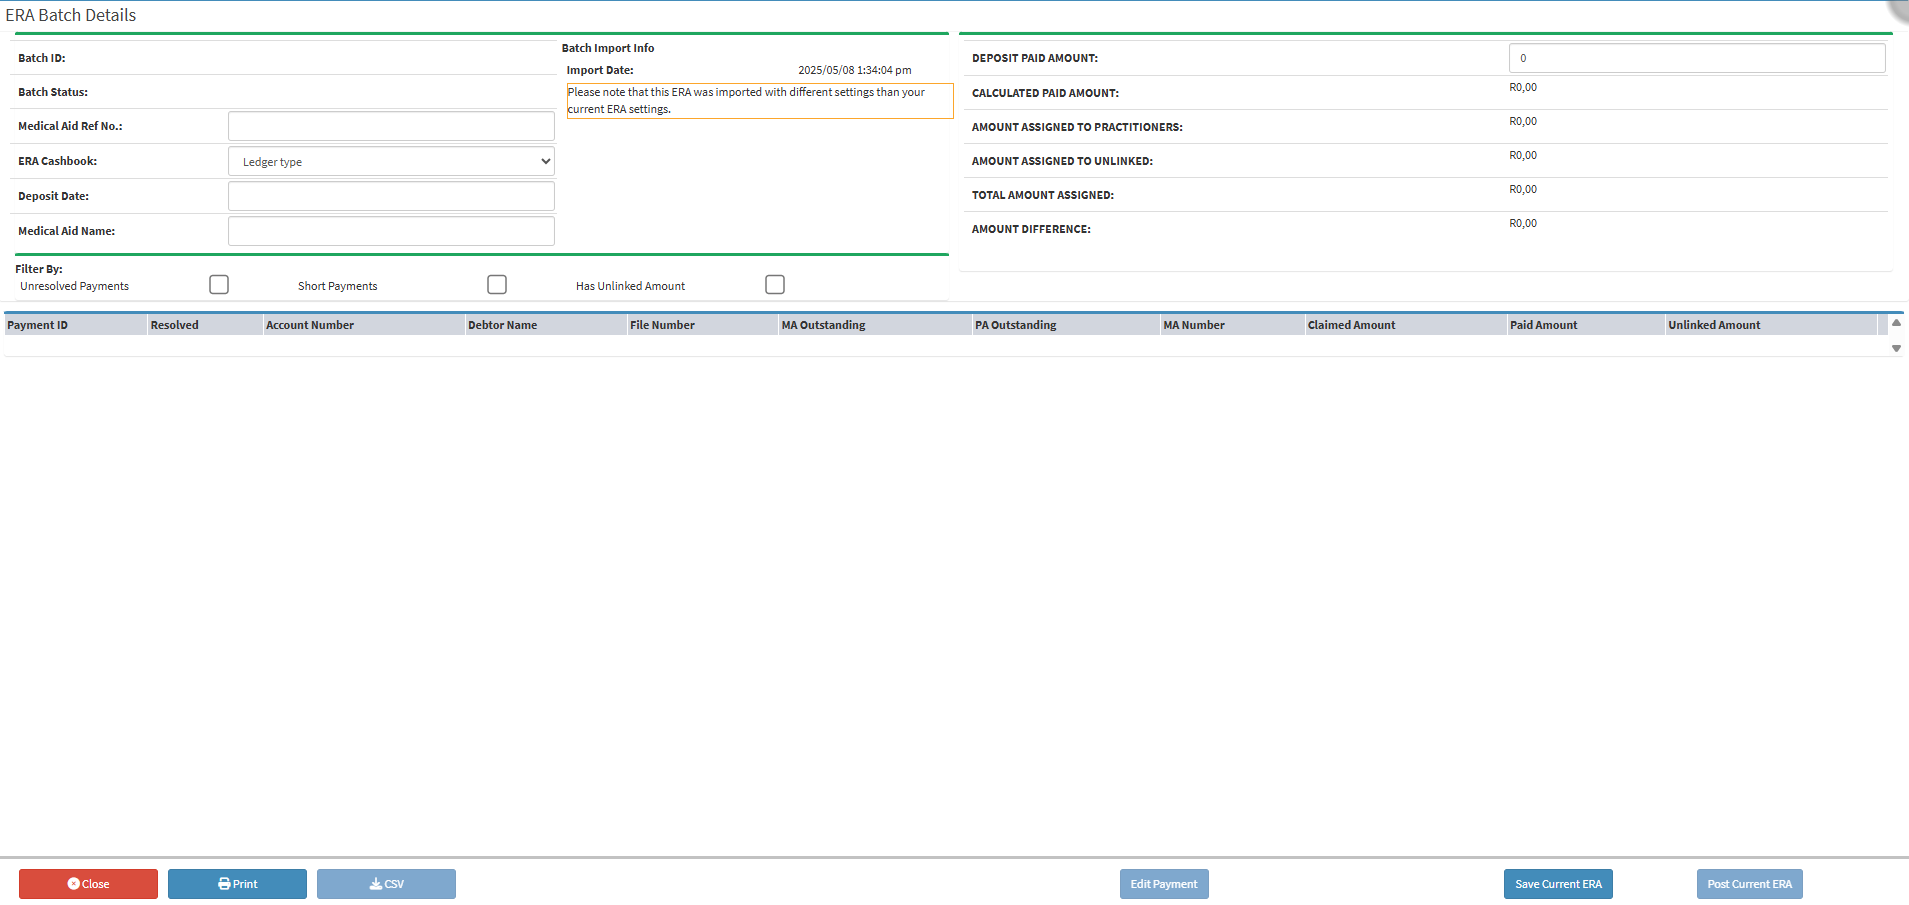
- Click on the Medical Aid Ref No. field and fill in the Debtors Medical Aid reference number.
![]()
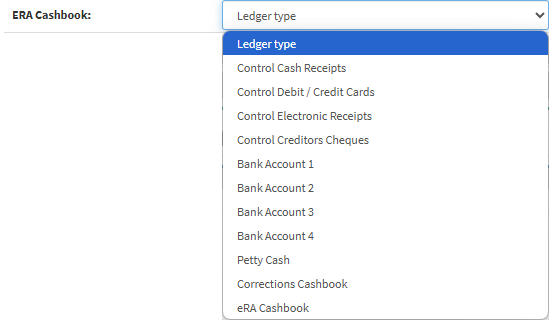
- Click on the ERA Cashbook dropdown menu to select the relevant option.
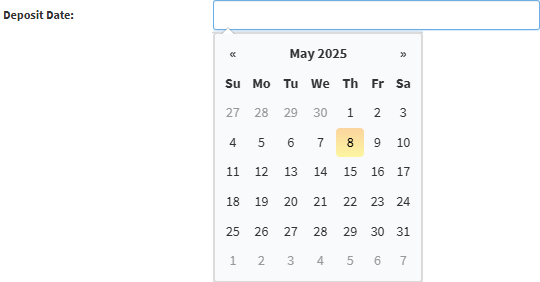
- Click on the Deposit Date field to select the date from the datepicker when the payment was made.
- Click on the Medical Aid Name field to insert the Medical Aid the payment was received.
![]()
- Click on the Deposit Paid Amount field to insert the amount paid.
![]()
- Click on the Save Current ERA button.
![]()
- The Batch ID and the Batch Status will become visible, and the Add New Payment button.
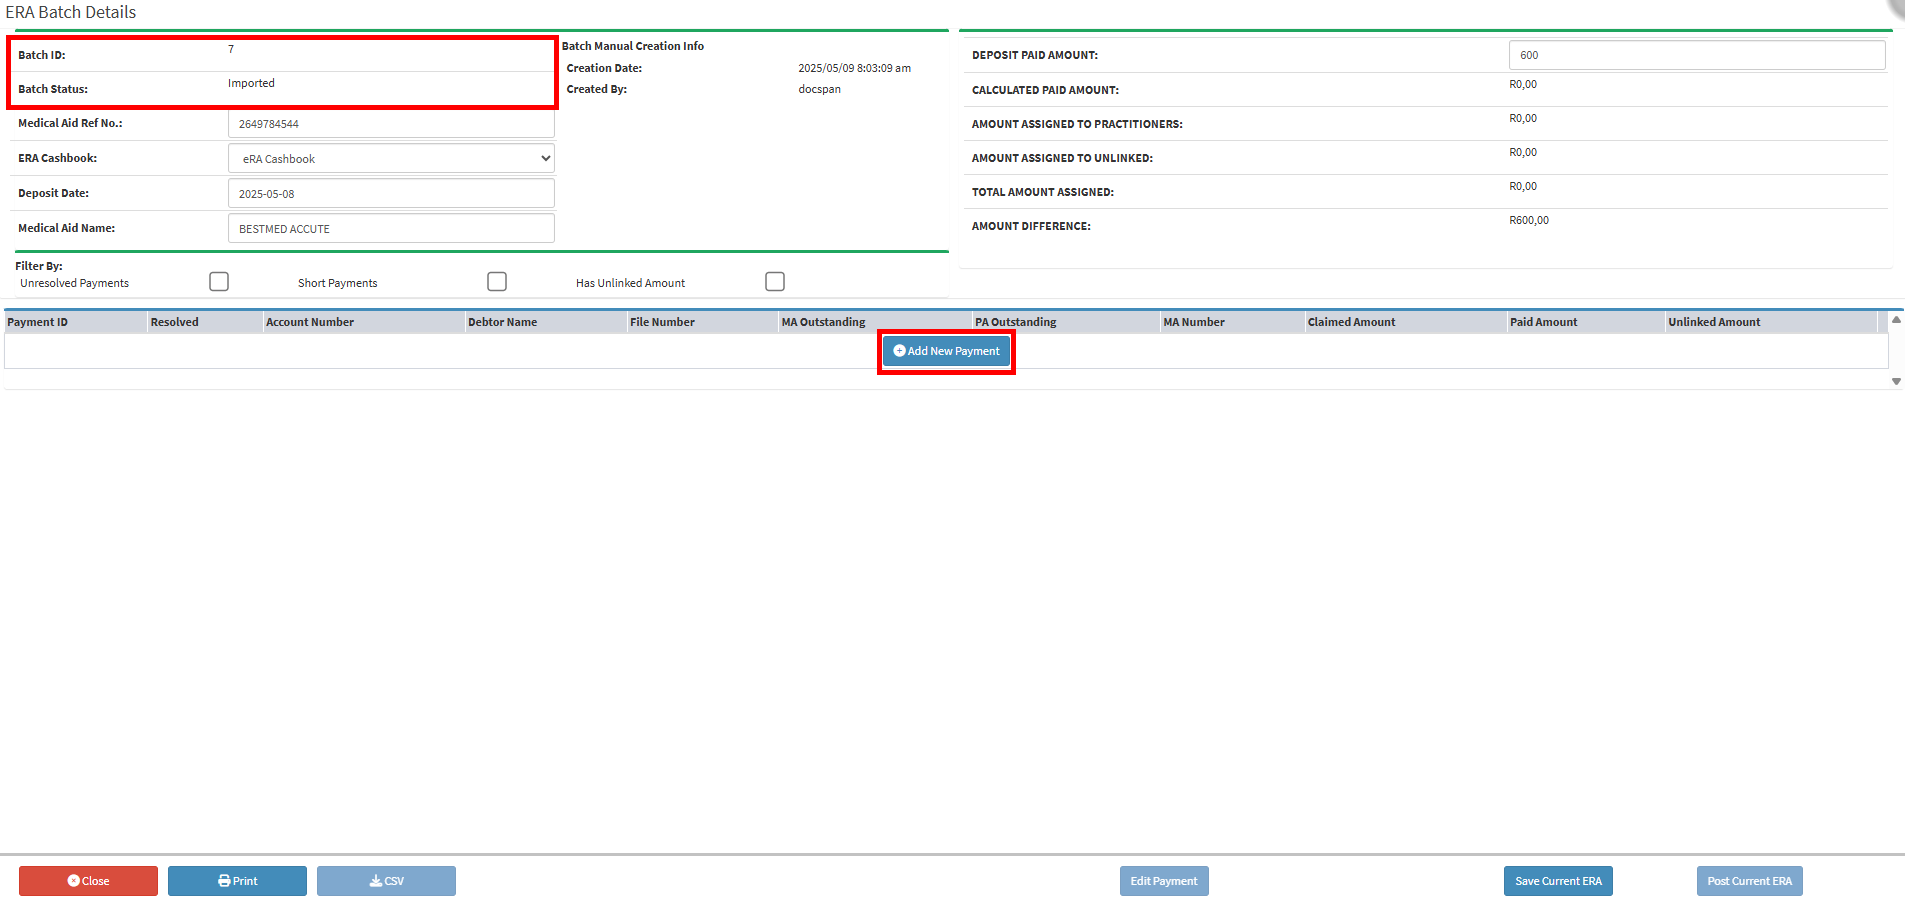
- Click on the Add New Payment button.
![]()
- The ERA Batch Details screen will open.

- Click on the Debtor No. field to search for the Debtor who made the payment.

- Select the desired Debtor on the list that has become available from the search results.
- The Debtors information will be filled in.

- Click on the ERA Paid Amount field to fill in the amount that was paid.
![]()
- Click on the Mark Resolved button.
![]()
💡Please Note: Do not click the Mark Resolved button if there is a difference between the amount owed by the Debtor and the amount paid. Doing so will incorrectly mark the payment as balanced, even though a discrepancy exists. Ensure the amounts match exactly before marking the payment as resolved to maintain accurate account records and prevent reconciliation issues later on.
- Click on the Save button.
![]()
- You will return to the ERA Batch Details screen, where the amount will now display.
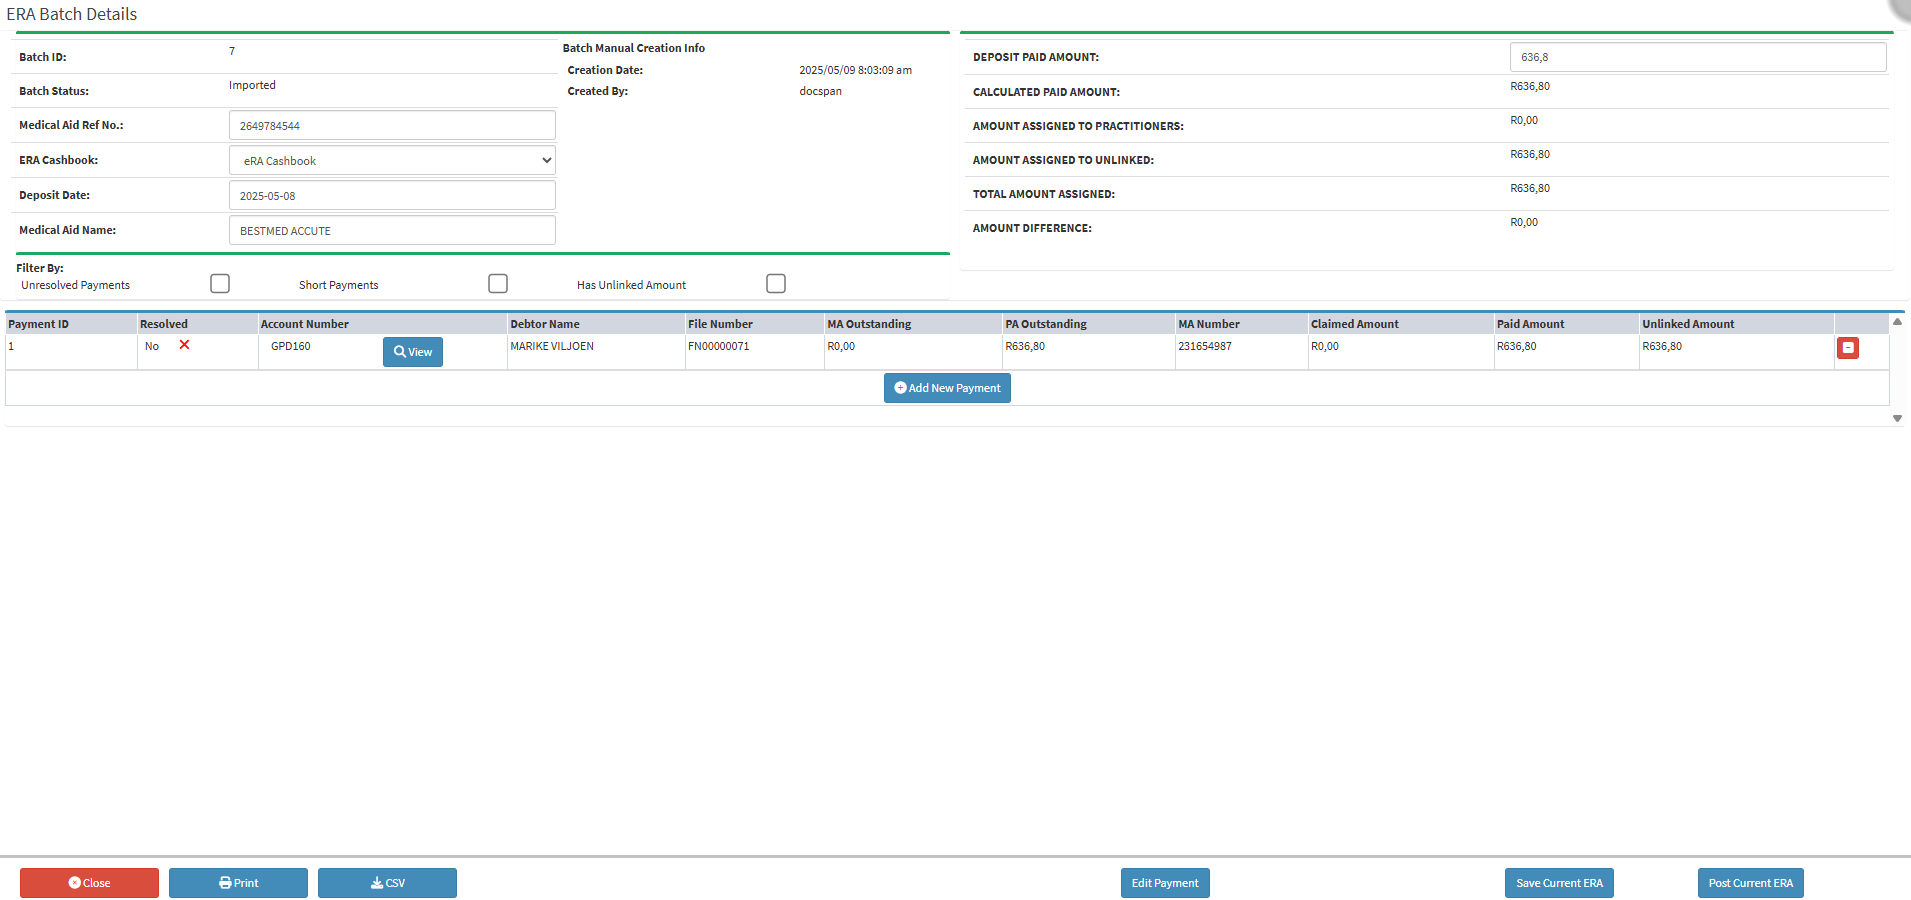
💡Please Note: If the Amount Difference is zero, then the Payment can be resolved.
![]()
- Click on the Save Current ERA button.
![]()
- Click on the Post Current ERA button to post the ERA.
![]()
Last modified: Monday, 19 May 2025, 8:51 AM