DA: EDI Response Service Date Change
The EDI Response Service Date Change allows the user to receive a message to advise that the date of the service on the Invoice which was submitted to the Medical Aid has been changed.
- Log in to the GoodX Desktop using your GoodX username and password.
- From the Navigator Double Click on the MedDebs Module.

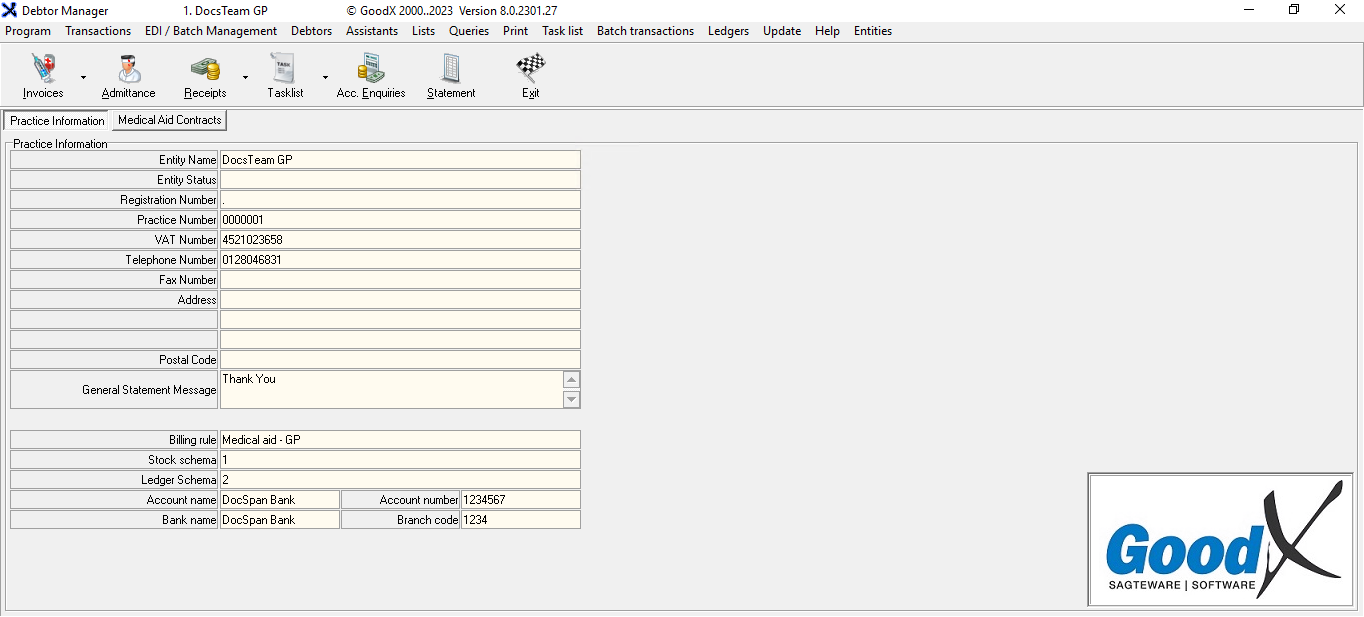
- The Debtor Manager screen will open.

- Click on the Acc. Enquiries button.

- The Choose a Debtor screen will open.

- Click on the ... (ellipses) button.
![]()
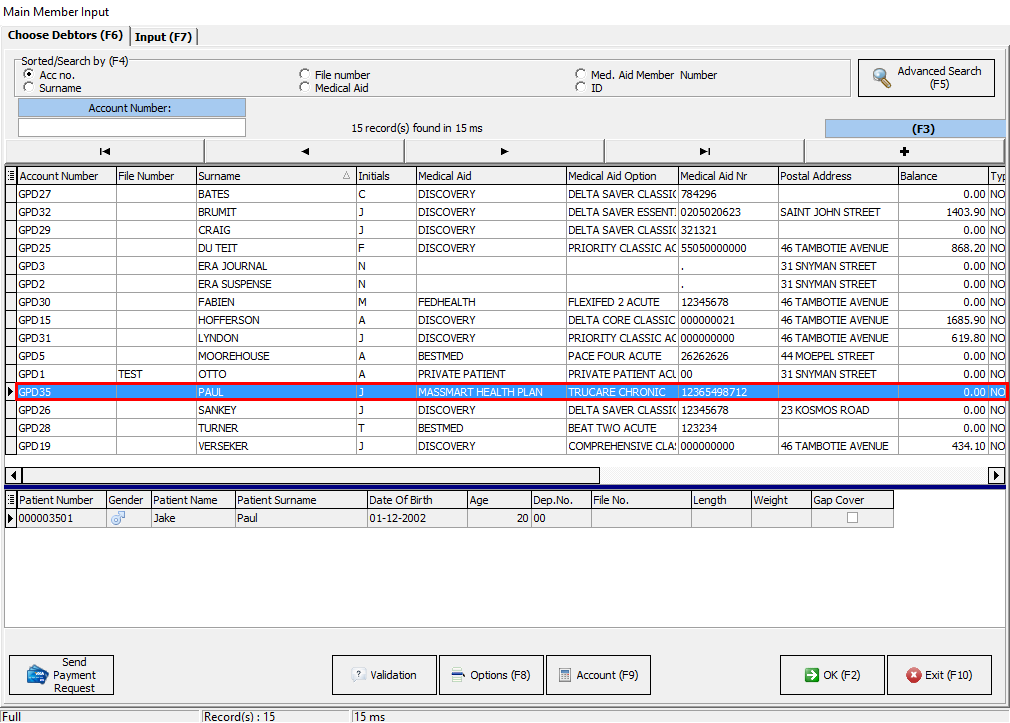
- The Main Member Input screen will open.

- Seach for the relevant Debtor via account number or surname.

- Double Click on the Debtor to view the EDI Response service date change.

Please Note: The GPD number is the Debtor's number created by the system, when a new file is opened. The Debtor Number will be filled into the GPD field automatically, once the user selects the preferred Debtor.
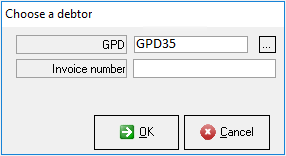
- The Choose a Debtor screen will appear.

- Click on the Cancel button to cancel and return to the Debtor Manager screen.
![]()
- Click the OK button to open to Account Query screen.
![]()
- The Account Query screen will open.

- Click on the Invoice for which the service date was changed.

- Click on the GoodXSwitch tab.
![]()
- The GoodXSwitch screen will open.

- Click on the Response button.
![]()
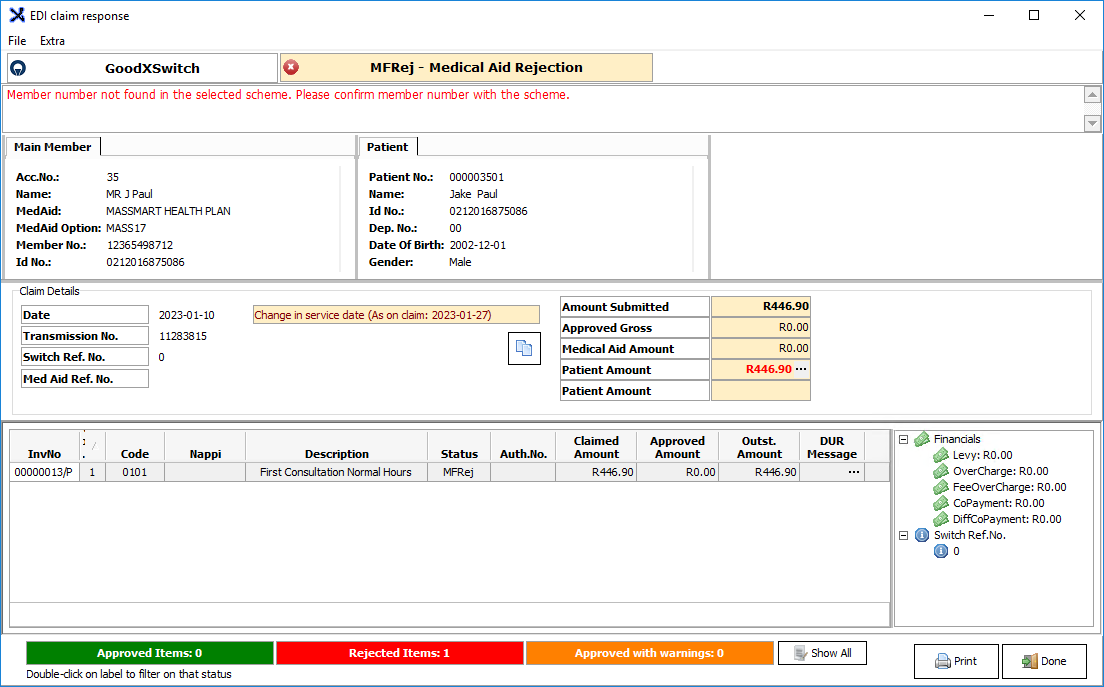
- The EDI Claim Response screen will open.
Please Note: Before the message indicating that the service date has changed can be displayed, the date must first be changed.

Please Note: The Change in service date warning will appear in the Claim Details segment.

- For more information on the Switching please refer to the User Manual: DA: EDI Response, Reverse account and Resubmit.
Last modified: Tuesday, 28 March 2023, 9:41 AM