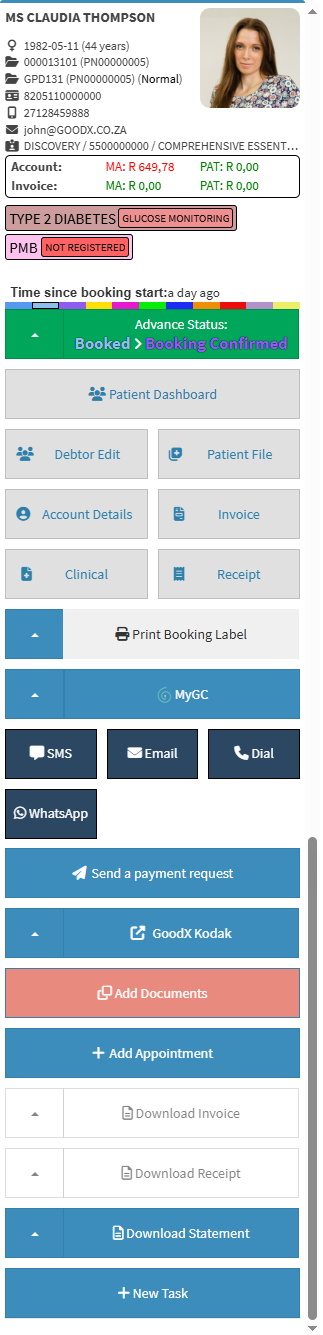
The Diary Sidebar provides a central access point to information and actions related to a specific diary entry. It displays relevant patient information and includes quick-access buttons that link the booking to related screens, records, and functions within the patient's file and account.
Using the Diary Sidebar makes it easier to manage a booking without searching across different areas of the system. The linked functions provide quick access to the information and actions needed for the specific diary entry, helping to save time, improve navigation, and keep related information connected to the correct booking.
The Diary Sidebar can also be minimised when not in use, giving you more space to work in the Diary while keeping the information readily available when needed.
💡Please Note: The buttons located on the Diary sidebar are customisable and can be set up in the Diary settings. For details, see General Settings: Navigation and Use.
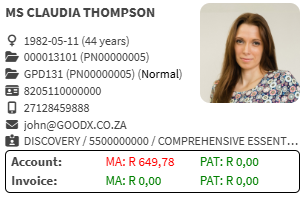
Patient's Details: Patient's title, name and surname.
Gender, Date of Birth, Age: Patient's gender, date of birth and age.
Account Number and Patient's File Number: Main debtor's account number and the patient's individual file number.
Debtor Number: System-generated debtor identifier assigned to the patient.
File Number: System file number assigned upon record creation.
ID Number: The patient's official identification number.
Cellphone Number: Patient's cellphone number.
Email Address: Email address of the patient.
Medical Aid Provider, Option and Number: Medical scheme name, selected plan, and membership number.
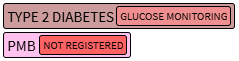
Smart Stickers
Smart Stickers: Visual protocol indicators used to flag PMB conditions, chronic care guidelines, treatment plans, or task reminders. For details, see How to View and Edit a Smart Sticker Protocol.
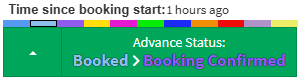
Advance Status: Allows practitioners to manually advance the booking stage and track patient progress in real time. For details, see How to Advance the Status of a Booking.
💡Please Note: Booking statuses, status colours, and their progression sequence are customisable according to practice workflow. For details, see Booking Status Setup.
Patient and Booking Buttons
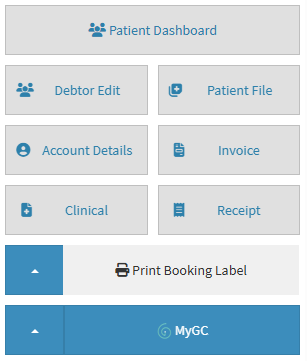
Patient Dashboard: Accesses patient medical records. For details, see The Patient Dashboard.
Print Booking Label: Download and print the selected booking's information onto a label. For details, see How to Print Booking Labels.
myGC
myGC: Facilitates patient info imports and sends a debtor demographic SyncVites. For details, see Debtor Demographic Syncvites.
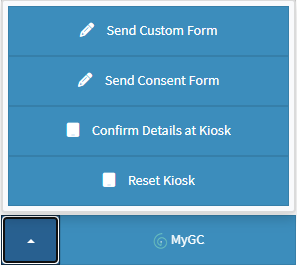
Send Custom Form: Send a pre-configured form to the patient. For details, see How to Send a Custom Form.
Send Consent Form: Sends custom consent forms to the patient for review, acceptance, and signature via the myGC app. For details, see Navigating Consent Forms on myGC.
Confirm Details at Kiosk: Confirms patient details and checks them in via an in-practice Kiosk.
Reset Kiosk: Resets the physical Kiosk device directly from your station computer.
Communication Buttons
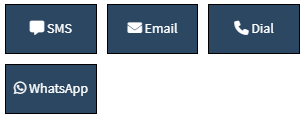
SMS: Send the debtor/patient an SMS. For details, see Send an SMS.
WhatsApp: Sends a WhatsApp message to the debtor/patient from GoodX Web.
Dial: Initiates a VoIP phone call to the debtor or patient. For details, see Making a VoIP Call.
Email: Sends an email to the debtor/patient. For details, see Send an Email.
💡Please Note: Some features will have to be set up by your practice. For setup details, seeServices.
Additional Buttons
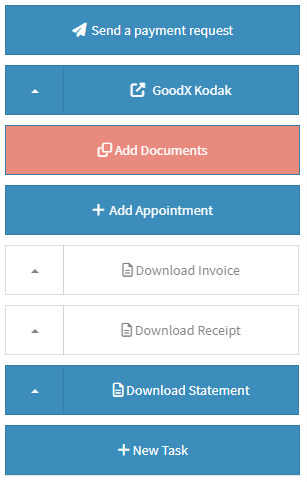
Send Payment Request: Sends a digital payment request link directly to the patient. For details, see Send Payment Request (WebApp).
GoodX Kodak: Launch and access integrated external imaging software directly from GoodX Web. For details, see External Program Launchers.
Add Appointment: Opens the booking screen to schedule a new appointment or follow-up for the patient. For details, see How to Book an Existing Patient.
Download Invoice: Downloads and generates a printable copy of the invoice linked to the booking. For details, see Download and Print Invoice.
Download Receipt: Downloads and generates a printable copy of the payment receipt. For details, see Download and Print Receipt.
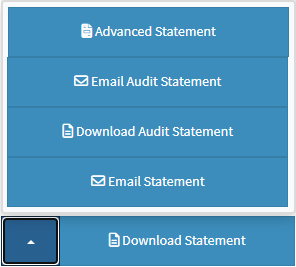
Advanced Statement: Opens custom statement options to select specific date ranges, transaction types, or customised formats. For details, see Advanced Statement.
Email Audit Statement: Sends an Audit Statement.
Download Audit Statement: Download and print the audit statement. For details, see Download Audit Statement.
Email Statement: Sends the current patient statement directly to the debtor or patient via email.
New Task
New Task: Creates a new task or to-do item linked directly to the selected patient or booking. For details, see Create A New Task.