The Daybook report displays a complete list of all Debtor transactions processed.
The report can be drawn with a lot of filters and all the information on the Debtors what you need.
The report has different tabs with different information on.
The Daybook report or Debtor transactions Drilldown report is under MedDebs module.

- Click on Print and select Debtor Transactions Drilldown (Daybook) from the list.
Profile options and function
The following Daybook report profiles will be loaded by default with new installations.
- From the Profile list, select a saved profile (which can be set up by default with installation).
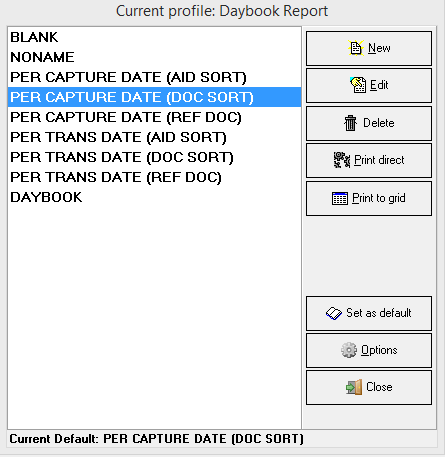
- Click on New to add a new profile.
 Click on Edit to edit an existing profile.
 Click on Delete to delete an existing profile.
 Click on Print Direct to print the report directly to your printer without viewing the report.
 Click on Print to Grid to view the report in a grid format.
 Click on Set as Default to set a specific report profile as the default, the system will highlight the report that is set up as the default report when the Daybook report profiles have been opened.
When a report is set up as the default report the report cannot be deleted. The default report must first be removed, by using the options button and then only the report profile can be deleted.
 Click on Options, 3 options will be available.
- Rename - Will allow to rename the report profile that is highlighted.
- Save as - Will take the report setting from the profile that is highlighted and save a duplicate of the report with the new name that was entered.
- Unset current default - Will take the default report of but not delete the report, only remove the default option from the report.
- Click on Close to exit the Daybook report profile list.
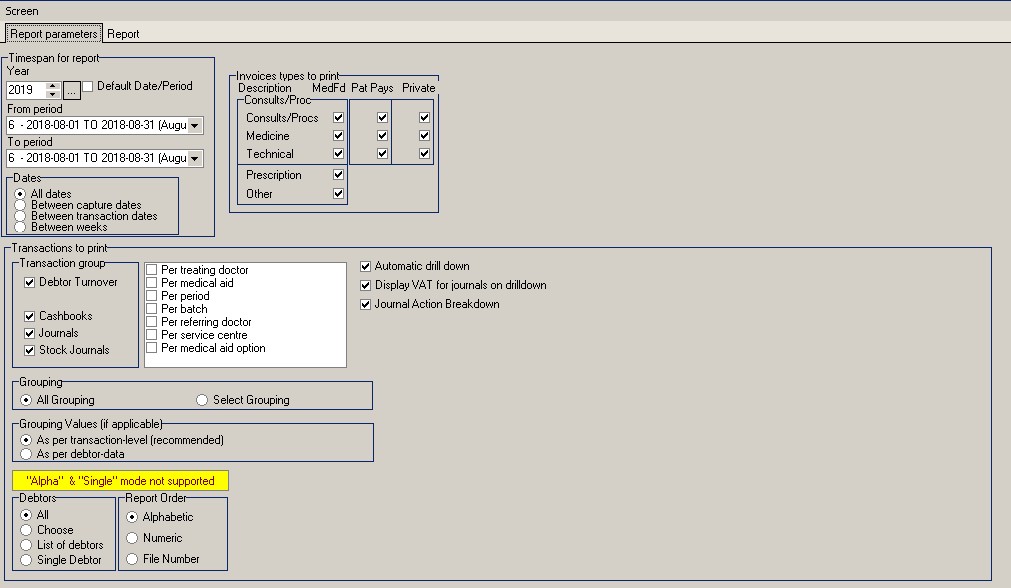
The following report setting is available to minimize the information in the report to the correct result that is wanted.
Date settings
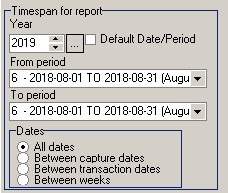
Select the Timespan for Report.
TAKE NOTE: Tick the Default Date/Period block to default the report profile setup to the current financial year and period. The report will always default the current period and the financial year according to the computer date.
- Select the Financial Year.
- Select the From Period - The beginning of the transactions that must be included in the report.
- Select the To Period - The end date or financial period that must be included in the report.
- Select the Type of Dates.
Make sure the correct financial year is reflected. Dates can be chosen either by period or between specified dates. Choose the correct option of how the dates will be calculated. Please remember the different dates transactions will not balance with each other.
- All Dates - Financial Period.
- Between capture dates - the date on which the transaction is captured onto the system (is not necessarily the same as the transaction date).
- Between transaction dates - the treatment date, when the patient was there for the procedure or treatment.
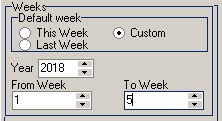
- Between weeks - All the transaction between certain weeks. The between wees will make the following screen visible. The following settings are available:
Default week
- This week - Will give the information of the week what you are in know.
- Last week - Will give the information from the previous week.
- Custom - Will allow that the week numbers can type in From week and To Week. This week will also be included in the report.
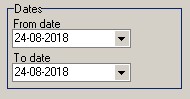
Between capture dates or between transaction dates this screen will be visible to select the from date and the to date. The two dates will be included also.
Invoice Types to print

The following options can be included or excluded from the report information when the tick is on the information will display, if there is no tick mark the information will not be included.
- Consults/Procs - The procedure and consultations that was charged on the patient account. This is billed from the Tariff lists in GoodX.
- Medicine - The medicine that was billed (used) on the patient.
- Technical - Only for Oncology equipment rent or Lab equipment what is rented.
- Prescription - The prescriptions that were made on the patient's account, this will be normally billed as a Zero amount when the billing was done.
- Other - Any other transactions that were billed on the account that is not included in the top settings.
- MedFd (/P) - All the transaction that was posted on a medical aid on the patient account, the Invoice will post with a "/P" after the invoice number.
- Pat Pays (/Q) - All transactions that were posted as a tariff 2, 3, 4, of 5. The invoice number will have a "/Q" at the back of the invoice number.
- Private (/X) - All transactions that the Medical aid was set to post as Private in the Medical aid option, or when the patient file was marked as a private patient file of when an item on the billing screen was marked to post as private. The invoice number will have a "/X" at the back of the invoice number.
Select the relevant tick boxes under Invoices Types to Print.
Transactions to print - grouping

- Debtor Turnover will display the invoices and credit notes of the Debtor.
- Cashbooks will show all cash book (KAS) transactions. All the receipts and Receipt Written back.
- Journals will display all journals that were done on the Debtor account, Bad Debts, Small Balances Written off and Settlement Discount.
- Stock Journals will display all stock related journals.
Grouping
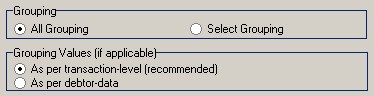
The report can also be grouped by choosing to display the data together.
- All Grouping - Will show all the grouping headers.
- Select Grouping - Can select which header in the grouping that must show.
Grouping Values can be chosen for:
- As per transaction level - reports are drawn with the information reflected on the invoices posted in the system.
- As per debtor data - reports are drawn with the information captured for the debtor to override the invoice data, specifically the Doctor, Referring Doctor and Service Centre as captured on the debtor information screen.
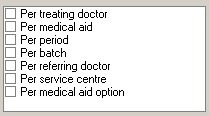
- Per Treating doctor - Grouping the accounts according to the Practitioner who did the treatment. This grouping assists in follow up on the outstanding accounts on the treating doctor when it is a Group Practice.
- Per the Medical Aid - Group the accounts according to the Medical Aid Scheme, this grouping assists in following up on all the outstanding account that is at the same medical aid.
- Per period - Per financial period, will group the transactions according to the period when more than one period is selected in the date fields.
- Per Batch - When working with Batches there is a batch number allocated to the transactions in that batch.
- Per referring doctor - Grouping the accounts according to the Dr who referred the patient to the practice.
- Per Service centre - Grouping the accounts according to the Service centre the patient was treated in.
- Per Medical Aid Option - Group all accounts according to the plan or option the invoice was posted.
Debtors
- Select the Debtors to display on the report.

TAKE NOTE: When printing the report, a screen will display where you can make your selection.
- All: Displays all the Debtors with an account balance.
- Choose: To print from a specific debtor to a specific debtor. The Debtors Surname can be filled in the columns and the Debtors will be included in the report.

- List of Debtors: Will populate a screen where a list of debtors can be selected. The account number or surname can be typed in, the patient details will complete if the correct debtor can be selected, otherwise, the list of all Debtors will open and the correct Debtor can be selected.
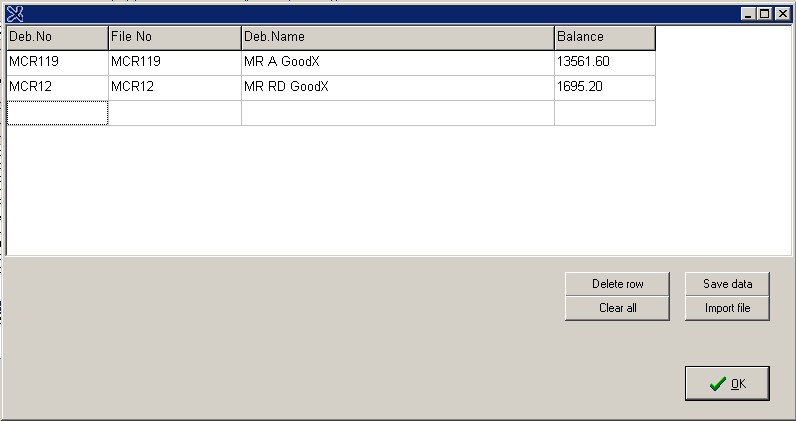
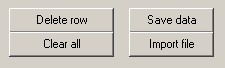
- Import file - A list can also be imported from a notepad file or a file that was saved previously by clicking on the Import file button.
- Delete Row - A Row can be Deleted if the incorrect Debtor was chosen.
- Save data - The list can be saved and imported next time when the list function is used.
- Clear all - Will clear all the Debtors in the list and can start again with a new list.
OK - Will take the list and show the information on this Debtors.

- Single Debtor: To select a specific debtor.

The Debtor surname or account number can be used.
Report Order
Select the Report Order on how the report should display.
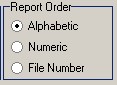

- Alphabetic: The report displays in Alphabetical order (ABC on Debtor Surname).
- Numeric: The report displays in Numeric order (Account number order).
- File Number: The report displays in File number order.
Other Settings

- Automatic drill down - Will give all the transaction detail on one of the tabs and not only the summary.
- Display VAT for journals on drill-down - If the VAT transaction did have VAT on the VAT will show the VAT column if the tick is on.
- Journal Action Breakdown - Will show the transaction detail under the Journal action summary.

- Now you can switch between your reports.
- Please click here for the explanations on all the Tabs options and settings.
- The build-in integrity-check will now only display when the Drilldown Report is set to generate per Period. On other setups for example, between Capture/Transaction dates, the check will not display.
How to access the Report:- Debtor Transaction drill down Report:
- Dates - Per period generation:
Please note that if the Report is drawn by Period, it should be displayed naturally
- Parameters - All dates >> Generate report >> on the Movement summary tab >> Integrity test column >> the checkmark should be visible: Indication for whenever the integrity of the system is sound or not.
- Dates - Between Capture/Transaction dates:
- Parameters - All dates >> Generate report >> on the Movement summary tab >> Integrity test column >> the checkmark should be visible: Indication for whenever the integrity of the system is sound or not.