Unlinked Receipts
The user manual is currently being updated with new features. An updated version will be available shortly. We thank you for your patience.
Unlinked Receipts are money that was received but not allocated to a specific invoice. The unlinked receipt can be linked by using a Zero Receipt and moving the money from one line to the correct lines or invoice.When there are unlinked receipts, the age analysis will be showing incorrectly. The account will show outstanding amounts as a plus and minus amount on the unlinked receipts that it looks like overpayments on the invoice lines. But the total on the account will display correctly.
- Sign in to the GoodX Desktop using your GoodX user name and password.
- From the Navigator Double Click on the Med Debs Module.

- The Debtor Manager screen wil open.

- Click on the Receipt button on the Toolbar.

- Choose "Patients - Invoice Level" or "Medical Aid - Invoice Level"
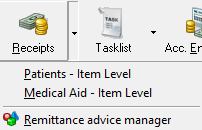
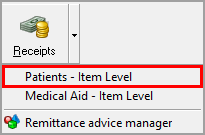
- For an example we will use Patient - Item Level.
- The Cashbooks screen will open.

- Select the correct Cashbook.
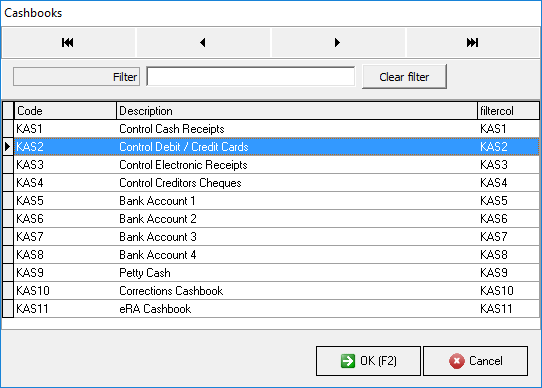
- Click on the OK button.
![]()
- The Financial Period screen wil open.

- Select the Time Frame the user wold like to use.
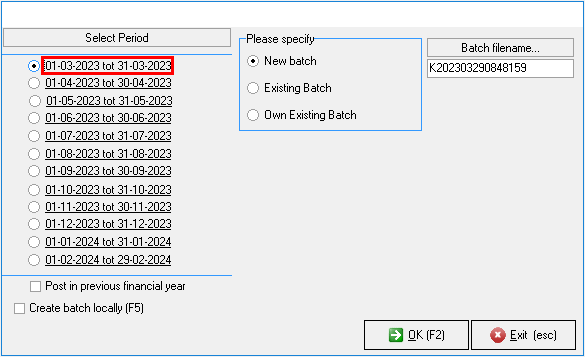
- Click on the OK button.
![]()
- The Deb. Receipts screen will open.

- An exsplanation for the fields on the Debtor Receipts screen will be given:
![]()
- Date: The year, month and day (yyyy-mm-dd) on which the transaction has taken place.

- Link receipt to: The user wil pick wether they want to link a Patient or Medical aid.
![]()
- Discription: State the reson why the user want to Unlink the receipt.
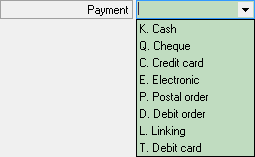
- Payment: How the debtor paid.
![]()
- Reference No: Reference numbers are special numbers used for credit or debit transactions (a collection of random digits and/or letters). These let support staff work more quickly and easily by tracking transactions. In correspondence regarding a credit or debit transaction, reference numbers are often used.
![]()
- Branch Code: Branch Code linked to the bank.
![]()
- Deb Receipts: The Deb Receipt number wil be generated automaticaly but the user will be able to put in there own number.
![]()
- Amount: This is the amount that needs to be written back.ignore
- Once all the fields are filled in the user will be able to Click on the (eleips ...) button.
![]()
- The Debtot section will open.

- Click on the Invoice Radio button to switch from item to Invoice.
![]()
- Click on the Amount field.
![]()
- Click on the Tab key on the users keybord.
- The Invoice line section will open.

- Scroll down to the bottom of the Invoice list to fined the Invoice number thats starts with an R.

- The user will now enter the Amount into the Received field.

- Click on the Tab key on the users keybord.
- The Unlinked Item Line will higlight in blue.

- Click on the Done button.
![]()
- The Invoice Line Section wil now close.
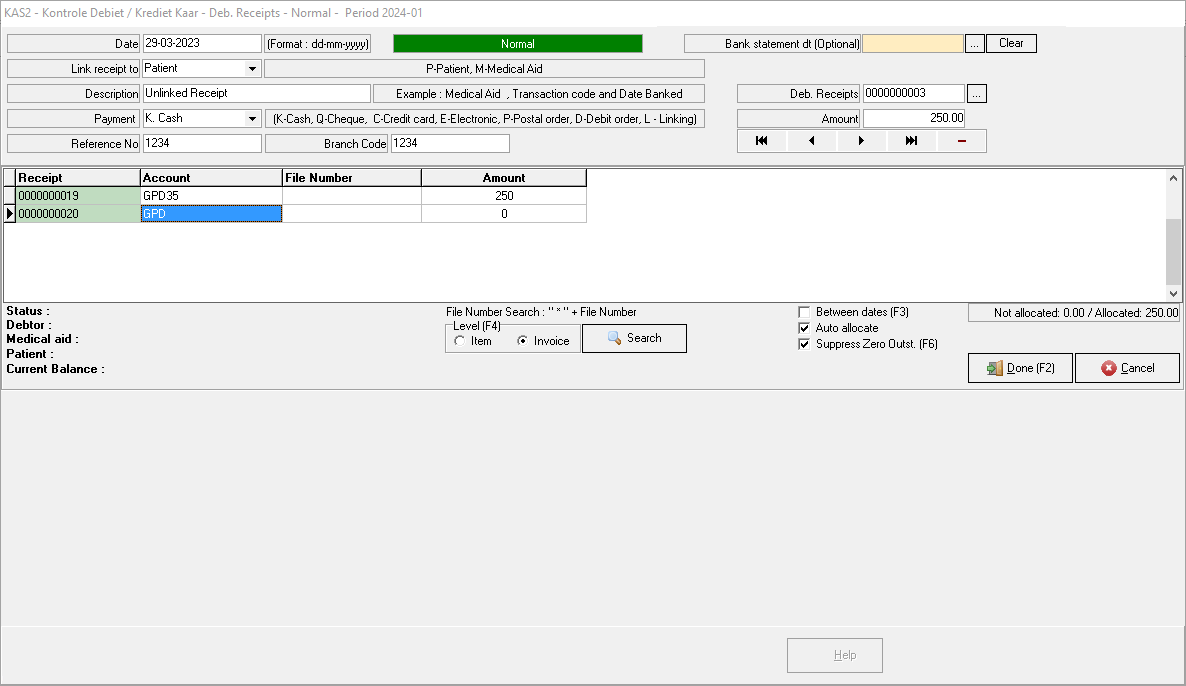
- Click on the Done button.
![]()
- The Document Options pop-up will open.

- Click on the Continue button.
![]()
- The Debtor section will now close.
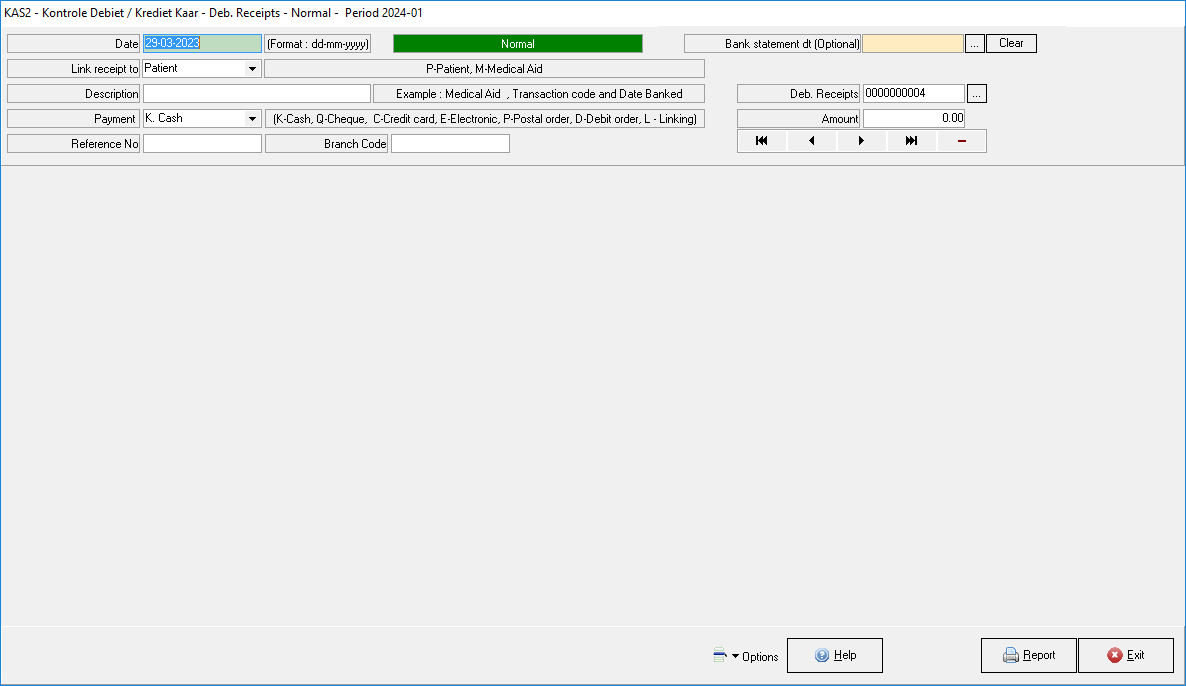
- Click on the Exit button.
![]()
- The Batch screen wil open.

- Click on the Post button.
![]()
- The Debtor Manager screen wil open.
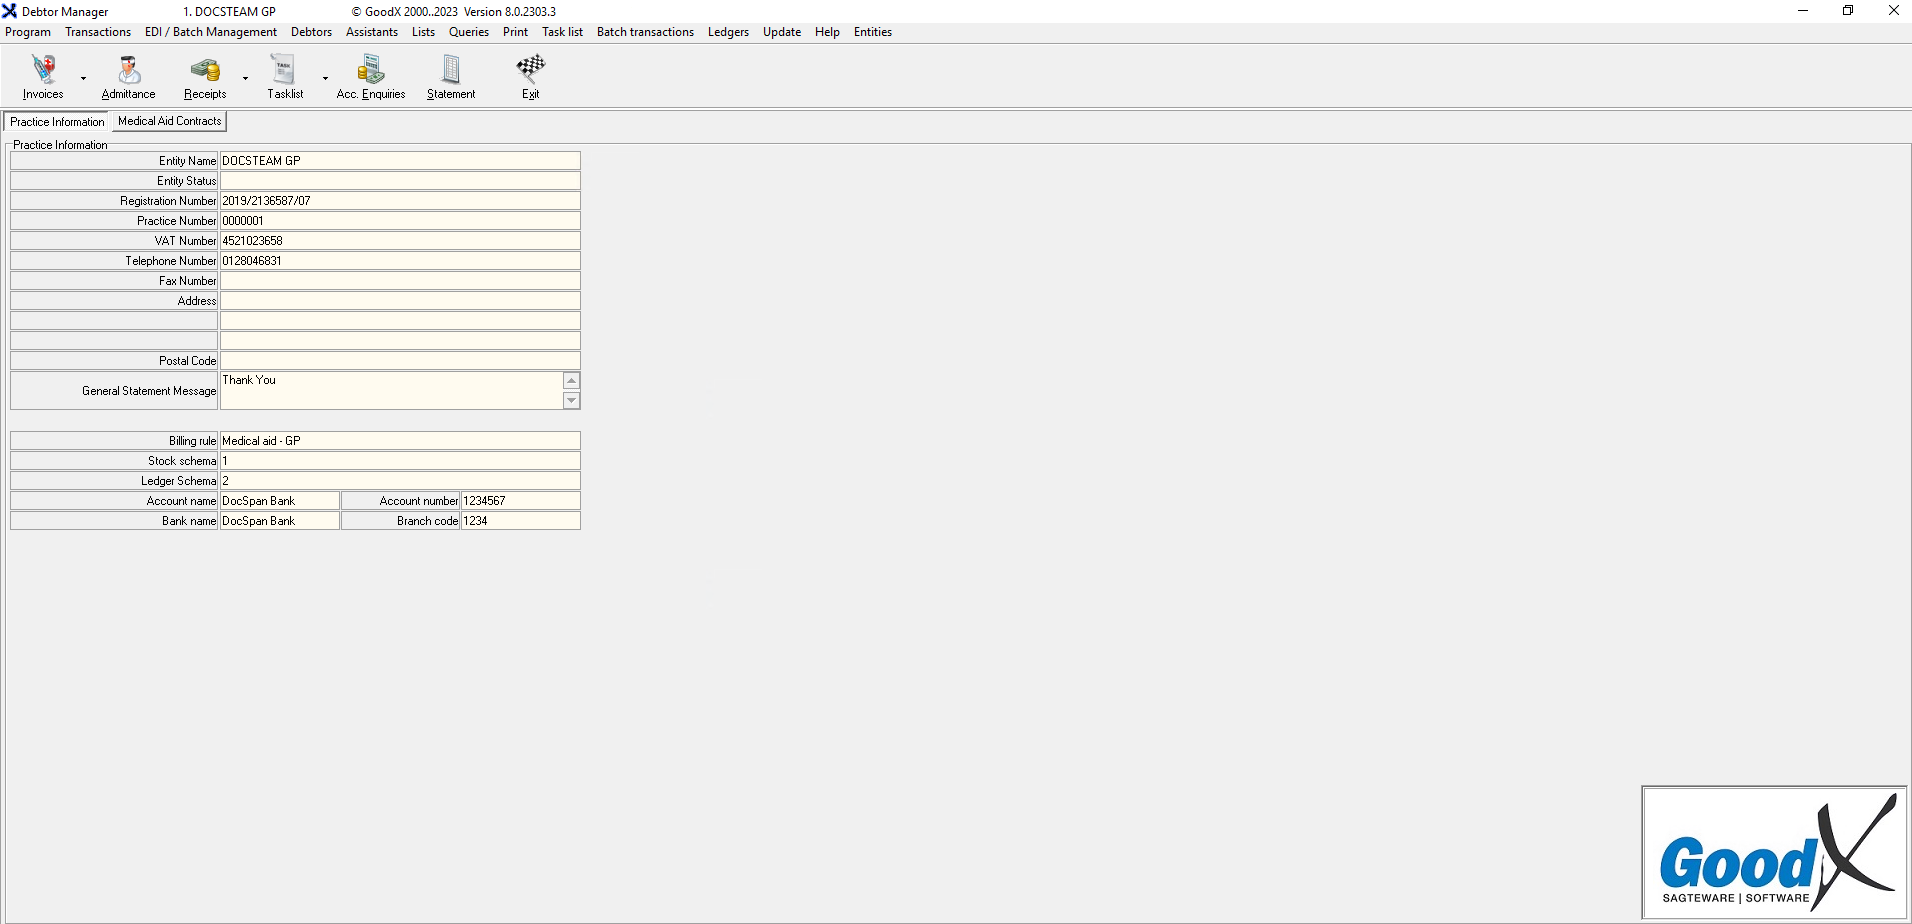
- The Unlinked Receipts wil now show on the Account Details screen.
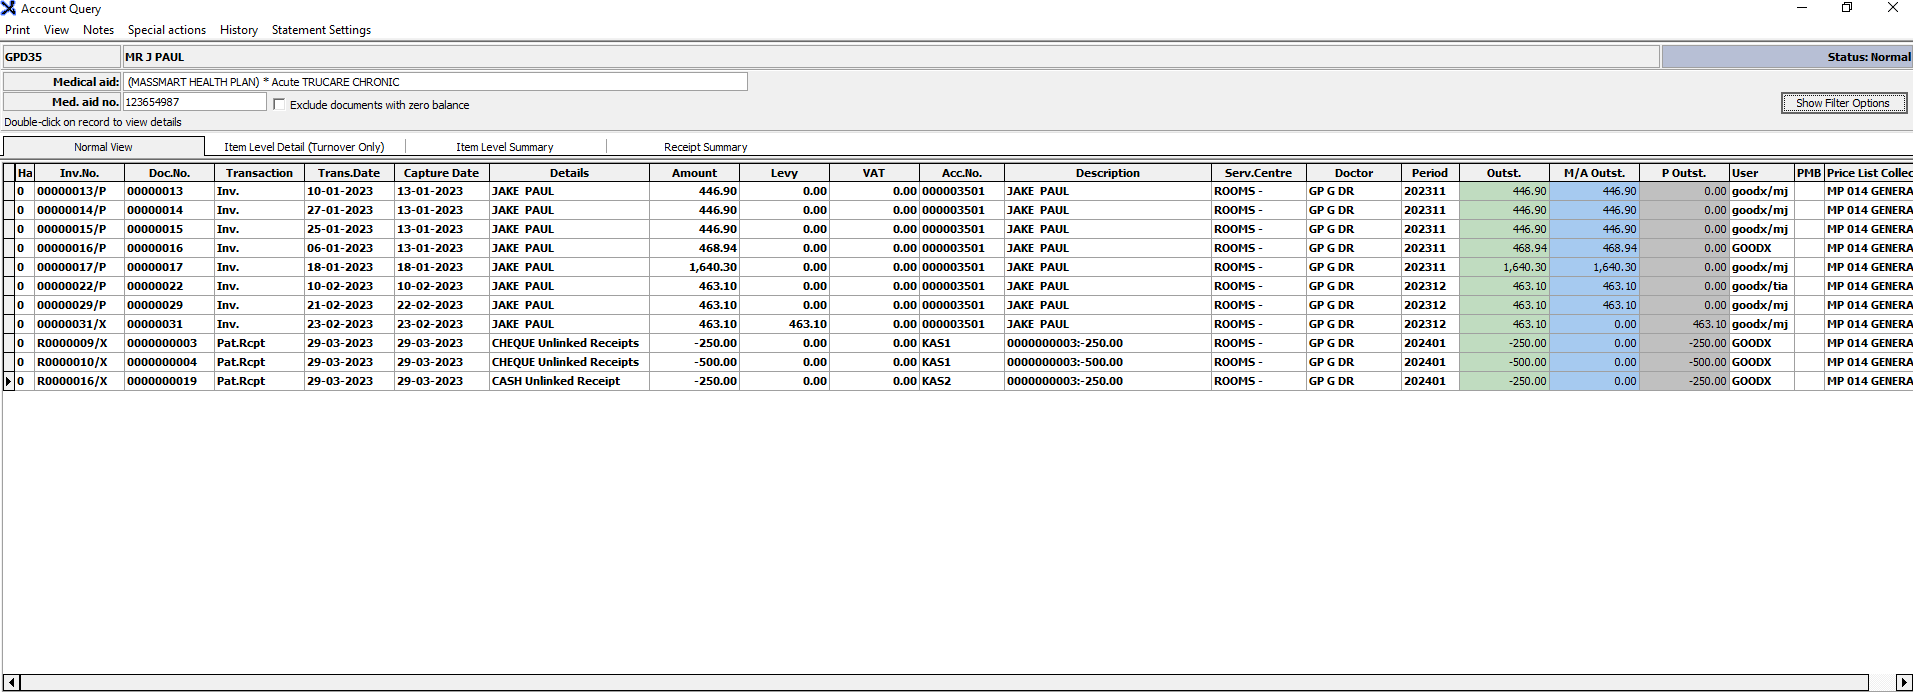
- For more information on how to get to the Account Query screen pleasrefer to the user manual: Account Query Screen
Last modified: Wednesday, 19 April 2023, 4:01 PM