Posting eRA
This User Manual is currently under construction. Please revisit this page on 31 March 2022 to see the latest version of the User Manual. Thank you for your patience.
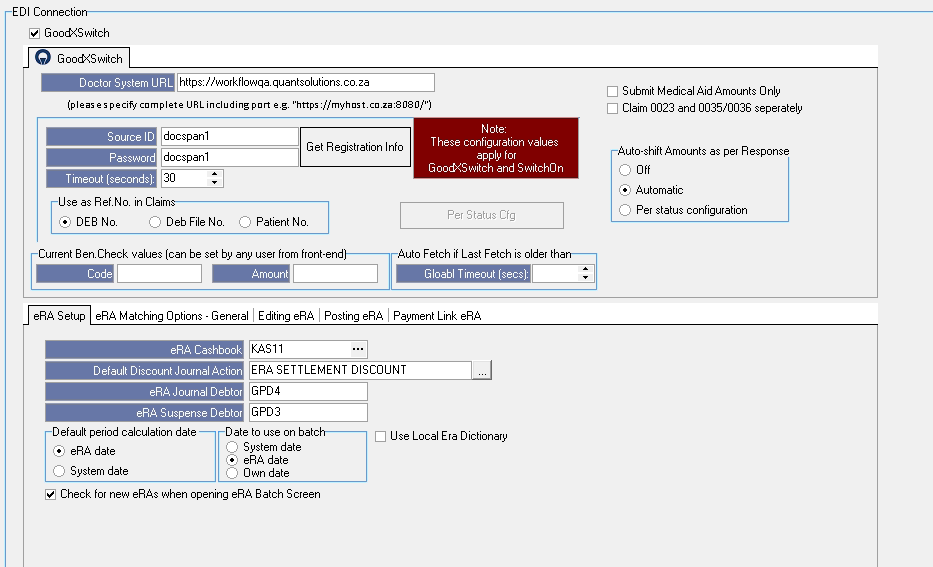
The Posting eRA tab provides the user with a few options that can be selected to instruct the system on when to post eRA.
This user manual will start on the System Option EDI Connection screen.
- For more information on how to navigate to the System Options EDI Connection screen please refer to the user manual: EDI
- Click on the Posting eRA tab.

- The Posting eRA explained:
![]()
- Automatically post fully matched eRA's on fetch: The automatically post fully matched eRA's on fetch option will automatically post off eRA's that is 100% matched with the account. The user won't have to manually import and post the eRA.
![]()
- Can only post batches that are 100% resolved: The can only post batches that are 100% resolved option will allow the user to only post the batch when all the payments in the batch are 100% resolved.
![]()
- Can only post batch if items outstanding + allocation + journals >=0 (Overallocated Journals): Multiple users can work on the system at once. When an eRA gets imported and the user decides to do a write off on the R10 that was short paid by the Medical Aid, the only post batch if items outstanding + allocation + journals = 0 option will do a pre-check from the eRA screen to make sure another user hasn't done a journal on this account already before the user (who is importing the eRA) posts the journal from the eRA screen. The only post batch if items outstanding + allocation + journals = 0 will help prevent overallocated journals on the accounts. For example: Outstanding amount (R680) + Allocation amount (-R675) + Journal amount (-R5) write off >= 0.
![]()
- Display confirmation message before posting single eRA: The display confirmation message before posting a single eRA option will display a confirmation message before a user post a single eRA to confirm if the user wants to post the eRA.
- Click on the Print Options button to print the setup of all System Options Tabs.

- Click on the Save button to save the changes that have been made.

Please Note: The Save button will only appear if changes have been made to the settings.
- The Confirmation Changes screen will open.

- Please specify a reason for the changes made: To confirm and save why changes have been made.

- Click on the free text field to start typing the reason.
- Click on the Cancel button to go back to the EDI screen, no changes will be saved.
![]()
- Click on the OK button to save changes made.
![]()
- Click on the Exit button to close the Entity Setup screen and return back to System Option main screen.

Last modified: Monday, 28 February 2022, 1:34 PM