System Options - Debtor Transaction (2)
Debtor Transactions are all transactions that are done and that relate directly to the Debtor. The Debtor Transactions 2 tab allows the user to set up and manage, for example, Invoice Grouping Levels, Reference Pricing, Debtor Journals and Enabling Payment Requests etc. System Options is the configuration of how the system operates and allow the user to set up the system to suit the needs of the Hospital and activates/deactivates certain functions in the system.
- Log in to the GoodX Desktop as the Supervisor.
- From the Navigator, Double Click on the Options Module.
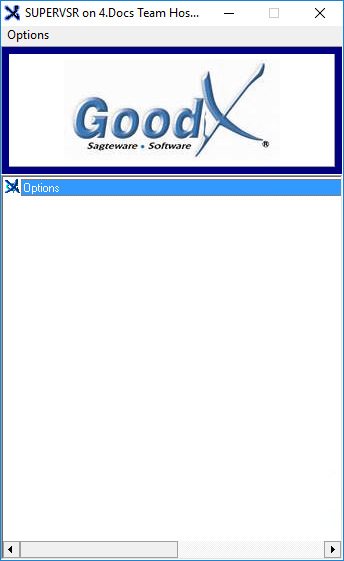
- An Authorisation/Password Necessary pop-up will appear.
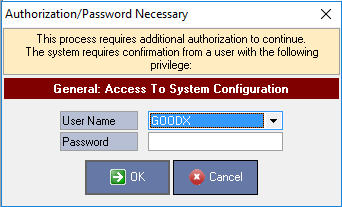
- Select the user from the User Name drop-down menu.
- Enter the password in the Password field.
- Click on the OK button to proceed.

Please Note: Only users with Supervisor access will be allowed to access the System Options.
- The System Options screen will open.
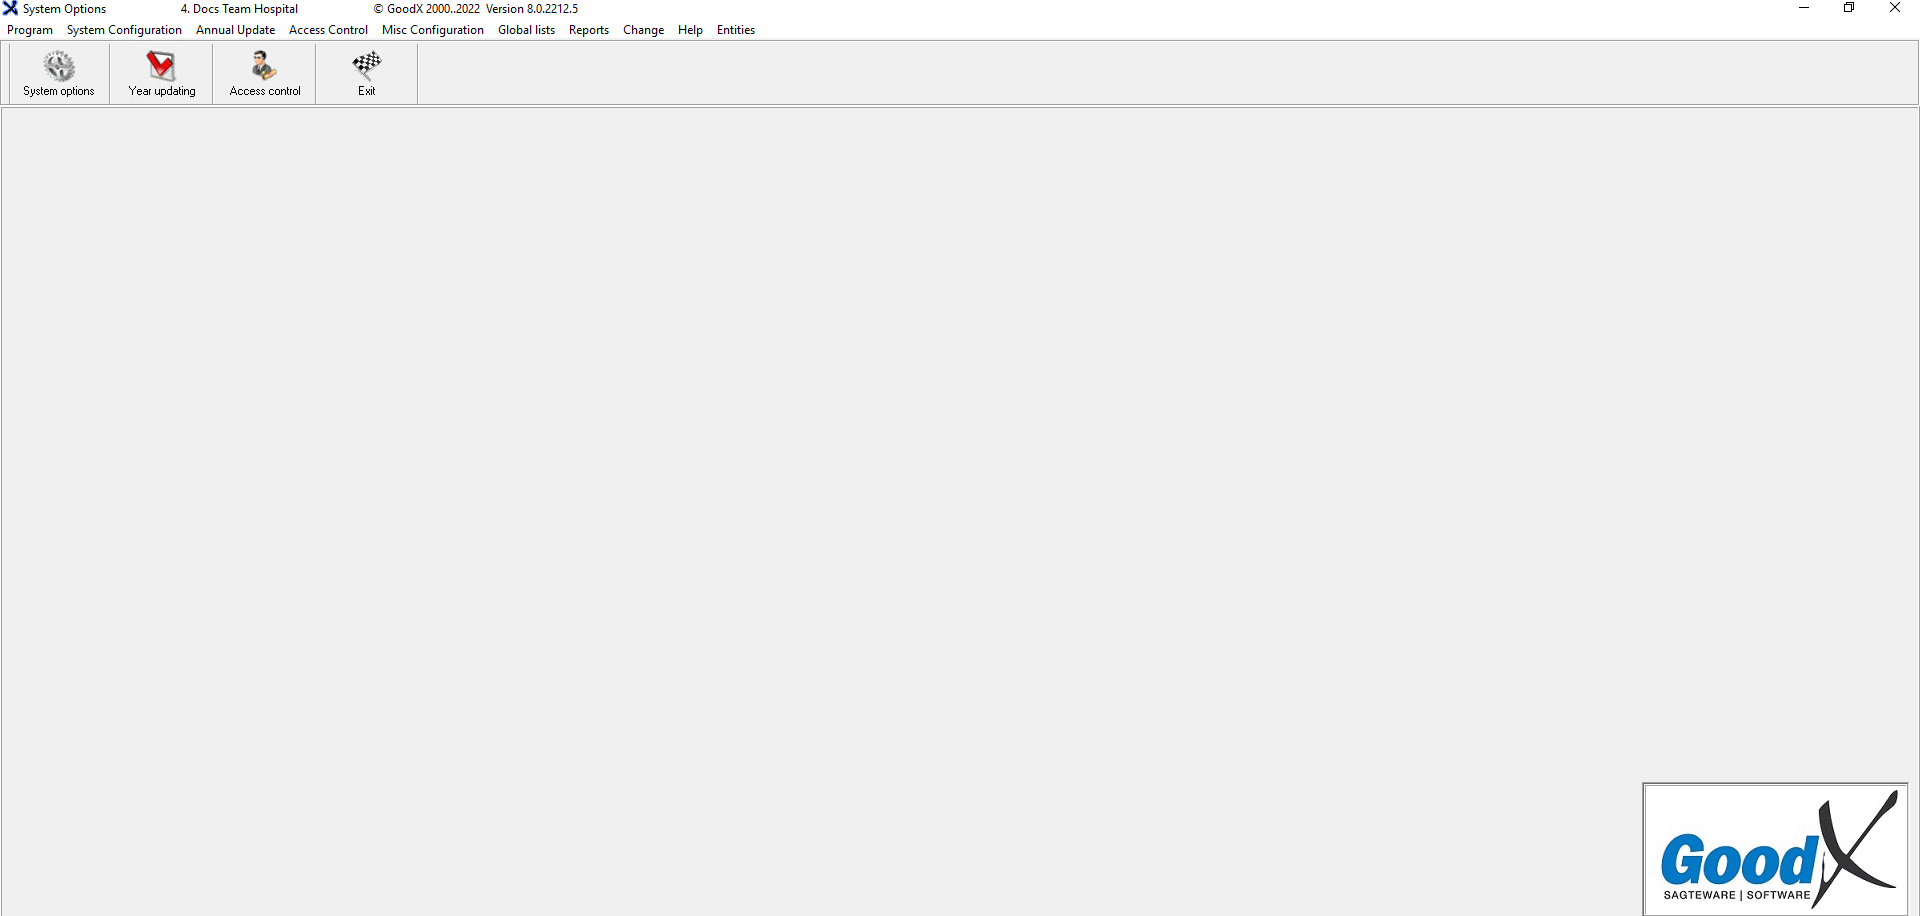
- Click on the System options button located on the Toolbar.

- The Entity Setup screen will open.
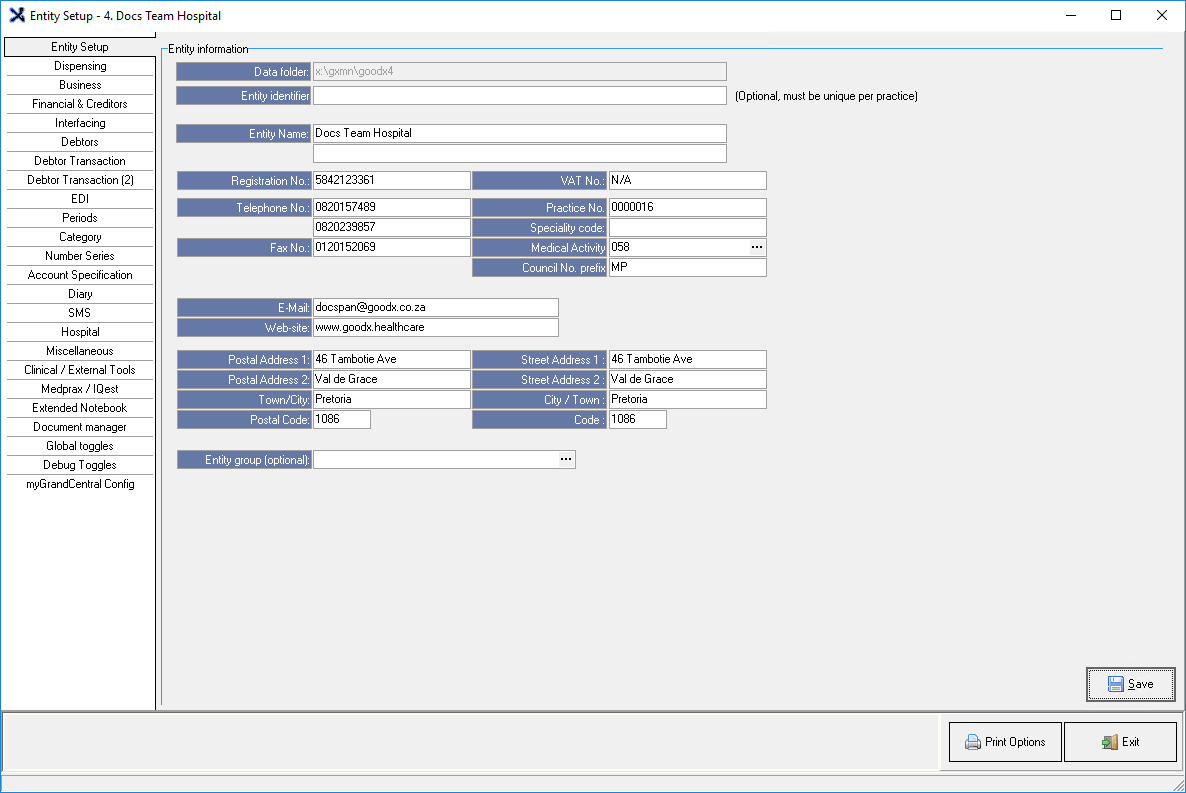
- Click on the Debtor Transaction (2) tab.

- The Debtor Transaction (2) screen will open.
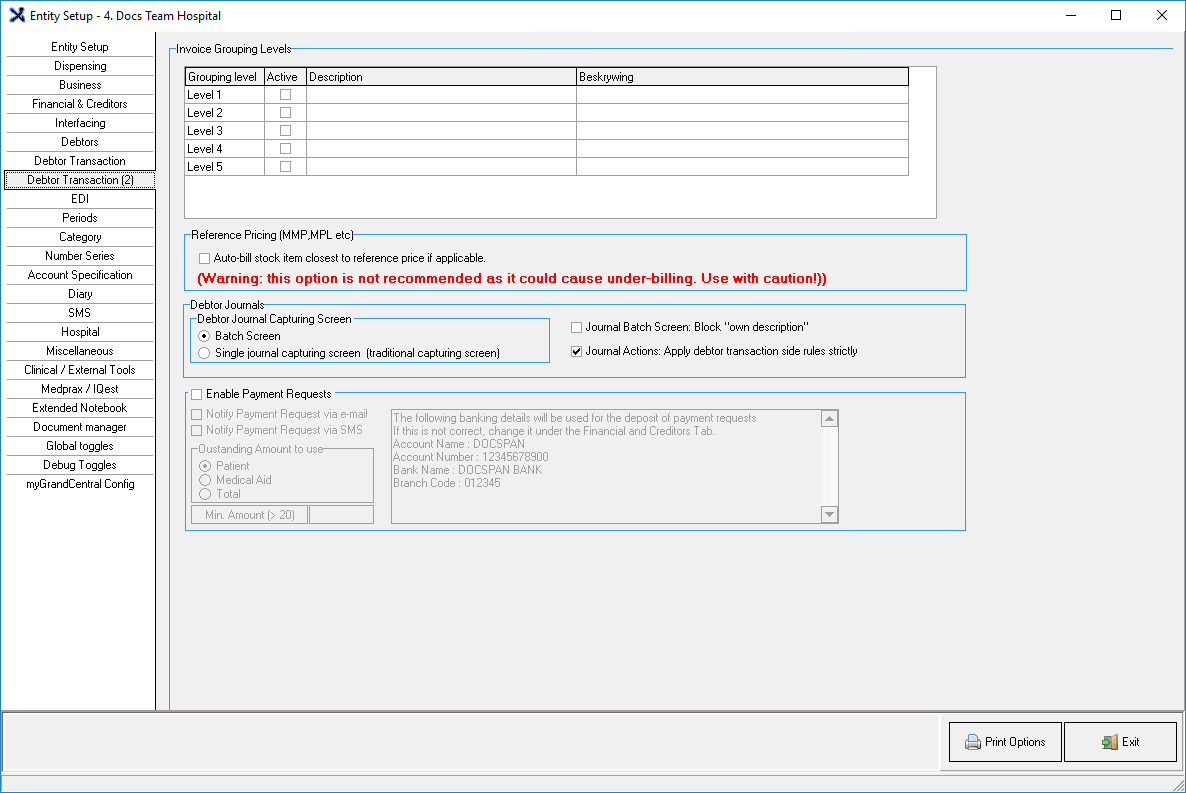
- An explanation will be given for each field and option on the screen:
- Invoice Grouping Levels: Function was previously specifically used by medical bureaus. The function will be discontinued as Invoice Grouping Levels are no longer in use.

- Reference Pricing (MMP, MPL etc): Uses different price structures and pricelists that have been loaded by Medprax as a reference to determine the price that will be charged.

- Auto-bill Stock Item Closest to Reference Price if Applicable: Allows the user to bill stock items using several pricelists as a reference for specific stock items when stock items are billed. Auto billing works hand in hand with formularies, which influence the prices that are charged, for specific Patients on certain Medical Aids.
Please Note: Users are not advised to use the Auto-bill Stock Item Closest to Reference Price if Applicable option as this may result in users under-billing Debtors/Patients.
- Debtor Journals: Journals are used to allocate funds that were invoiced but not collected, for example, small balance write-offs and settlement discounts as proof of what happened to the funds.
- For more information regarding Journals and how Journals are used, please refer to the user manual: Journals: Bad Debt, Discount and Opening Balances.

- Debtor Journal Capturing Screen: The screen that is used to capture Debtor Journals.

- Select an option by Clicking on the relevant radio button:
- Batch Screen: Allows the user to access the Debtor Journals Batch screen that enables them to capture multiple Journal transactions at the same time.
- Single Journal Capturing Screen: Allows the user to only capture one Journal transaction at a time per Debtor.
![]()
- Journal Batch Screen: Block "Own Description": Greys out the Own Description field on the Journal Batch screen so that users aren't able to add their own descriptions to the transactions. The default description that is allocated to the Journal Actions is used instead, to identify the Journal Action.
- For a comprehensive explanation regarding Journal Actions, please refer to the user manual: Journal Actions: Debtor Journals (Batch).
- Tick the Journal Batch Screen: Block "Own Description" checkbox to activate the setting.
![]()
- Journal Actions: Apply Debtor Transaction Side Rules Strictly: When the user selects to activate the setting, the system will restrict on which invoices a specific Journal action may be applied, based on the outstanding value of the source document. For example, a Bad Debt Journal Action may not be applied to an overpaid invoice.
- Tick the Journal Actions: Apply Debtor Transaction Side Rules Strictly checkbox to activate the setting.
- Enable Payment Requests: Allows the user to use the Send Payment Request feature, Payment Requests are used to send a link to the Debtor/Patient requesting payment for services rendered at the Hospital.
- For more information regarding how Payment Requests work, please refer to the user manual: Send Payment Request Desktop App.

- Tick the Enable Payment Requests checkbox if the user will be using the Payment Requests feature.

Please Note: GoodX charges an administration fee for each Payment Request link that is sent and for each link that is used to process the payment. Once the Practice has agreed to the terms and conditions of using Payment Requests, GoodX will do the setup thereof.
![]()
- Notify Payment Request via Email: Sends the Payment Request to the Debtor/Patient by means of electronic mail, with a link that enables the Debtor/Patient to make payment directly to the Hospital.
![]()
- Notify Payment Request via SMS: Sends the Payment Request to the Debtor/Patient by means of an SMS, with a link that enables Debtor/Patient to make payment directly to the Hospital.
Please Note: When users select both the Email and SMS options, the same link is sent via SMS and Email at the same time. Debtors/Patients are able to choose from which link the payment will be made, either the link received from the Email or the link that has been received from the SMS.
- Outstanding Amount to Use: The current outstanding amount which will determine the amount that will be used when the Payment Request is sent.

- Select an option by clicking on the relevant radio button:
- Patient: The outstanding amount that the Patient/Debtor is liable for.
- Medical Aid: The outstanding amount that the Medical Aid owes the Practice.
- Total: All outstanding amounts that are owed to Practice. Patient plus Medical Aid.
![]()
- Min Amount (> 20): The Minimum required amount for a Payment Request to be sent out if the outstanding amount is greater than R20.00.
- Click on the Min Amount (> 20) field to enter a minimum amount, that will be considered when the Payment Request is sent. The Min Amount (> 20) field is a currency field.
![]()
Please Note: Payment Requests that are smaller than the specified Minimum Amount will not send out.

- Banking Details: The bank account into which all Payment Request payments will be deposited.
- For more information on how to change or update these details, please refer to the user manual: Options - Financial and Creditors Information.
- Click on the Save button to save the changes that have been made to the Debtor Transaction (2) screen.

Please Note: The Save button will only appear if changes have been made to the settings.
- The Confirm Changes screen will open.

- Click on the Please specify a reason for the changes made text box to give a reason as to why the changes have been made.

- Click on the Cancel button to return to the Debtor Transaction (2) screen with saving any changes that have been made.
![]()
- Click on the OK button to save changes that have been made.
- Click on the Exit button to close the Entity Setup screen.
