System Options: Interfacing
Interfacing refers to the process of connecting components in the system in a way that allows them to communicate and exchange information or data with each other.
System Options is the configuration of how the system operates and allow the user to set up the system to suit the needs of the Practice and activates/deactivates certain functions in the system.
- The contents of this User Manual will consist of the following information:
- Log in to the GoodX Desktop as the Supervisor.
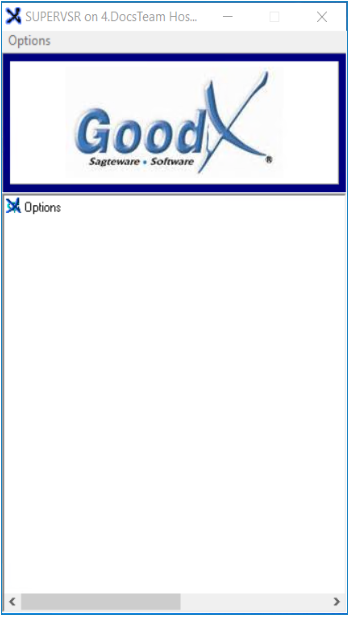
- From the Navigator, Double Click on the Options Module.
- An Authorisation/Password Necessary pop-up will appear.
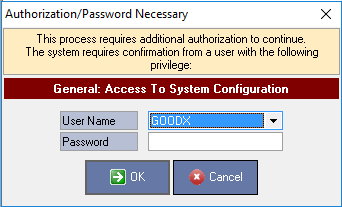
- Select the user from the User Name drop-down menu.
- Enter the password in the Password field.
- Click on the OK button to proceed.

Please Note: Only users with Supervisor access will be allowed to access the System Options.
- The main System Options screen will open.
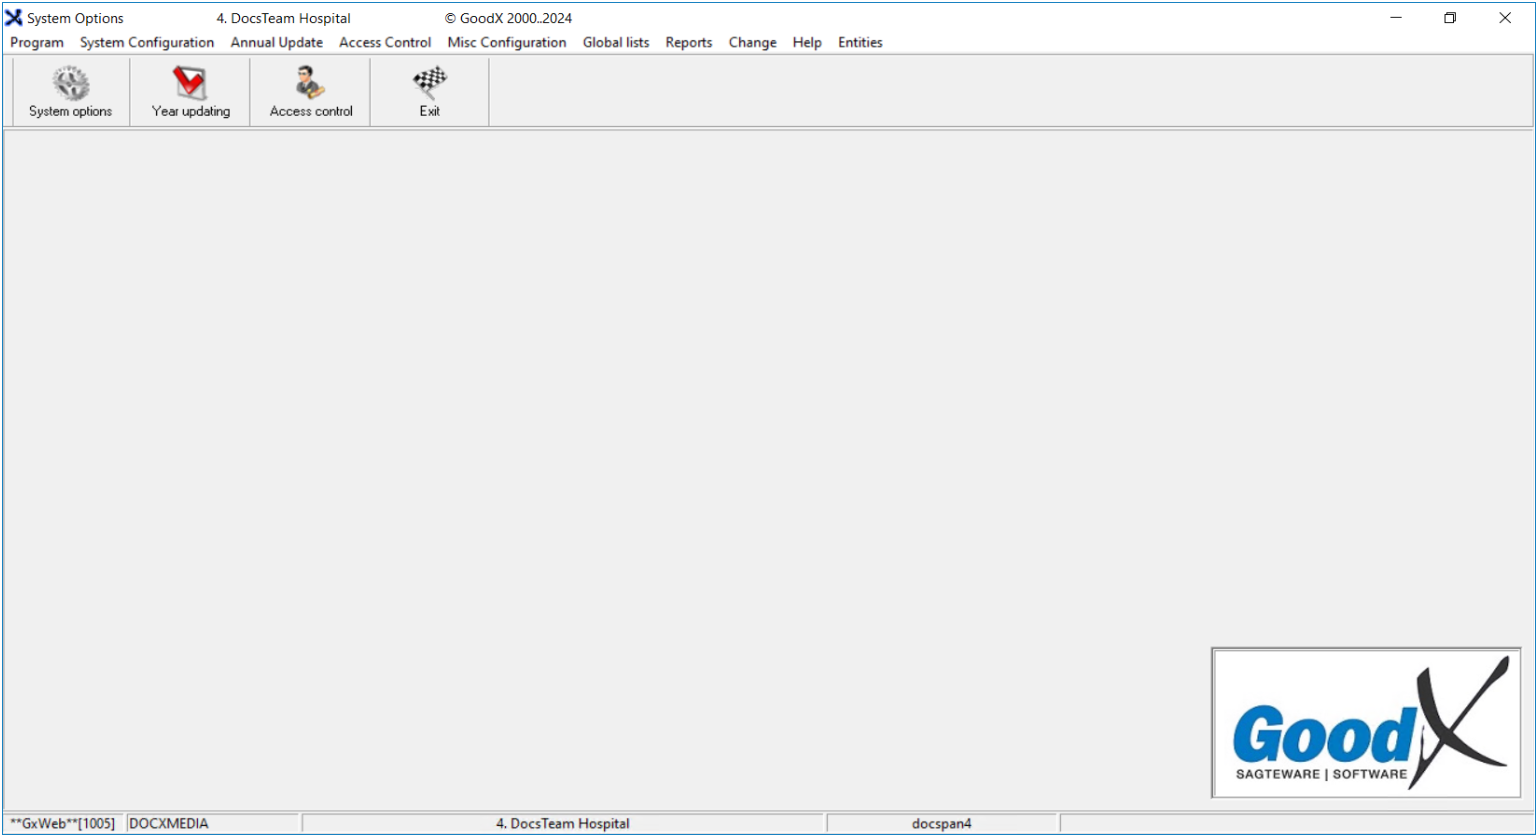
- Click on the System options button in the toolbar.

- The Entity Setup screen will open.
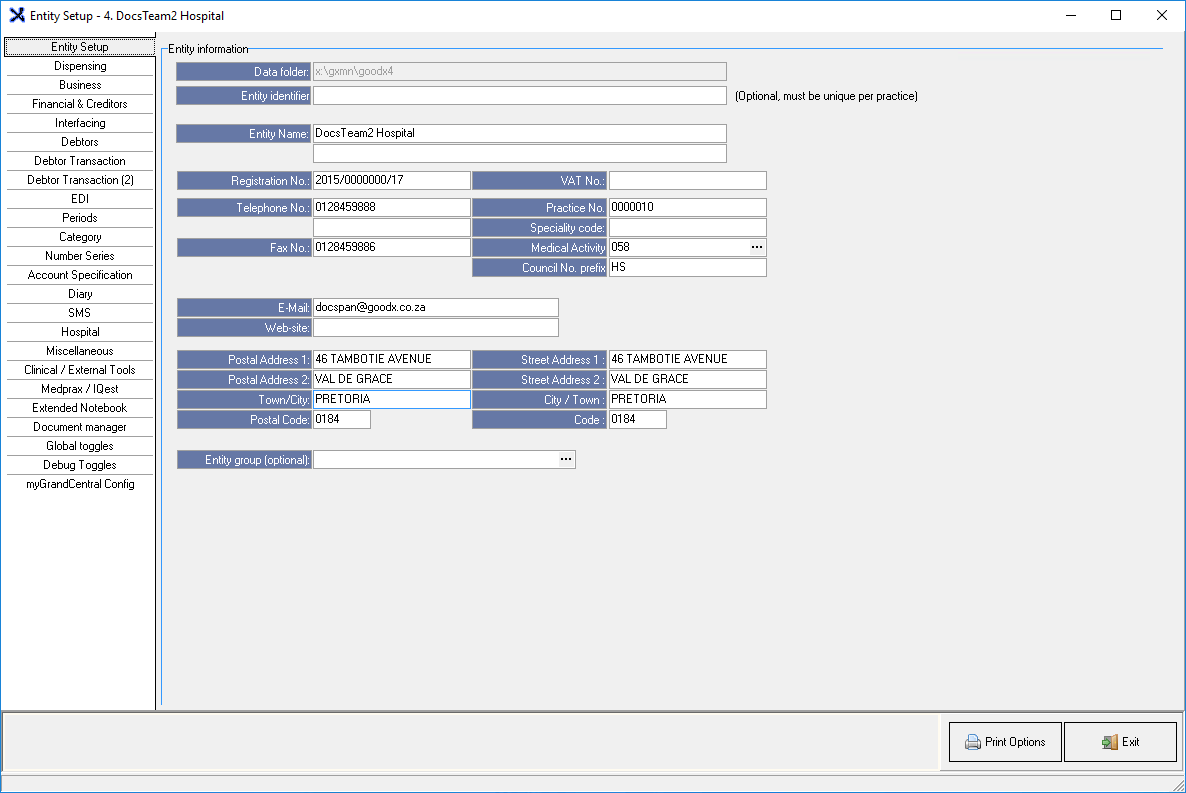
- Click on the Interfacing tab, to open the Interfacing screen.
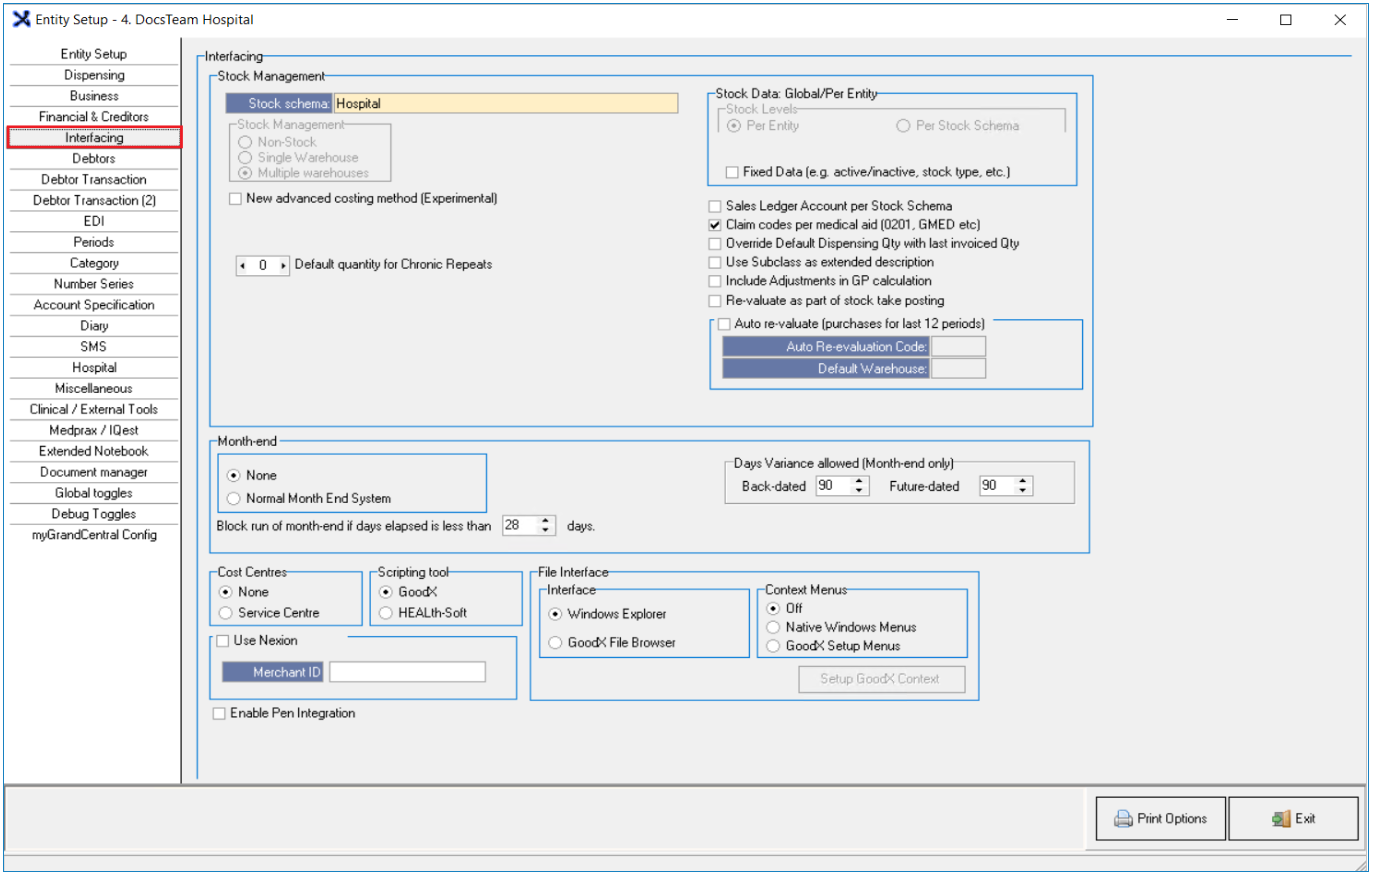
- An explanation will be given for each field and option on the Interfacing screen:
Stock Management
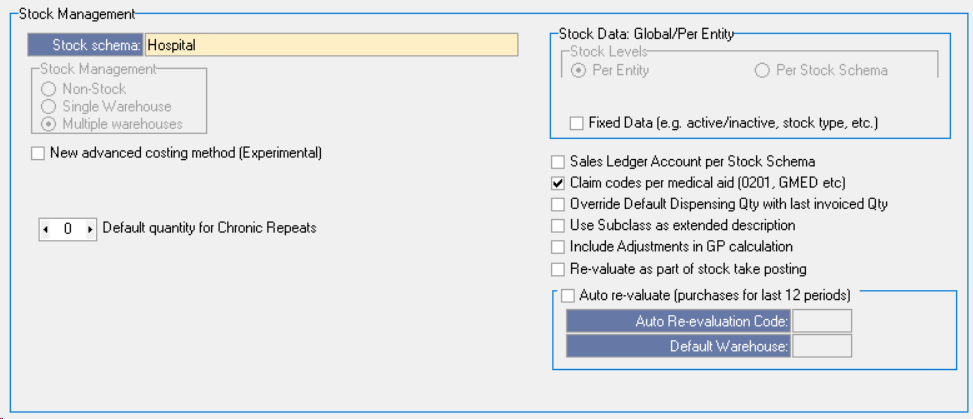
- For more information regarding the Stock Management section, please refer to the user manual: Stock Setup.
Month-End

Please Note: If the entity is set up as a Month-end system the active period is defined by the first open period.

- None: No Month-end process will be done on the system. Open Month-end System is when automatic allocation is done by the system to the open periods, according to the transaction date. Transactions can be posted in any period that is still open.
- Normal Month End: On the last day of every Month, the period will need to be closed and all transactions and billing must have been completed. Month-end will have to be done every Month, and a new period will need to be opened, to post any transactions. For more information regarding the Month-end Process, please refer to the user manual: Month End.
- Days Variance allowed (Month-end only): The Number of days that are permitted to post transactions after the Month-end has been done.
![]()
- Back-Dated: The number of allowed days in the past in which transactions can be posted.
- Future-Dated: The number of allowed days after month end was completed in which transactions can be posted.
![]()
- Block run of Month-end, if days elapsed, is less than ... days: The number of days that need to have elapsed to run the Month-end process. By default, this will be set to 28 days. This ensures that a Month-end isn't run prematurely.
Cost Centres

- None: No Cost Centres will be used.
- Service Centre: Area where the Consultation took place, will determine what prices will be charged and what Medical Aid benefits will be used. The default setting for Medical Practices and Hospitals.
Scripting Tool

- GoodX: Default Scripting Tool.
- HEALth-Soft: No longer in use.
File Interface

- Interface: Where data fields are located in a file.

- Windows Explorer: The local device file paths, where files on the computer are stored.
- GoodX File Browser: GoodX file paths.
- Context Menus: The Menu view on the system.

- Off: In the Hospital/Clinic Setup this is the Default Selection.
- Native Windows Menus: The Menus look the same as in Windows.
- GoodX Setup Menus: Menus that are set up by GoodX.
Use Nexion

- Use Nexion: A credit card machine integration.
- Tick the Use Nexion checkbox if you are using the Nexion card machine at the Practice/Facility.
- Complete the Merchant ID field with the relevant information.
Enable Pen Integration
- Tick the Enable Pen Integration check box to be able to use a smart pen with GoodX.
![]()
Please Note: Using Pen Integration is only possible with the relevant hardware.
- Click on the Save button to save the changes that have been made. The Save button will only appear if changes have been made to the settings.
- Click on the Print Options button to Print the details of all saved options.
![]()
- Click on the Exit button to close the Entity Setup screen and return back to System Options main screen.
Last modified: Tuesday, 6 February 2024, 11:27 AM