The Extended Notebook function is used to create macro text files that can be utilised for mail merges. A user can make use of any text formatting software that is able to perform a Mail Merge.
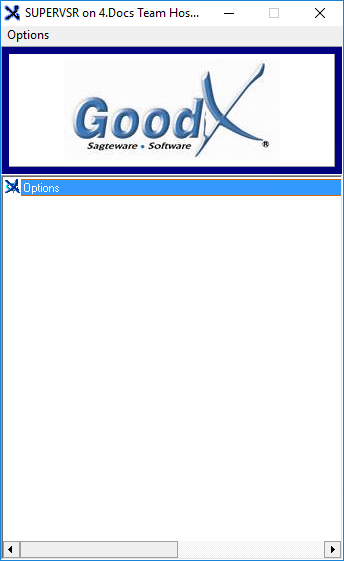
Log in to the GoodX Desktop as the Supervisor.
From the Navigator,Double Click on the Options Module.
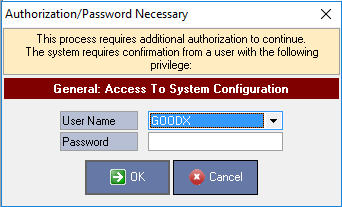
An Authorisation/Password Necessary pop-up will appear.
Select the user from the User Name drop-down menu.
Enter the password in the Password field.
Click on the OK button to proceed.
Please Note: Only users with Supervisor access will be allowed to access the System Options.
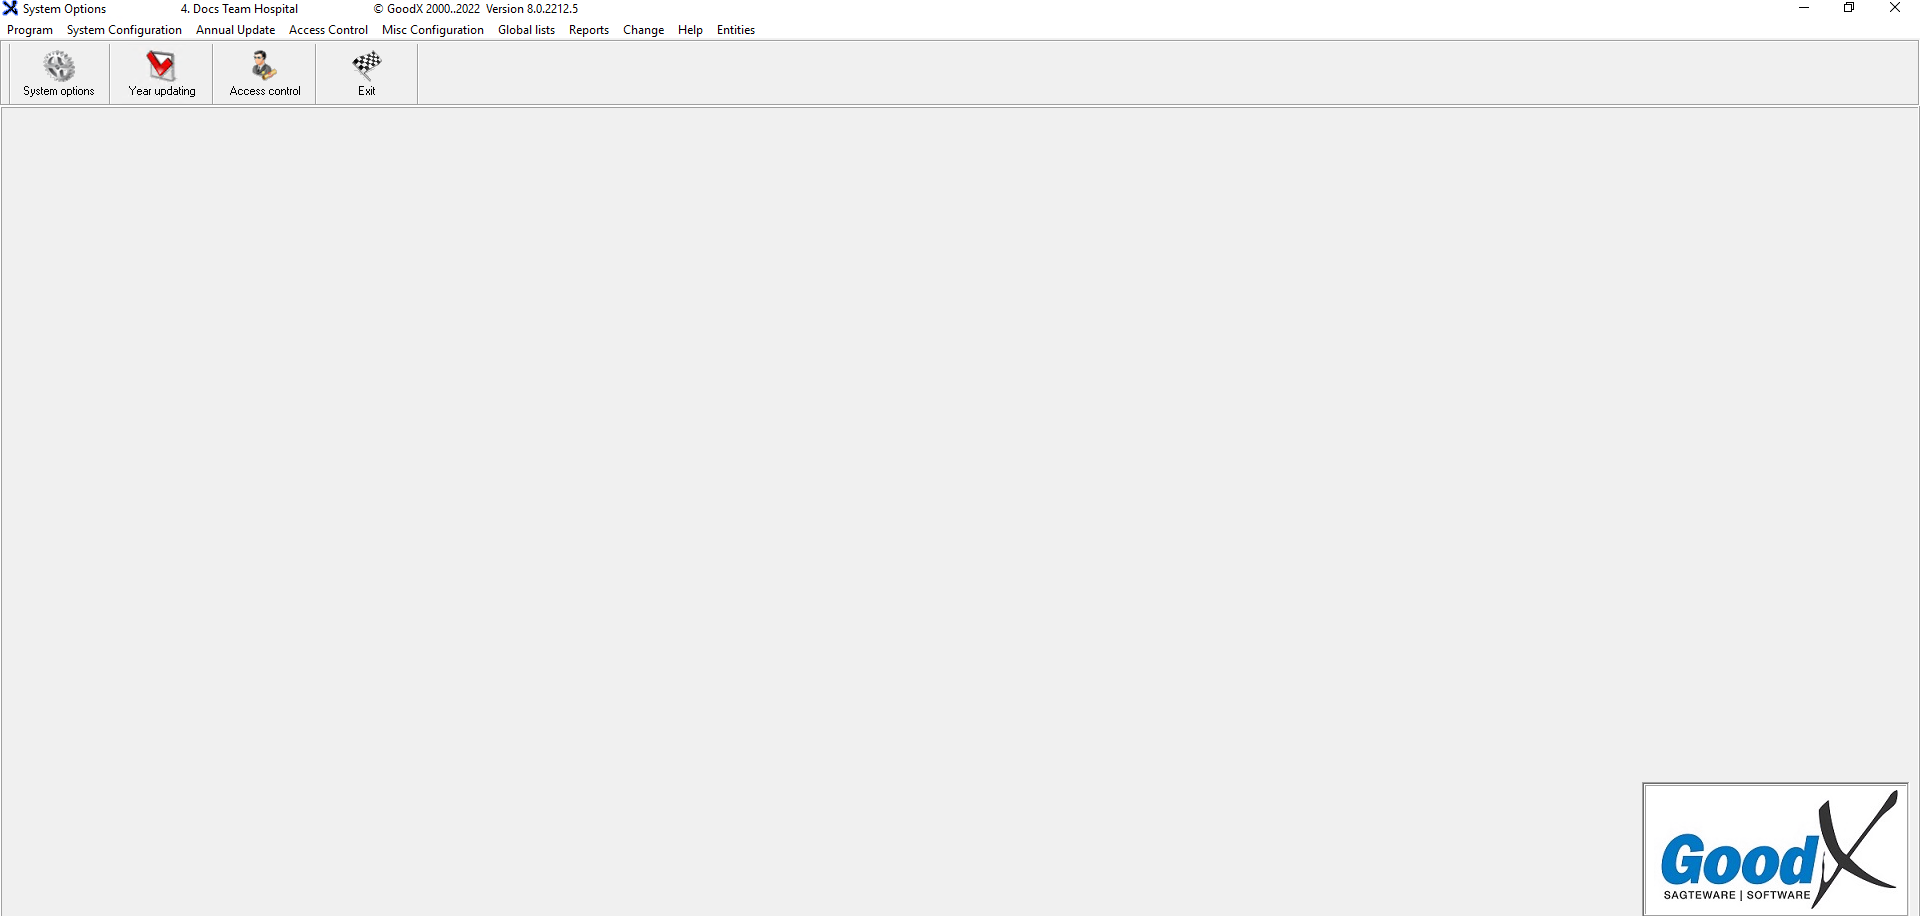
The System Options screen will open.
Click on the System options button located on the Toolbar.
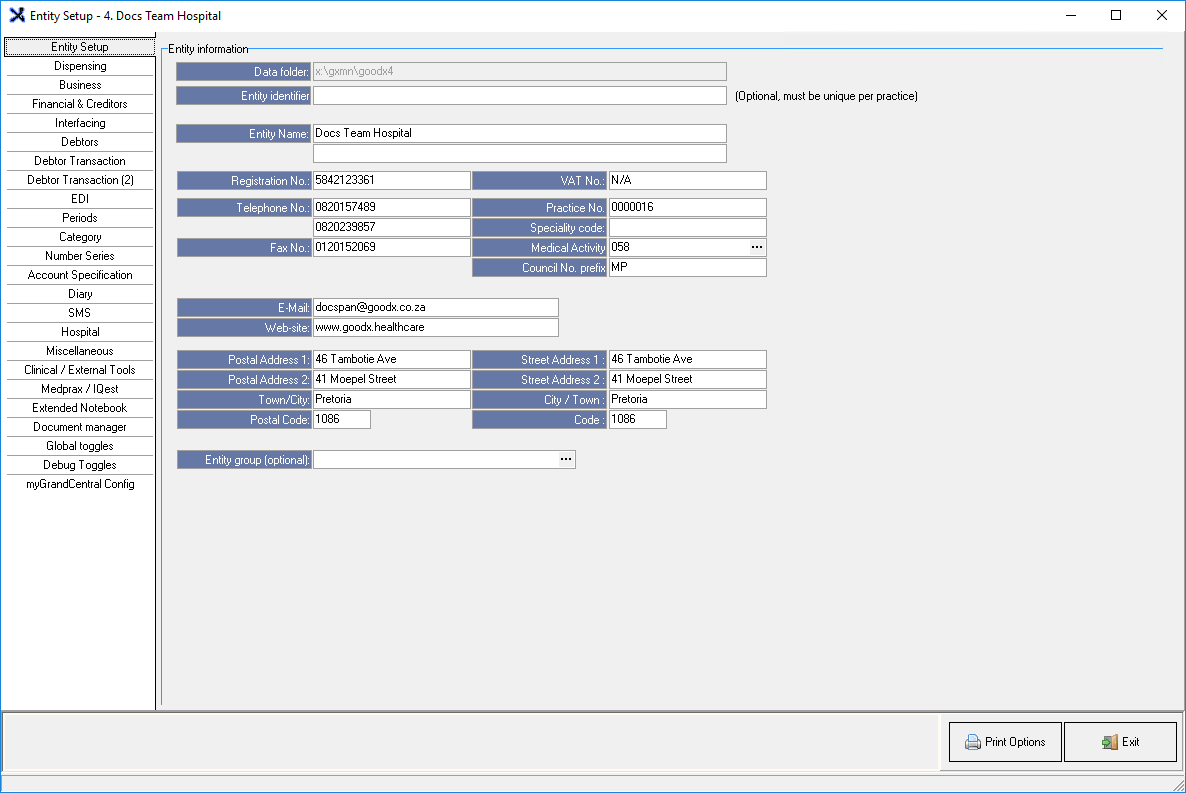
The Entity Setup screen will open.
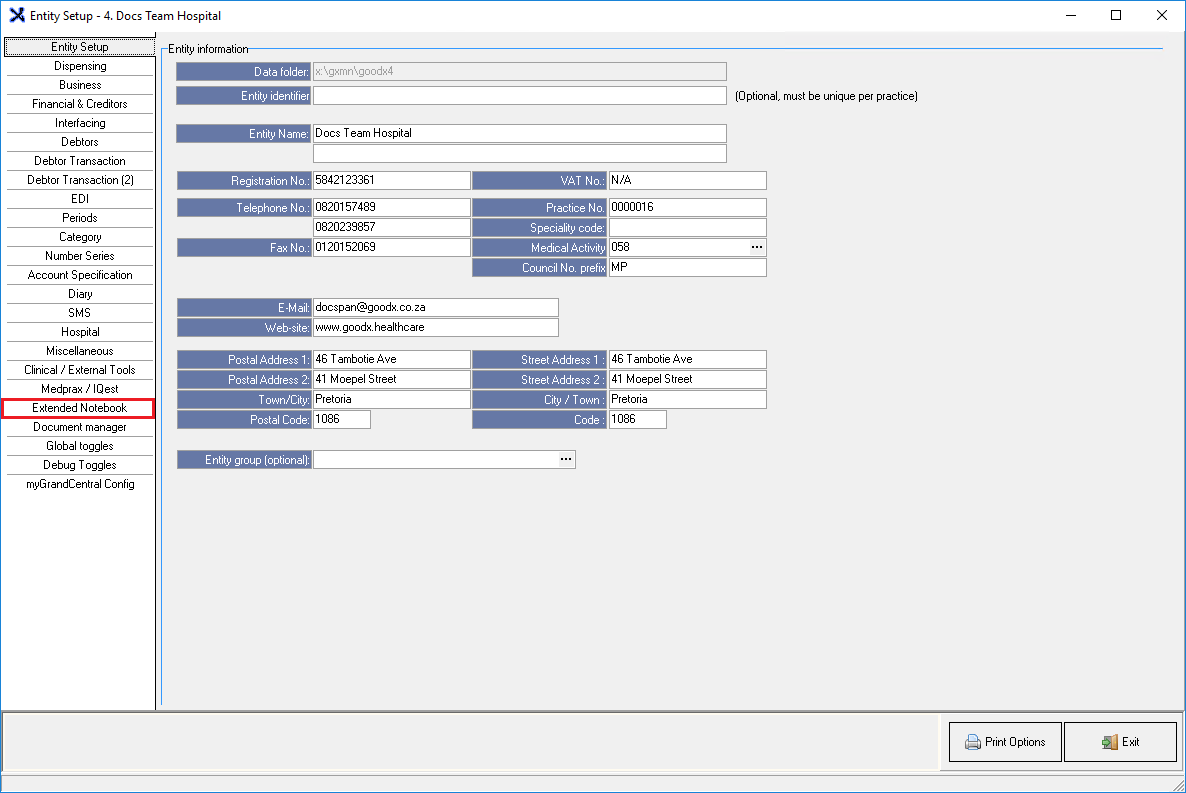
Click on the Extended Notebook tab.
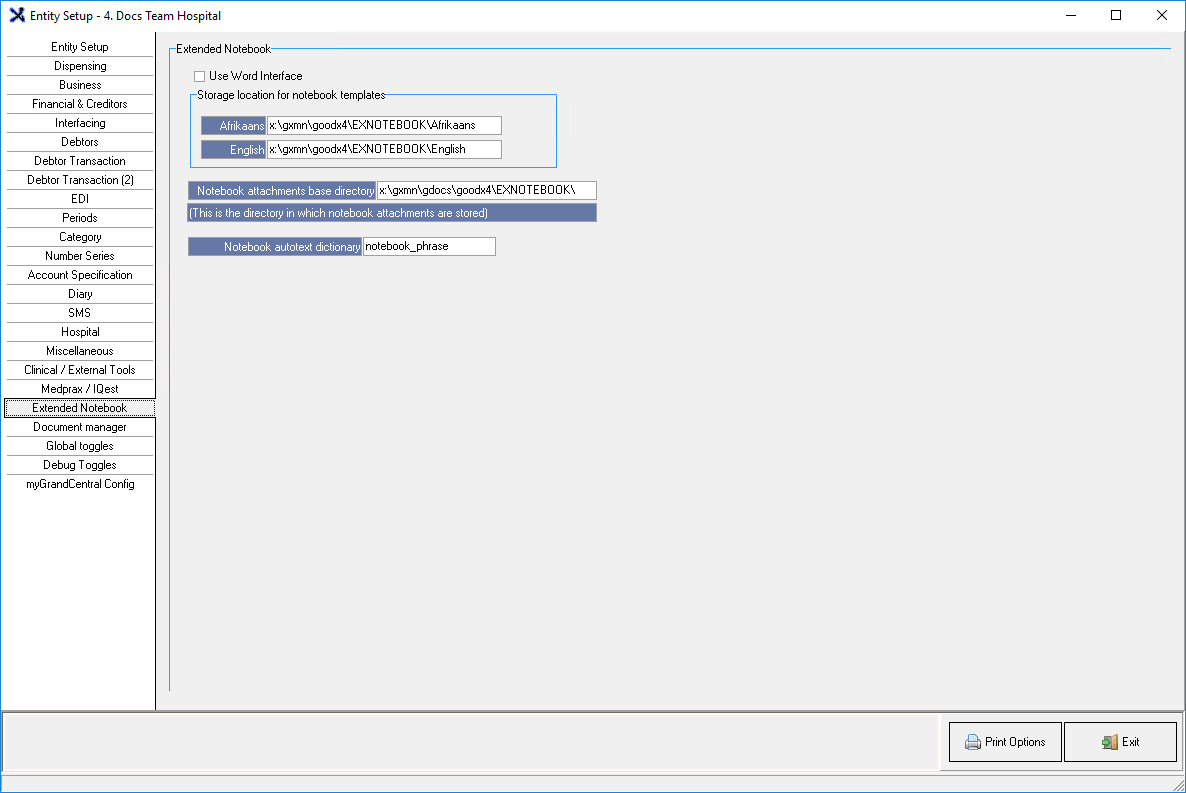
The Extended Notebook screen will open.
Click on the Use Word Interface checkbox to activate the Extended Notebook.
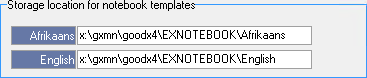
The Storage Locations for Notebook Templates section contains system generated paths where the macro text files will be stored.
Afrikaans: The macro text files created on the Afrikaans GoodX system will be stored on this file path.
English: The macro text files created on the English GoodX system will be stored on this file path.
The Notebook Attachments base Directory field contains the system-generated path where all the notebook attachments are stored.
The Notebook Autotext Dictionary section contains the file that will assist in the spell-check of the macro text files.
Click on the Exit button to close the Entity Setup screen.
Last modified: Thursday, 9 February 2023, 10:27 AM