Theatre App: The Navigation and Use of the Operation Tab
The Operation tab on a Theatre Booking gives an overview of all the details regarding the operation, such as when and where the operation will take place, the procedure details and the details regarding the team that will be performing the operation.
- The contents of this user manual will consist of the following information:
- Operation Details
- Operation Team
- Patient and Debtor
- Add Images
- Navigate to the GoodX Theatre App website by typing /app/gxtheatre/ at the end of the GoodXWeb App URL and Pressing the Enter key on the keyboard.

- The GoodX Theatre screen will open.
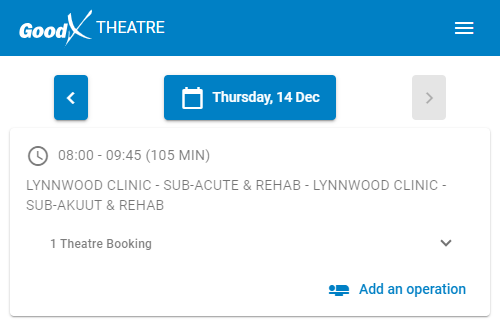
- Click on the Theatre Booking button to open the operations that have been booked within this session.
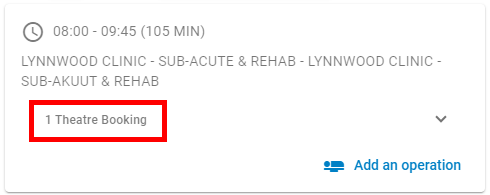
- For more information regarding how to Add a Theatre List and how to Add an Operation to the session, please refer to the user manuals: How to Add a Theatre List using the Theatre App and How to Add an Operation on the Theatre App.
- The Theatre Bookings that have been added will open.

- Click on the View Operation button.
- The Theatre Booking will open on the Operation tab.
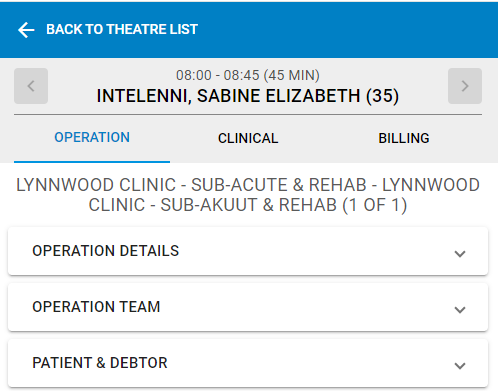
Please Note: All Panels can be expanded and collapsed to open or close each panel.
- An explanation will be given for the information, panels and options available on the Operation tab.
Operation Details
All the information relating to the Operation that was added when it was created.- Click on the Operation Details panel.

- All the details of the Operation that were filled in when it was created will be displayed.

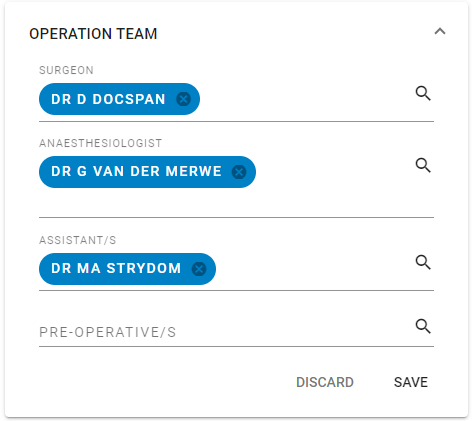
Operation Team
The information of the staff members involved with the Operation.- Click on the Operation Team panel.

- All the details of the Operation Team that was completed when the Operation was created will be displayed.
Patient and Debtor
The Demographic Information of the Debtor and Patient involved in this Operation.- Click on the Patient and Debtor panel to expand the details.

- The details of the Debtor and Patient that was added to the Operation will open.
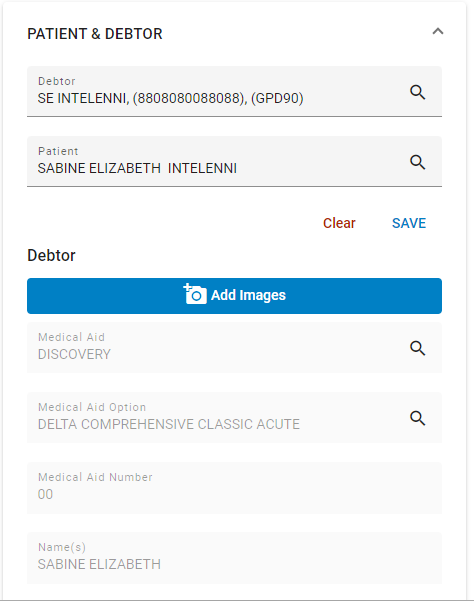
Please Note: The details within each panel can be changed if the need arises. For more information regarding how to Edit an Operation, please refer to the user manual: How to Edit an Operation on the Theatre App.
Add Images
Allows you to upload relevant documentation to the Operation, for example, operation notes, incision photos and treatment plan notes etc.- Click on the Add Images button in the Debtor section to add any relevant documentation to the Operation tab.
![]()
- The Upload Images screen will open.
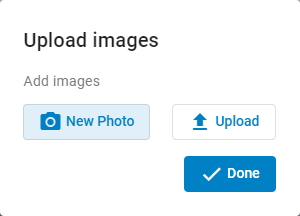
- Click on the New Photo button to take an image using the device that the Theatre App is open on.
![]()
- Click on the Upload button to add an image that is already on the device that is in use.
![]()
- Once the images have been captured or selected they will be added to the Upload Images screen.
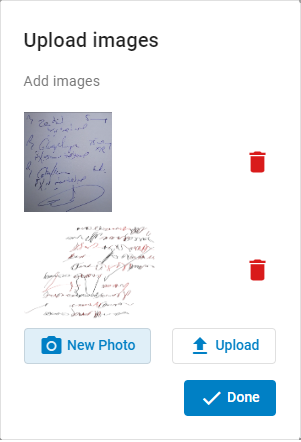
- Click on the Done button once satisfied with the images that will be added to the Operation.
![]()
- The images will be added to the Operation tab.
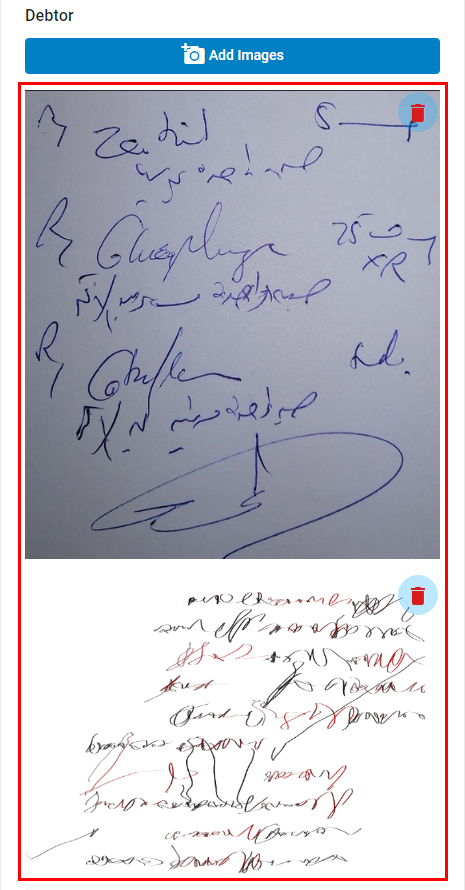
- Click on the Save button to save any changes that have been made.
![]()
Last modified: Thursday, 15 February 2024, 10:18 AM