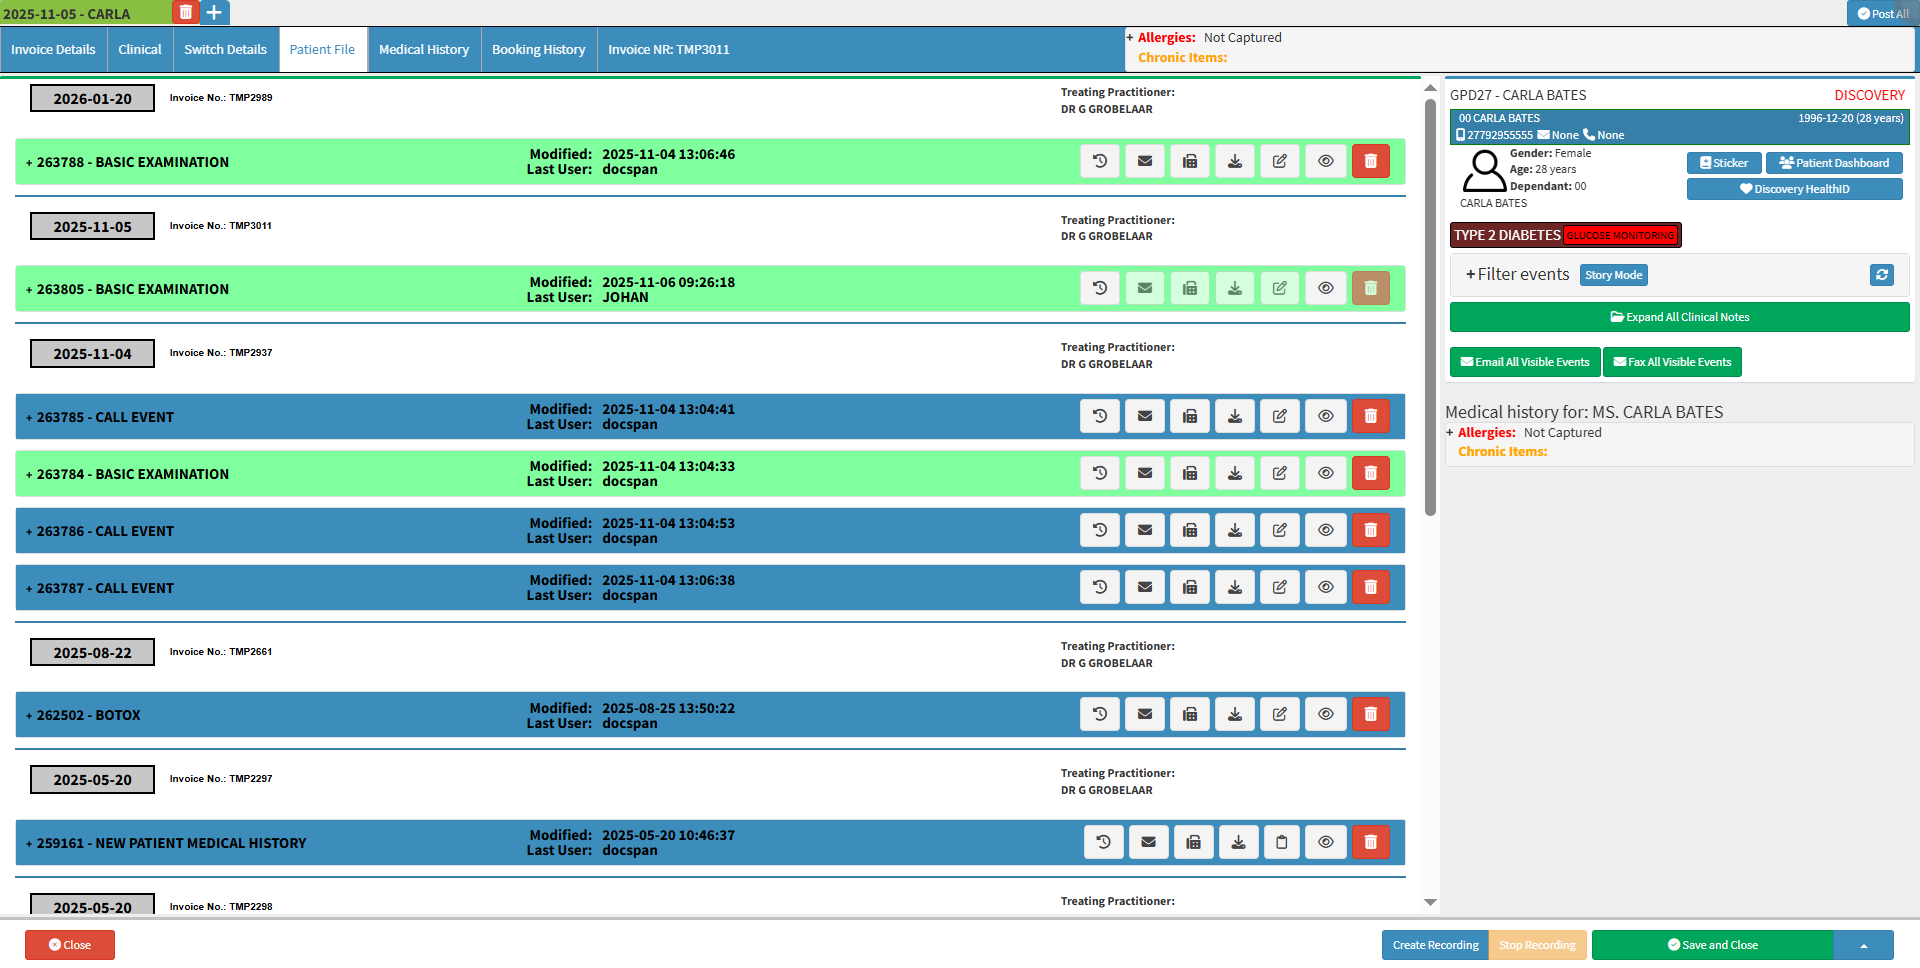
The Patient File serves as a comprehensive record of the Patient’s Clinical History, containing all relevant medical information and Clinical Events. Within the file, Practitioners can access the Patient’s previous Scripts, Sick Notes, Investigation Forms, and other essential documents.
Having access to this information provides Practitioners with a clear overview of the Patient’s medical background, supporting accurate diagnosis and effective treatment planning.
Maintaining a complete Clinical History is vital for monitoring a Patient’s overall health over time and enabling Practitioners to deliver the highest standard of care. This detailed record allows Practitioners to track the progression of Chronic Conditions, note Allergies, and identify potential health risks.
In cases where a Patient is unable to communicate their Medical History, the inclusion of a thorough Clinical History within the Patient File becomes invaluable. It empowers treating Practitioners to make well-informed decisions regarding appropriate treatments, ensuring safe, effective, and patient-centred care.
The Contents of This User Manual:
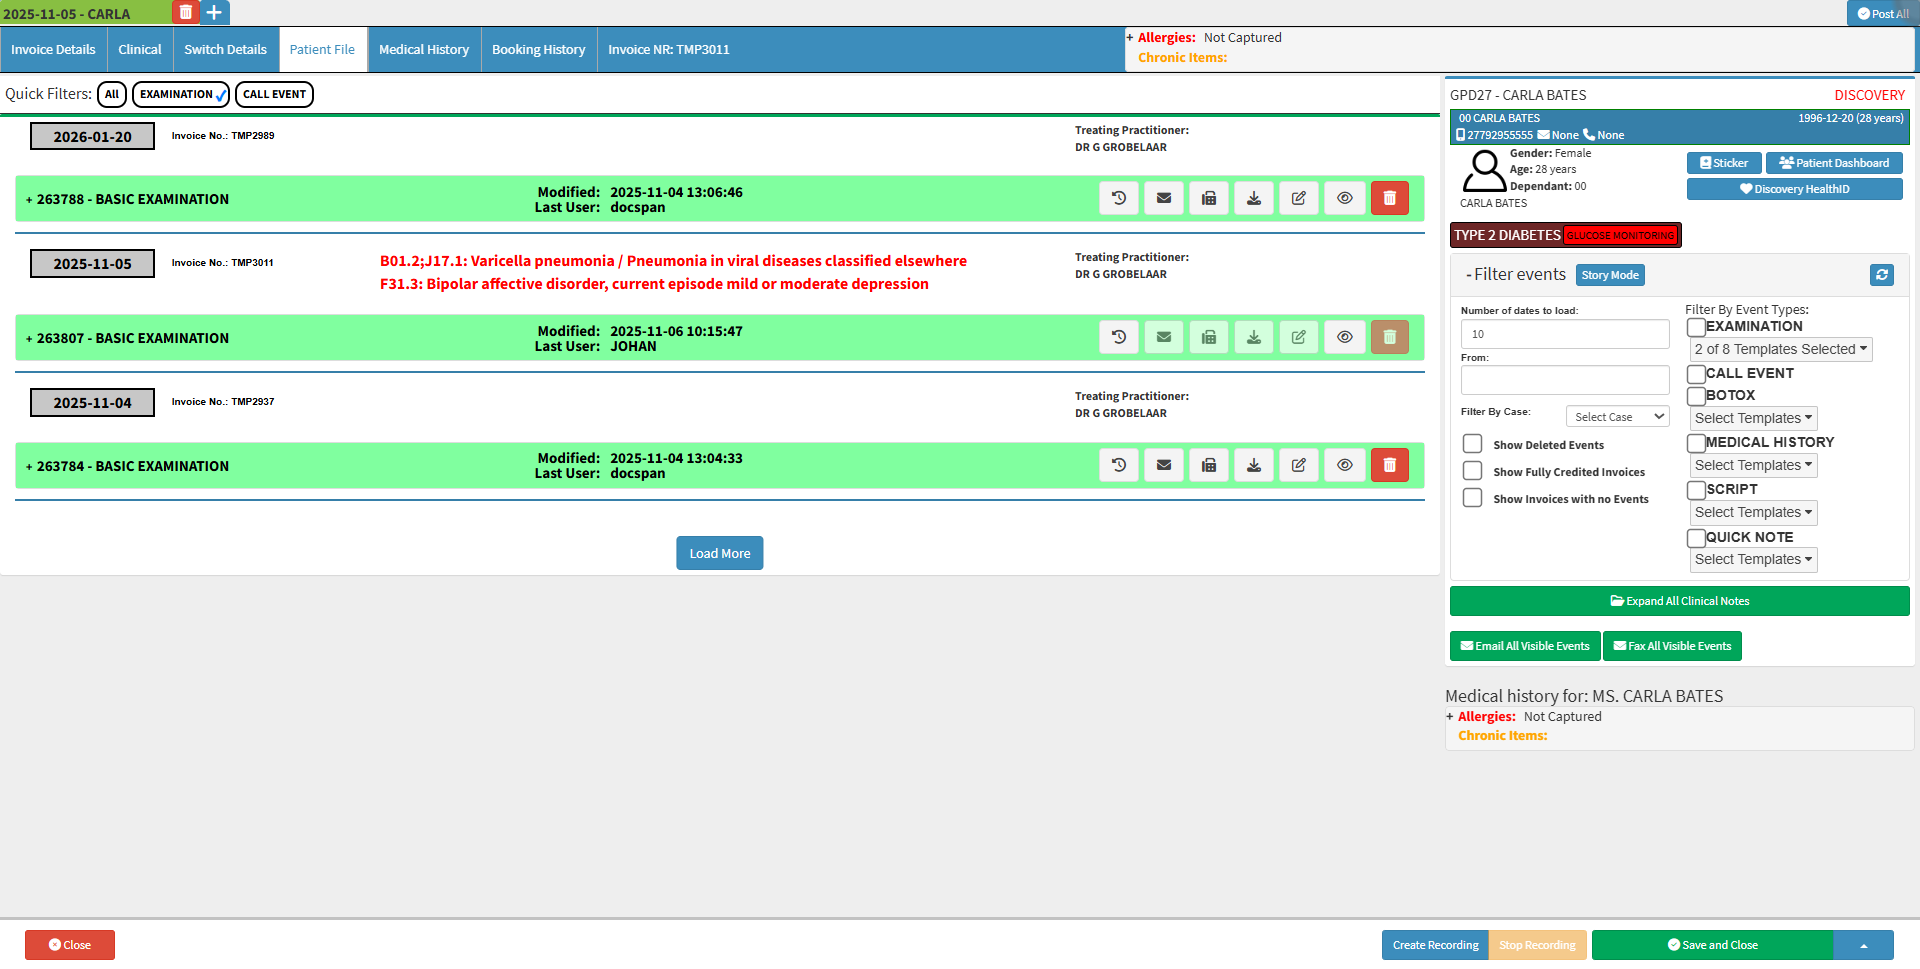
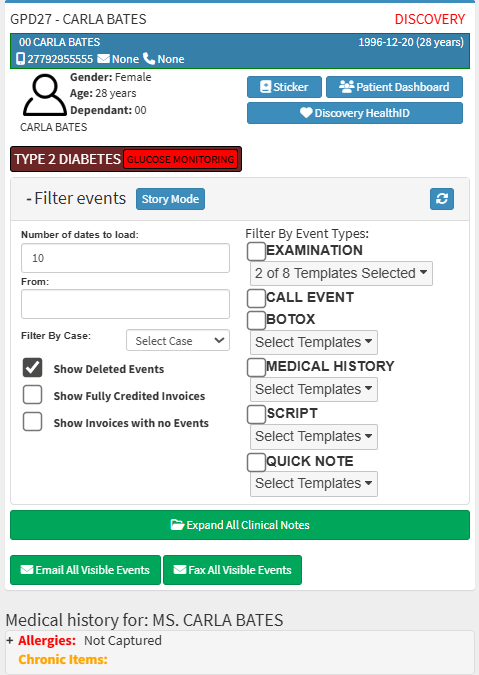
Quick Filters
Clinical Event Entry
View History
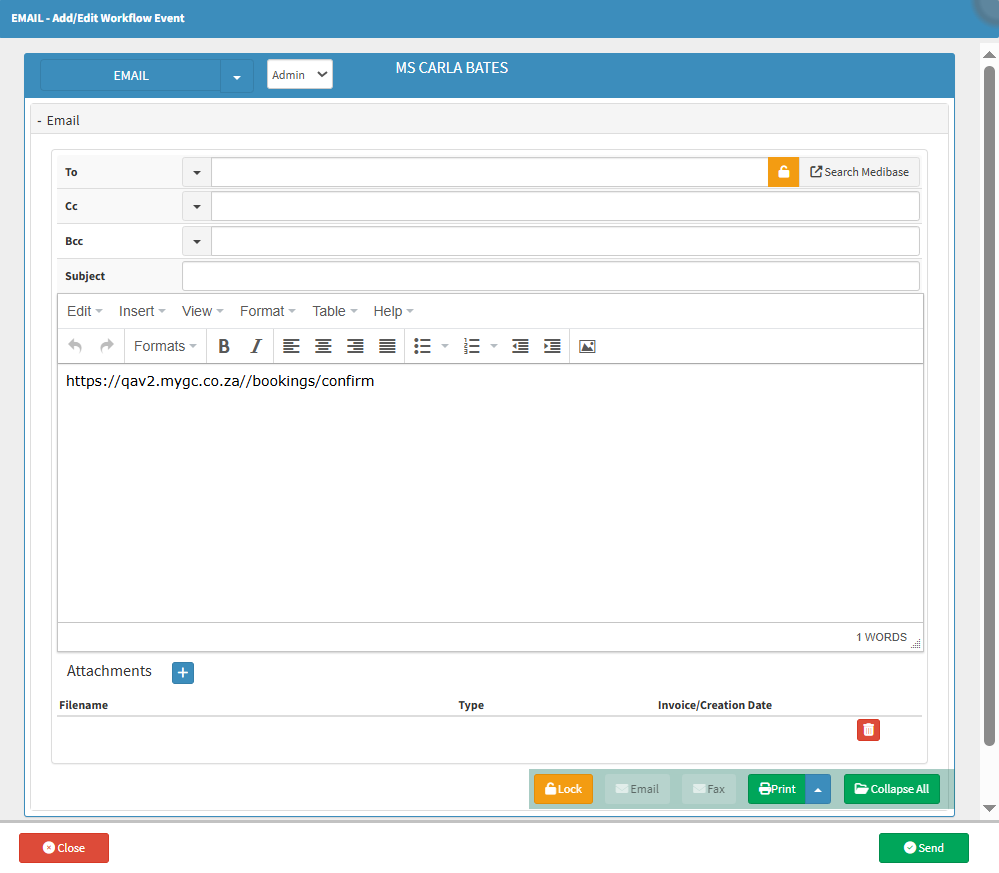
Email
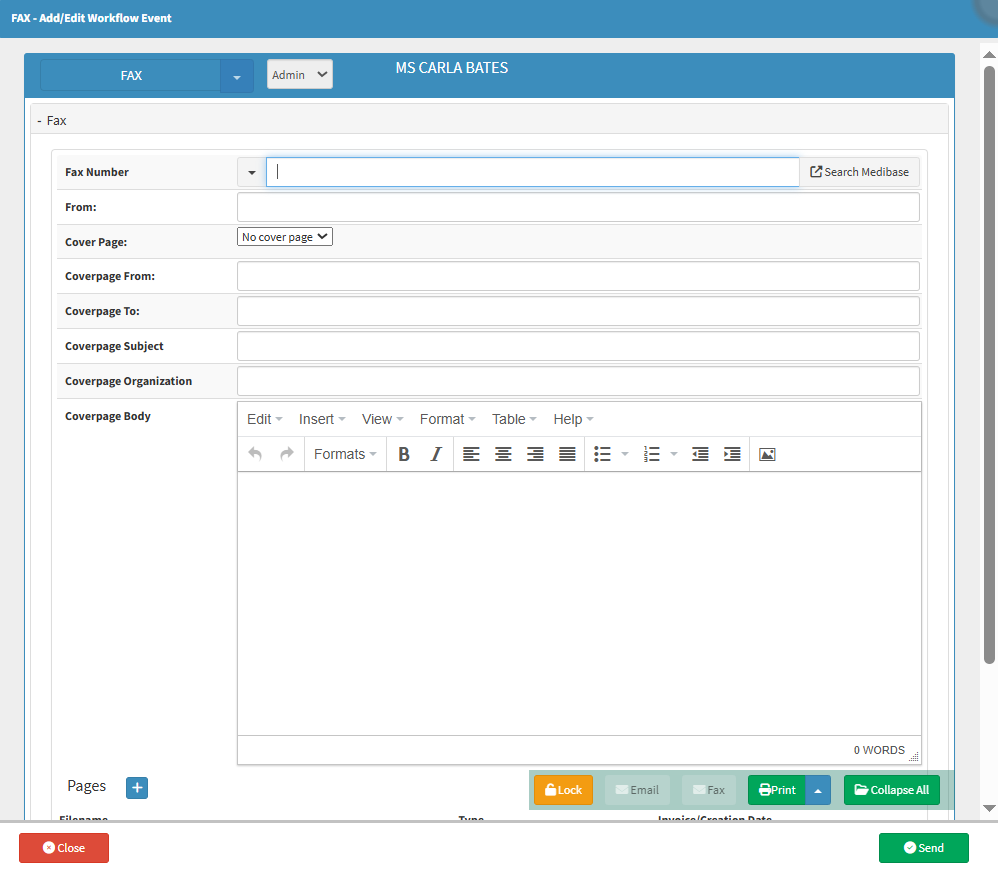
Fax
Download
Edit
View
Delete
Restore
Patient File Sidebar
This user manual will start on the Patient File screen.
Saves the Clinical Event directly to the Users' computer.
Click on the Download button.
The file will automatically start to download to your computer for local access.
Edit
Allows you to edit the selected Event.
Click on the Edit button to edit the document.
The Selected Examination screen will open.
?Please Note:You will not be able to edit a Clinical Event when the Event has not yet been closed or saved. For more information regarding the inability to edit Clinical Events, please refer to the user manual: Inability to Edit Clinical Documentation on Various Screens.
View
See a summary of the Clinical Event's details.
Click on the View button.
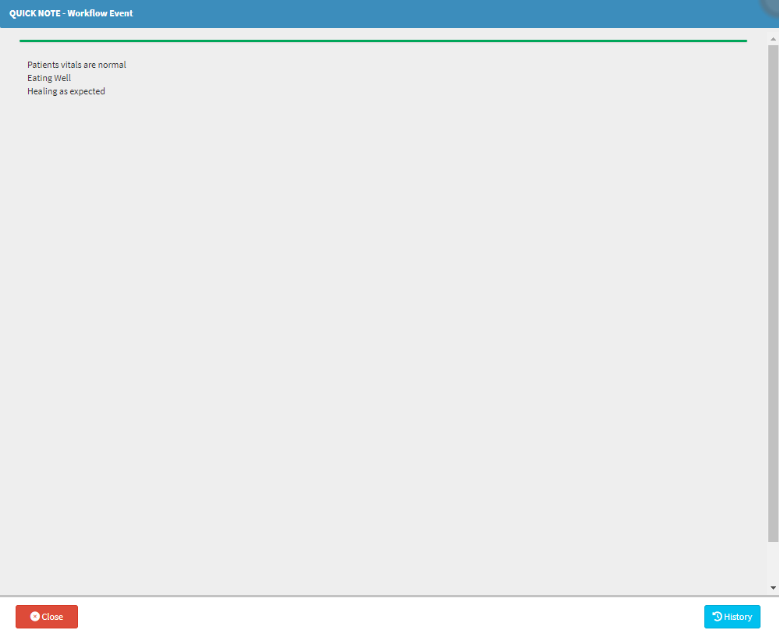
ARead-Onlycopy of the Workflow Event that was selected will open. You are able to view all the information that has been captured.
Delete
Temporarily Disables the Clinical Event from the Patient File.
Click on the Delete button.
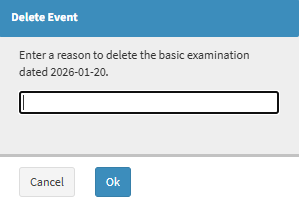
A Delete Event pop-up will appear to ask you to Enter a reason to delete the Clinical Event.
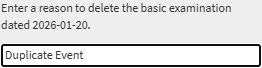
Click on the Enter a Reason to Delete text field to Type a reason as to why you would like to Deletethe Clinical Event.
Click on the Ok button to continue to Disablethe Clinical Event.
A red line will be drawn through the Clinical Event that has been disabled.
?Please Note: Certain buttons will be greyed out and these Options won't be available any longer.
Restore
Re-enable a Clinical Event that has previously been disabled.
Click on the Restore button.
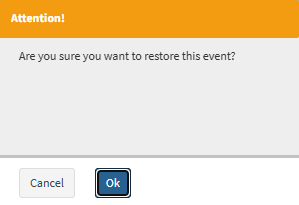
An Attention! pop-up will appear to ask if you are sure that you would like toRestorethe Clinical Event.
Click on the Ok button to continue to restorethe Clinical Event.
The previously disabled Clinical Event will be restored.
Patient File Sidebar
An extended screen on the right-hand side where more options and information are available regarding the Patient File and their Clinical History.