Managing Patient Details accurately ensures that all clinical and administrative records within the Practice are synchronised and up to date. Capturing comprehensive data, from demographic information to Gap Cover details, allows for seamless communication and precise financial processing for every Patient and Dependant. Maintaining these records correctly supports the Practitioner in providing quality care while ensuring that the Debtor and Medical Aid requirements are met without administrative delays.
The Contents of This User Manual:
Patient List
Colomns
Actions
Patient Details
Dependant Details
Contact and Address Details
Gap Cover
This user manual will start on the Patient Details section.
Click on the Add Authorisation button if authorisation is necessary for the Patient's treatment.
For more information on the Authorisation setup, please refer to the user manual: Authorisation Setup.
Click on the Add New Patient button to add another Patient.
Click on the File No. field to add a file number to the Patient if an additional filing type is still used in the Practice.
?Please Note: If auto allocation of file numbers has been switched on, you will not be able to enter a file number. For more information regarding the auto-allocation of file numbers, please refer to the user manual: Auto File Numbers.
Click on the Dependant No. field to input the number allocated to the Dependant.
?Please Note: The Main Member's Dependent Number will likely be 00.
Click on the Name field to enter the first name of the Patient.
Click on the Surname field to enter the surname of the Patient.
Click on the Initials field to enter the Patient's initials.
?Please Note: The Initials field will be completed automatically once the Firstname(s) field is completed.
Click on the Nickname field to enter the Patient's nickname if they have one.
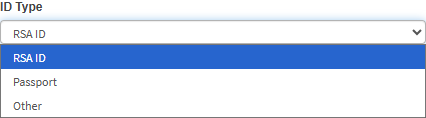
Click on the ID Type drop-down menu to select an appropriate option.
Click on the ID Number field and enter the identification number of the Patient. If no ID number is available, in the case of a Child Dependant, then the Main Member's identification information would be sufficient.
?Please Note: The validation of the ID Number field will be determined by the ID Type that has been selected.
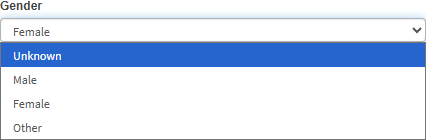
Click on the Gender drop-down menu to select an appropriate gender option.
?Please Note: The Gender will automatically be selected based on the ID Number that was entered, using the ID Number validation, but the Gender can be changed to be more inclusive of the Patient's preference.
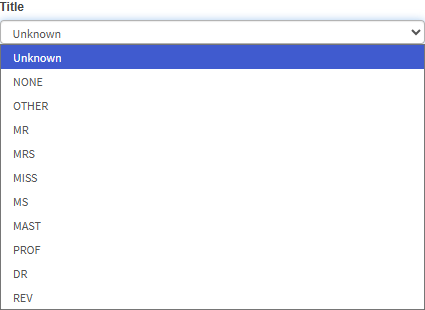
Click on the Title drop-down menu to select an appropriate option.
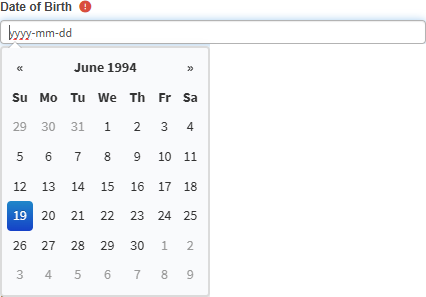
Click on the Date of Birth field to select the Patient's birthday from the date picker that becomes available.
Click on the Occupation field to enter the Patient's occupation.
Click on the Classification drop-down menu to select the appropriate option.
Click on the Note field to enter any notes regarding the Patient.
Click on the Patient Tags field to enter the Patient's occupation.
?Please Note: The Patient tags will depend on what is set up for your Practice. For more information regarding the Patient Tags, please refer to the user manual: Patient Setup.
Dependant Details
The Dependant Details section allows you to specify the relationship of the individual to the main member and link them to the correct employer or Diary.
Click on the Dependant Type drop-down menu to select the appropriate options.
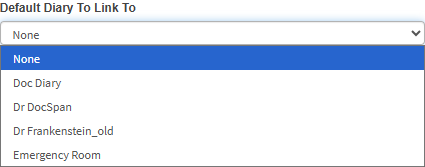
Click on the Default Diary To Link To drop-down menu to select the Diary the Patient will automatically link to.
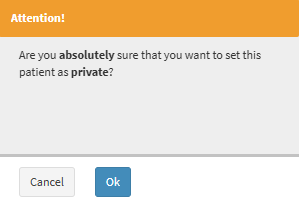
Tick on the Private Patient checkbox if the Patient is not on a Medical Aid.
?Please Note: A Notification will appear to confirm this action to make the Patient private.
Contact and Address Details
The Contact and Address Details Section enables you to store and update phone numbers, emails, and addresses. This ensures the Practice can always reach the Debtor through the correct channels.
Click on the Copy Contact Point from Debtorbutton to copy the contact point from the Debtor.
Click on the Cell No. field to enter the mobile number of the Patient.
Click on the Home No. field to enter a landline number that belongs to the Patient.
Click on the Work No. field to enter the telephone number of the workplace where the Patient is employed.
Click on the Email field to enter the email address of the Patient.
?Please Note: An email address will be validated using specific criteria such as an @ sign. The Email field will be highlighted in red if the email address is invalid.
Click on the Address field and begin typing the desired address, and select the desired option on the list that becomes available.
?Please Note: The Physical Address auto-fill feature is integrated with Google Maps and will automatically populate the Address fields when a selection is made from the suggestion list. Using this feature is optional, and you are also able to manually enter the address.
Click on the Copy Address from Debtor button to copy the Address from the Debtor.
The Gap Cover section is used to record extra insurance information to ensure that additional costs not covered by the primary Medical Aid are managed correctly.
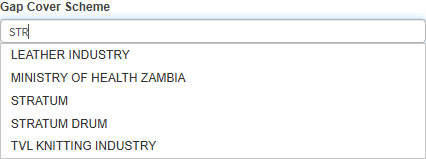
Click on the Gap Cover Scheme field and start typing the name of the desired Gap Cover, and select the desired Gap Cover from the drop-down menu that becomes available.
For an extensive explanation of what Gap Cover is and each field, please refer to the user manual: GAP Cover.
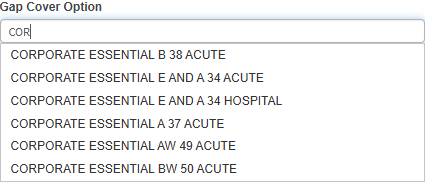
Click on the Gap Cover Options field and start typing the name of the desired Gap Cover option, and select the desired Gap Cover option from the drop-down menu that will become available.
Click on the Gap Cover Policy No. field to enter the Gap Cover Policy membership number associated with the Gap Cover.