How to Capture Batch Tracking on Stock Invoices
Batch Tracking is used to track a specific Item's group of units. When a Practice uses a Stock system, they will make use of suppliers for their Stock. Each Batch receives a Lot Number or Batch Number linked to the Batch or box of the Item made by the manufacturer. This ensures that all items of the same kind have been made with the same ingredients and packaging.
If an item is recalled by the manufacturer or medical association for any reason, such as contamination with glass, you can identify which Batch each Patient received. This allows you to contact those Patients to inform them to return the item and stop using it.
Batch Tracking is crucial for maintaining high standards of quality, safety, and efficiency when working with Stock.
Please Note: Items will need to be set up for Batch Tracking in the Desktop App, before you will be able to capture the Batch information. For more information regarding where to set up each Item, please refer to the user manual: Stock Item Overview.
- This user manual will start on the Creditors screen.

- Click on the Creditor who is supplying Materials/Medicine to the Practice.
![]()
- The Creditors sidebar will open.
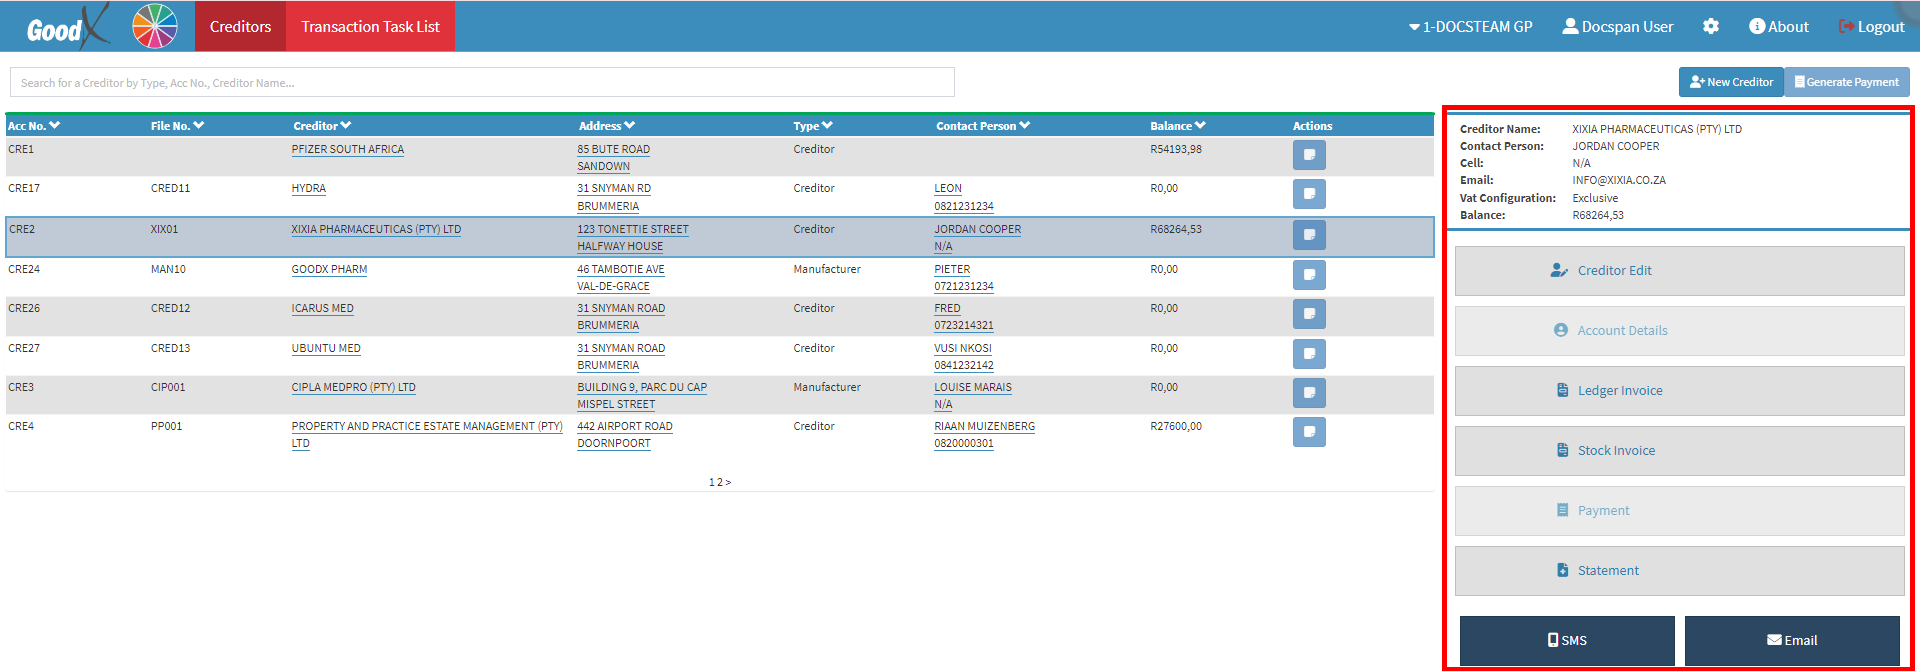
- Click on the Stock Invoice button.

- The Select Warehouse screen will open, where the Warehouse is selected to where the Stock needs to be assigned.
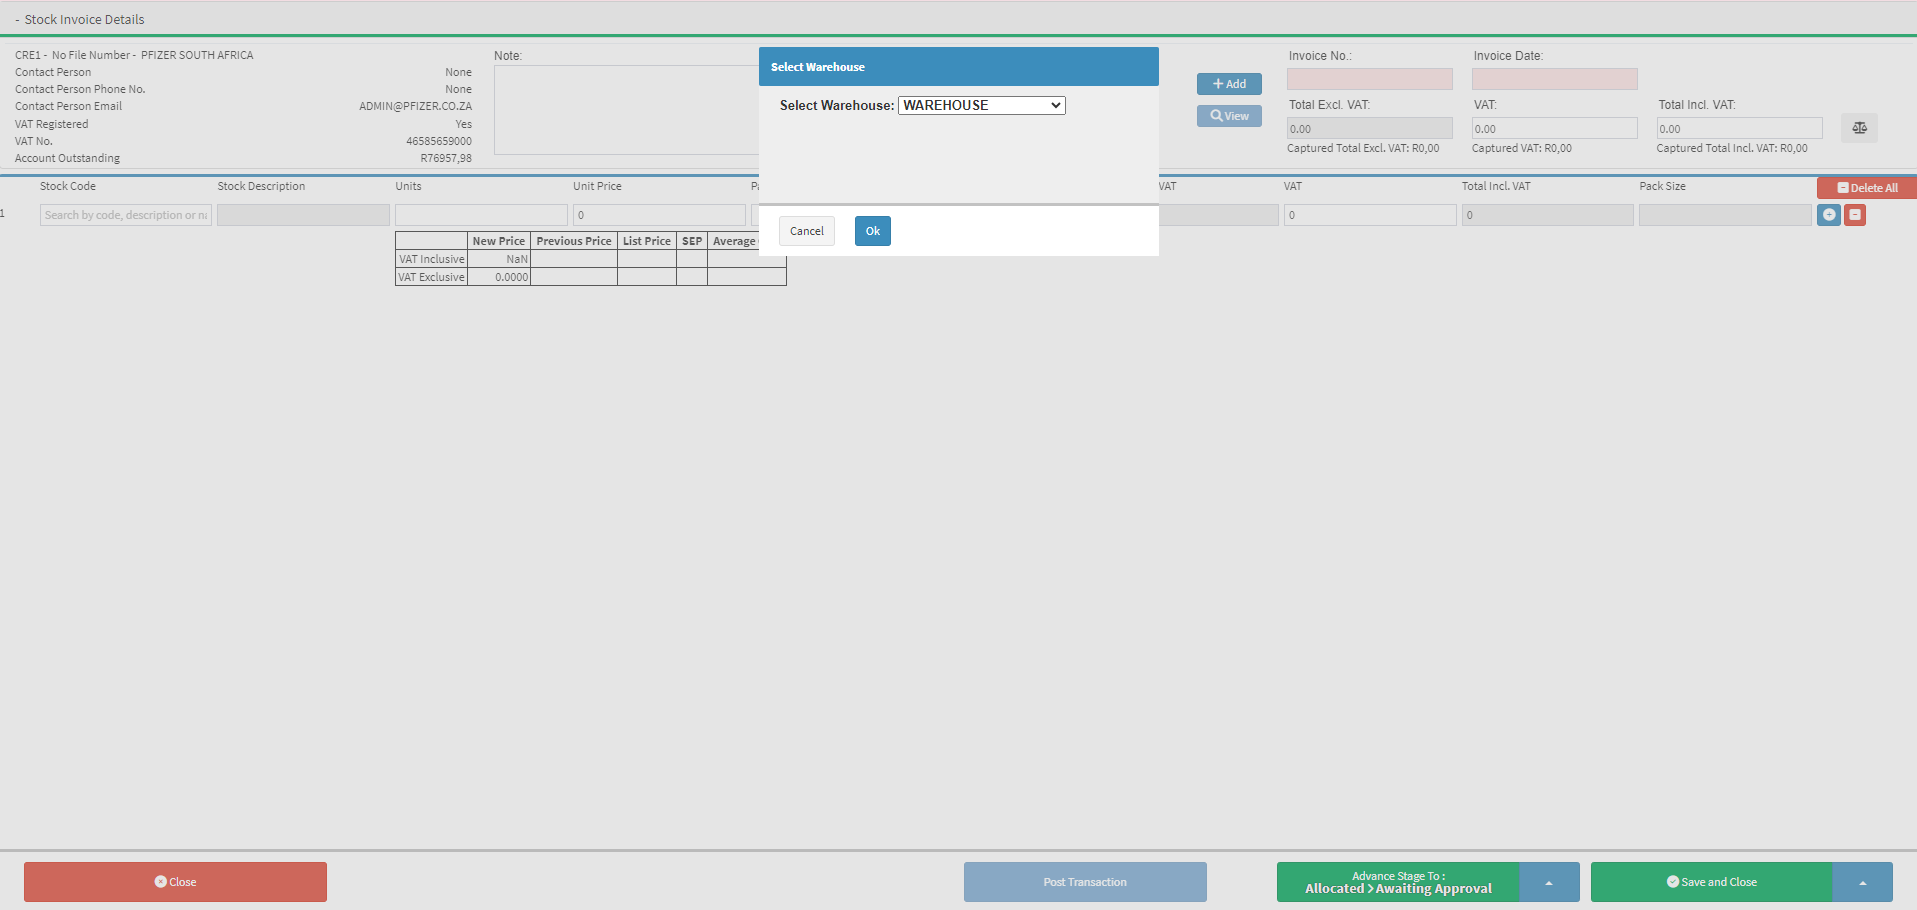
- Click on the Select Warehouse drop-down menu to select the desired Warehouse.
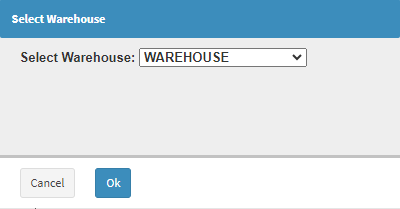
Please Note: All Stock items, whether Materials or Medicine, need to be assigned to a Warehouse. For more information on how to set up a Warehouse, please refer to the user manual: Setup of the Warehouses.
- Click on the Ok button.
![]()
- The Stock Invoice Details screen will open.
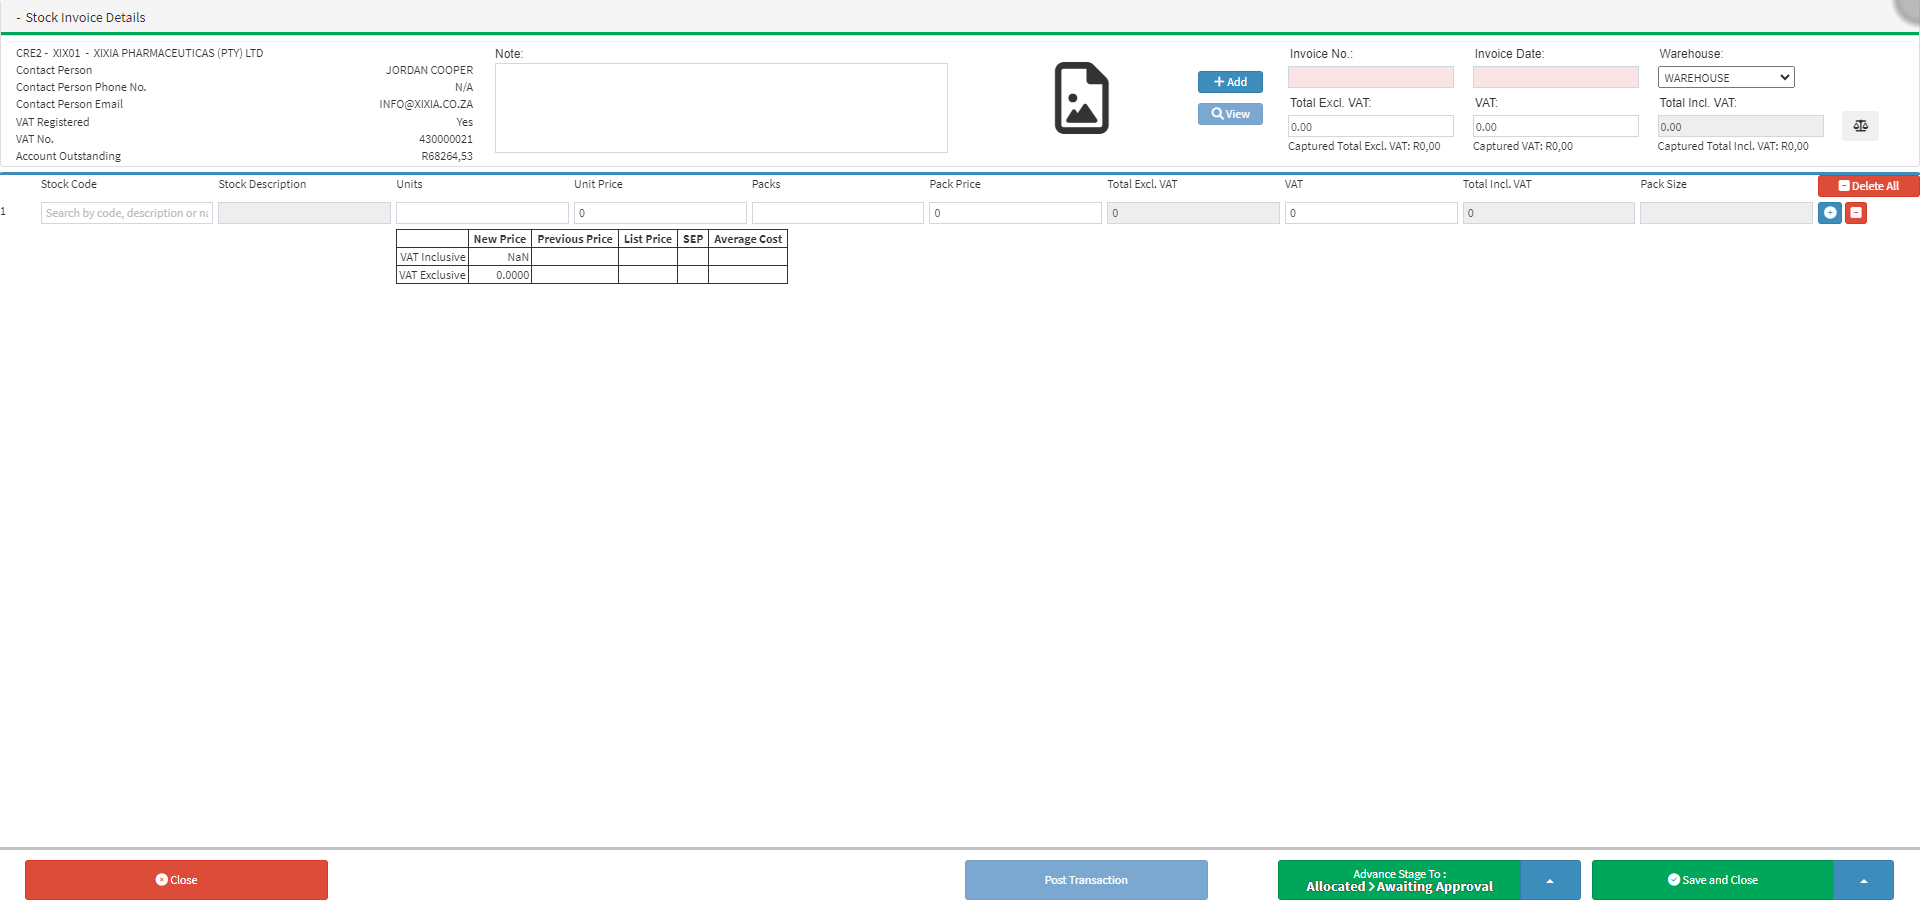
- For more information on capturing a Stock Invoice, please refer to the user manual: Capturing Creditors Stock Invoice from the Creditors Segment.
- Click on the Invoice No. field to enter the Invoice Number as it appears on the Invoice received from the Creditor.
![]()
- Click on the Invoice Date field to select the Date on which the Invoice was made out by the Creditor, from the Date Picker that has become available.

- Click on the Stock Code field to enter the details of the Stock Item.

- The Batch Tracking screen will open.
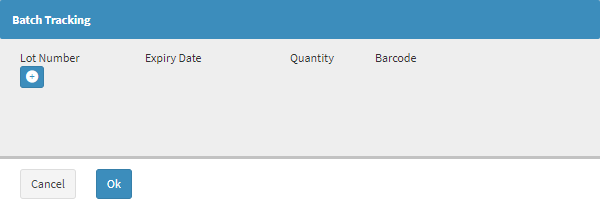
- Click on the Add button.
![]()
- The Batch Capture lines will open.

- Click on the Lot Number field to enter the Lot/Batch Number of the Item.

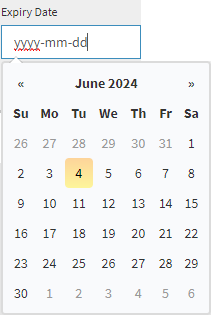
- Click on the Expiry Date field to select the Expiration Date from the Date Picker that becomes available.
- Click on the Quantity field to enter the number of Items with this Batch Number.

Please Note: If you have multiple Items with different Batch Numbers, each Batch will need to be captured separately.
- Click on the Barcode field to enter the Barcode that appears on the product.

Please Note: More than 1 Batch can be captured, by Clicking on the Add button as many times as needed.
- Click on the Ok button to save the information you have entered.
![]()