The Subclasses tab allows you to organise stock items into meaningful sub-groups within a main stock category, making stock management clearer and more manageable. For example, a main category such as Medicine can be divided into subclasses like Antibiotics, Pain Management, Chronic Medication, and Vaccines, while Consumables can be grouped into Gloves, Syringes, and Dressings. This structure helps staff quickly understand where items belong and locate them without searching through unrelated stock.
Subclasses are particularly helpful when reviewing or counting specific stock. For instance, a practice may wish to check only Emergency Supplies, such as Adrenaline, Oxygen Masks, and Defibrillator Pads, without including routine stock. By filtering on the relevant subclass, staff can focus on critical items quickly and ensure they are available and within acceptable levels. This targeted approach saves time, improves accuracy, and supports better stock control during daily operations.
The Contents of This User Manual:
Filters
Screen Columns Action Button
Columns
Page Options
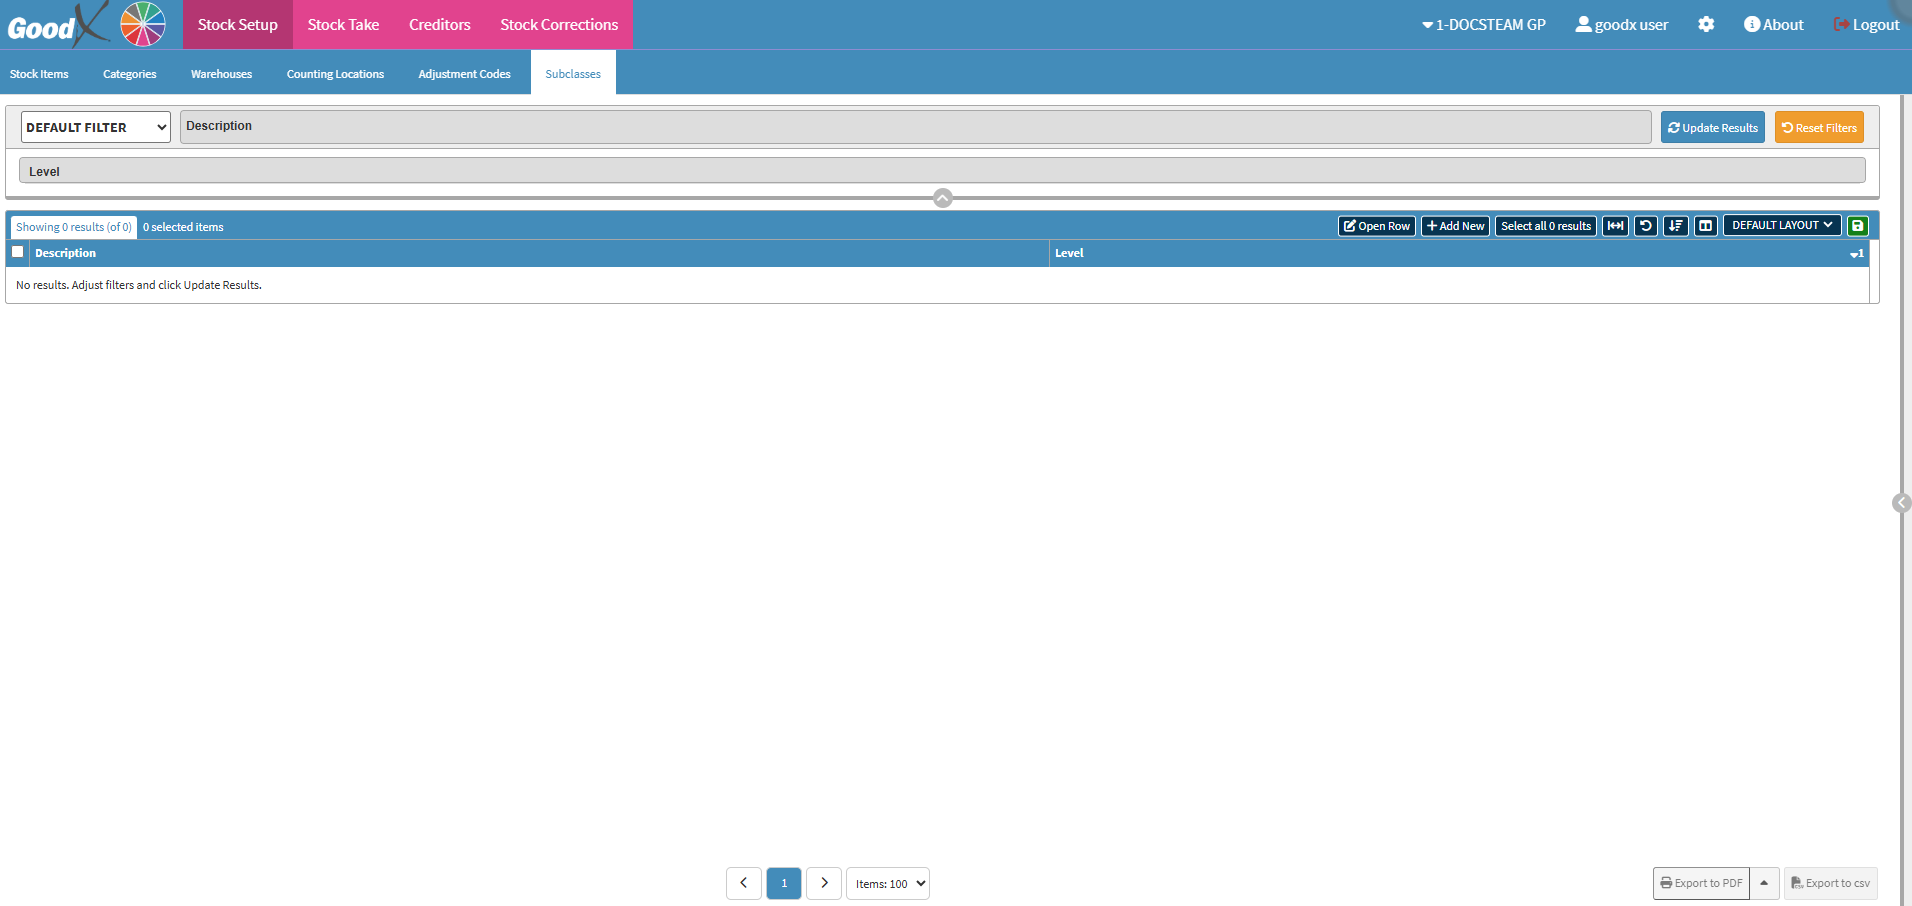
This user manual will start on the Stock Setup, Subclasses Items screen.
Allows you to narrow down or refine the results displayed on the Subclasses tab.
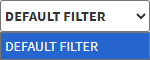
Click on the Default Filter drop-down menu to select how the screen will be filtered.
Click on the Description field to enter the description of the Stock Item subclass you are looking for.
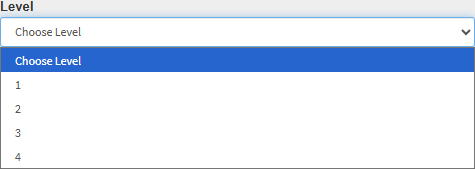
Click on the Level drop-down menu to filter on the desired subclass level.
Click on the Update Results button to refresh the results.
Click on the Reset Filters button to erase all the filters inserted.
Screen Columns Action Buttons
Several additional Options are available for the Columns. These additional Options are to help you adjust the List, refine the Search and give more specific results.
Click on the Open Row button to edit a selected subclass.
Click on the Add New button to add a new subclass.
The Add/Edit Stock Subclass screen will open.
Click on the Description field to enter the description of the subclass you are adding.
Click on the Level drop-down menu to select what level the subclass is.
Click on the Save button to add your subclass.
Click on the Select All Results button to select all the Practitioners.
Click on the Expand Widths button to auto-fit the column width to the information within all columns.
Click on the Reset Widths button to restore the original Widths after any modifications are made.
Click on the Sort Columns button to sort the Columns in the order that you desire.
All the information on the Stock Subclasses screen is divided into Columns to logically group related information together.
Description: The name of the subclass.
Level: How detailed the grouping is, where level one is very broad, and level 4 is more specific.
Page Options
All the additional options that are available for the page.
Click on the Previous button to navigateto the previous page.
Click on the Page Number button to navigate to the desired page.
Click on the Next button to navigate to the next page.
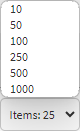
Click on the Items drop-down menu to select the number of items that will be displayed on the screen.
Click on the Export to PDF button to save a PDF file of all the data as a comprehensive report.
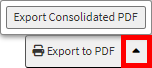
Click on the Export to PDF drop-up menu to access the Export Consolidated PDF option that allows you to generate a single document that combines all the data from multiple sources to provide an overview.
Click on the Export to CSV button to save the Report in a CSV format.