Clinical Management Types
The Clinical Management Booking Type trigger from the EMR Form is used to display on the Diary what the patient is in the Emergency Room for. When the EMR Form is completed and the Patient is billed from the EMR Form, the booking type will trigger and change the booking type on the Diary to Clinical Management.
- The following Settings must be set up correctly:
- Settings > Diary Settings > Diary Settings > Clinical Management tick must be ticked.
- Settings > Diary Settings > Booking Types that need to be set up as Invoicable:
- Orange
- Red
- Ward Visit
- Clinical Management
- Settings > User Settings > Reports > Clinical Management tick must be selected for the Reports purposes.
- The Patient cant be an Injury on Duty or a Private Patient.
- The Patient must be on a Standard Medical Aid.
- The EMR Form must be finalised and signed off by the Doctor.
- If the Patient is 16 years and younger or 65 years and older.
- If the Doctors Triage is marked as Red / Orange / Ward / High Care or ICU.
- If the Disposal section is completed on the EMR Form.
- If the Billing & Administration section is completed in the EMR Form and contains a 7060 procedure code.
- Log in to the GoodX WebApp using your GoodX username and password.
- From the Diary, click on the correct patient booking.

- The Sidebar will open on the right-hand side of the screen.
Please Note: The Patient booking type is currently booked as a Consultation on the Diary.

- Click on the Clinical button.
![]()
- The Clinical Case screen will open.
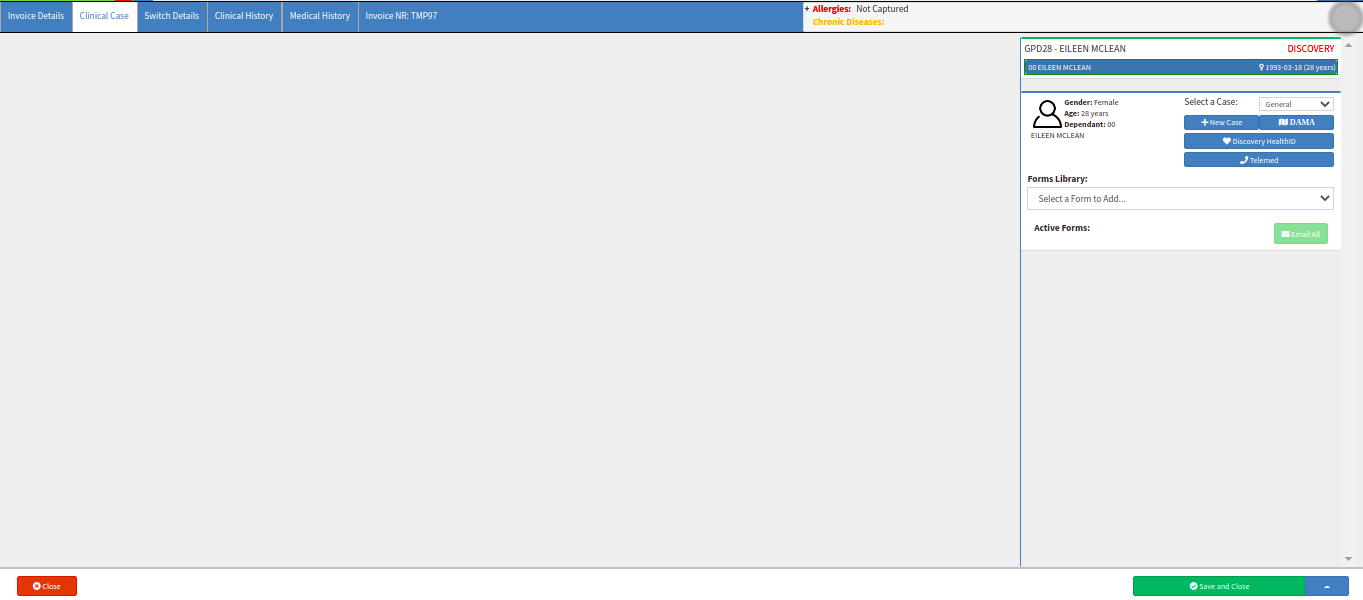
- From the Forms Library drop-down, select the EMR form to complete.

- The EMR Form screen will open.
Please Note: Refer to the EMR Form Manual for more information on How the EMR Form needs to be completed. Click on the link or related button at the beginning of this manual to open the EMR Form Manual.
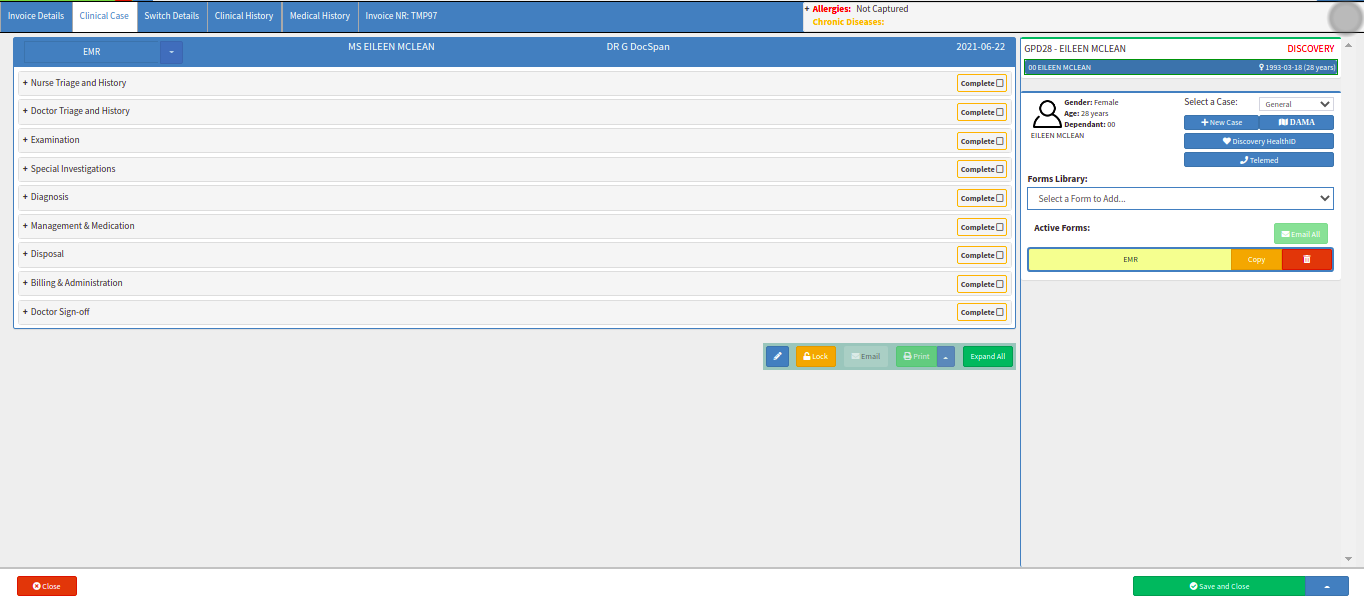
- Click on the Nurse Triage and History panel to expand it.
![]()
- From the Nurse Triage and History section, select one of the Override TEWS options to indicate how serious the Patient condition is for this specific Case.
Please Note: Refer to the Nurse Triage and History Manual for more information on How the Nurse Triage and History need to be completed
and what every option is. Click on the link or related button at the beginning of this manual to open the Nurse Triage and History Manual.

- Click on the Doctor Triage and History panel to expand it.
![]()
- From the Doctor Triage and History section, select one of the Override TEWS options to indicate how serious the Patient condition is for this specific Case.
- The user can also click on the ACCEPT NURSE VITALS button for the information to copy from the Nurse Triage and History section to this section.
Please Note: Refer to the Doctor Triage and History Manual for more information on How the Doctor Triage and History need to be completed
and what every option is. Click on the link or related button at the beginning of this manual to open the Doctor Triage and History Manual.

- When the Override TEWS is selected under the Nurse Triage and History and Doctor Triage and History section, the sections must be marked as Completed in order for the Doctor to the Sign-Off the Form.

- Click on the Billing & Administration panel to expand it.
![]()
- From the Billing & Administration section, select the applicable Consultation and Procedure codes to bill the Patient for.
Please Note: Refer to the Billing & Administration Manual for more information on How the Billing needs to be completed and what every
option is. Click on the link or related button at the beginning of this manual to open the Billing and Administration Manual.
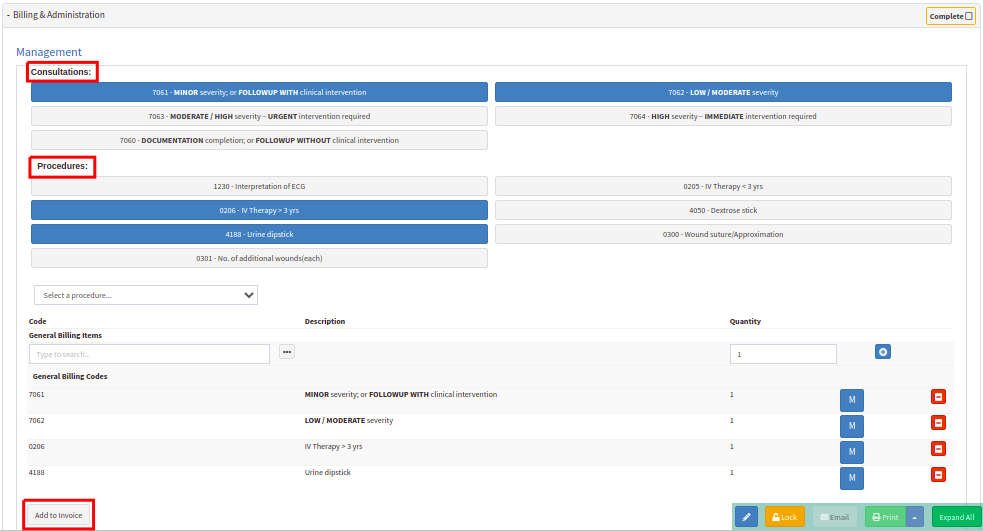
- Click on the Add to Invoice button to add the Consultation and Procedure codes to the Invoice.
![]()
- An Attention! pop up will appear Are you sure you wish to add Invoice? No further additions to Invoice may be made from this EMR screen.
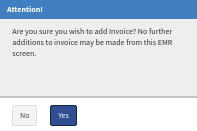
- Click on No to Cancel the Add to Invoice.
![]()
- Click on Yes to confirm the Add to Invoice.
![]()
- Click on the Doctor Sign-Off panel to expand it, after the Billing & Administration section was completed.
Please Note: Refer to the Doctor Sign-Off Manual for more information on How to do the Doctor Sign-Off and what every option is. Click on
the link or related button at the beginning of this manual to open the Doctor Sign-Off Manual.

- After the Doctor signed off the EMR Form, an Attention! pop up will appear, The EMR has already been invoiced so no more codes can be added.
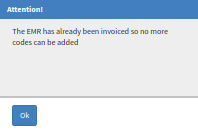
- Click on Ok to confirm the pop-up and continue.
- The EMR Form will lock after the Doctor signed it electronically.
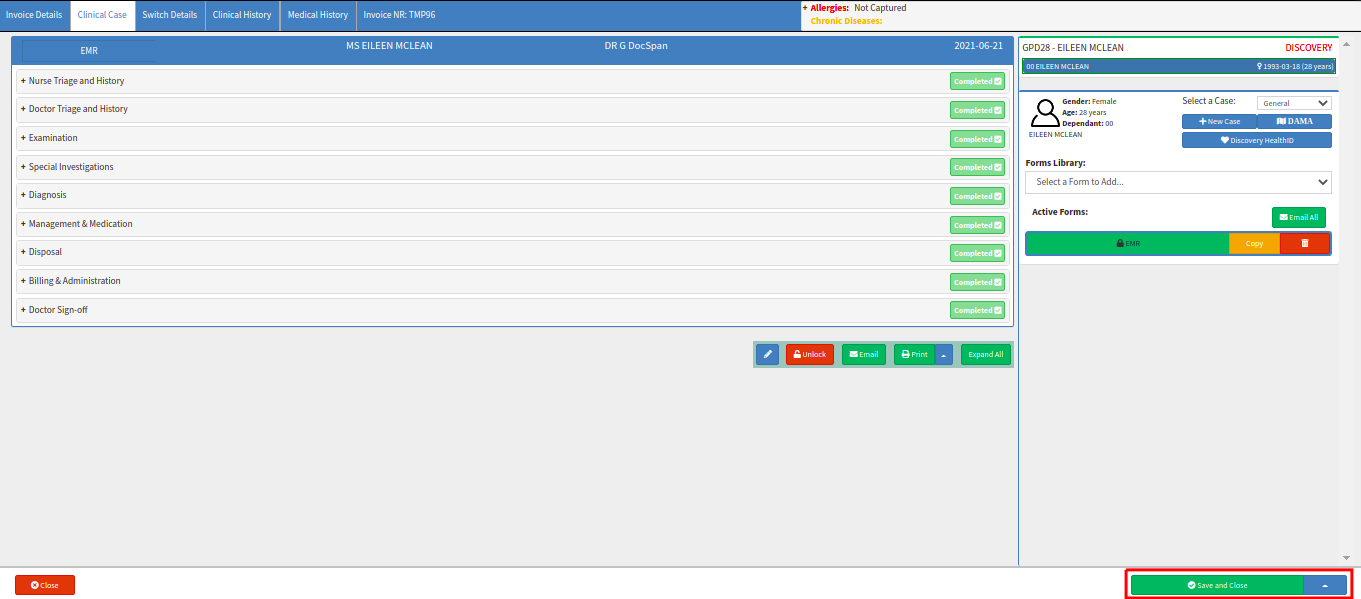
- Click on the Close button to exit the EMR Form screen without saving.
- Click on Save and Close to save the EMR Form or the changes made.
![]()
- The Patient booking type on the Diary has automatically updated to Clinical Management.
![]()
- If you want to change the booking type to the Triage type that was selected in the EMR Form, double click on the patient booking on the Diary.
Please Note: The booking type must only be reset once a day. If the booking type was reset, it cannot be done again.
- The Add/Edit Booking screen will open.

- Click on the Reset booking type button to reset the booking type from Clinical Management to the Triage type on the EMR Form.
![]()
- Click on the Close button to exit the Add/Edit screen without saving the reset.
![]()
- Click on the Save button to save the reset of the booking type.
![]()
- The Patient booking type will be reset to the original Triage type and display it on the Diary.
![]()