Debtors Screen: Navigation and Use
Why Use This Function:
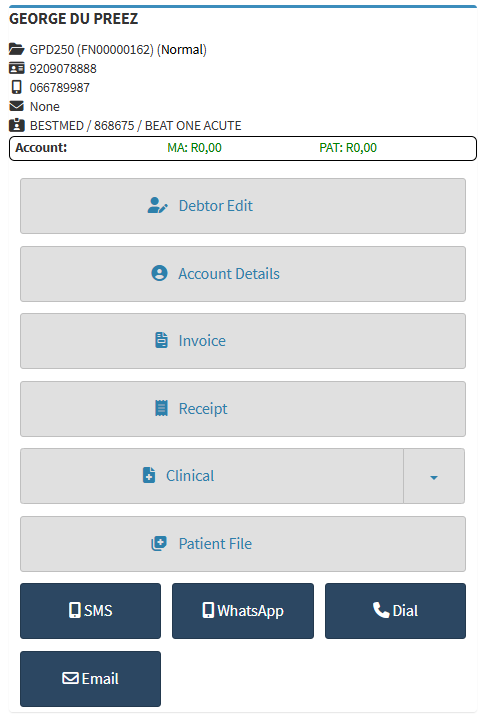
The Debtors screen provides a centralised view of all Debtors linked to the Practice, enabling staff to easily search for, review, and manage Debtor Information. It displays key details such as File Numbers, Debtor Names, ID Numbers, Medical Aid Information, and Outstanding Balances. This screen supports efficient Debtor Administration by allowing quick access to financial data, helping the Practice monitor amounts owed by Patients and Medical Aids, process payments, and maintain accurate records. By consolidating this information in one place, the Debtors screen improves cash flow management, reduces administrative effort, and ensures timely follow-up on outstanding accounts.
The Contents of This User Manual:
- Search Function
- Multi Invoice
- Add New Debtor
- Columns
- Sidebar
- Page Options
- This user manual will start on the Debtors screen.

-
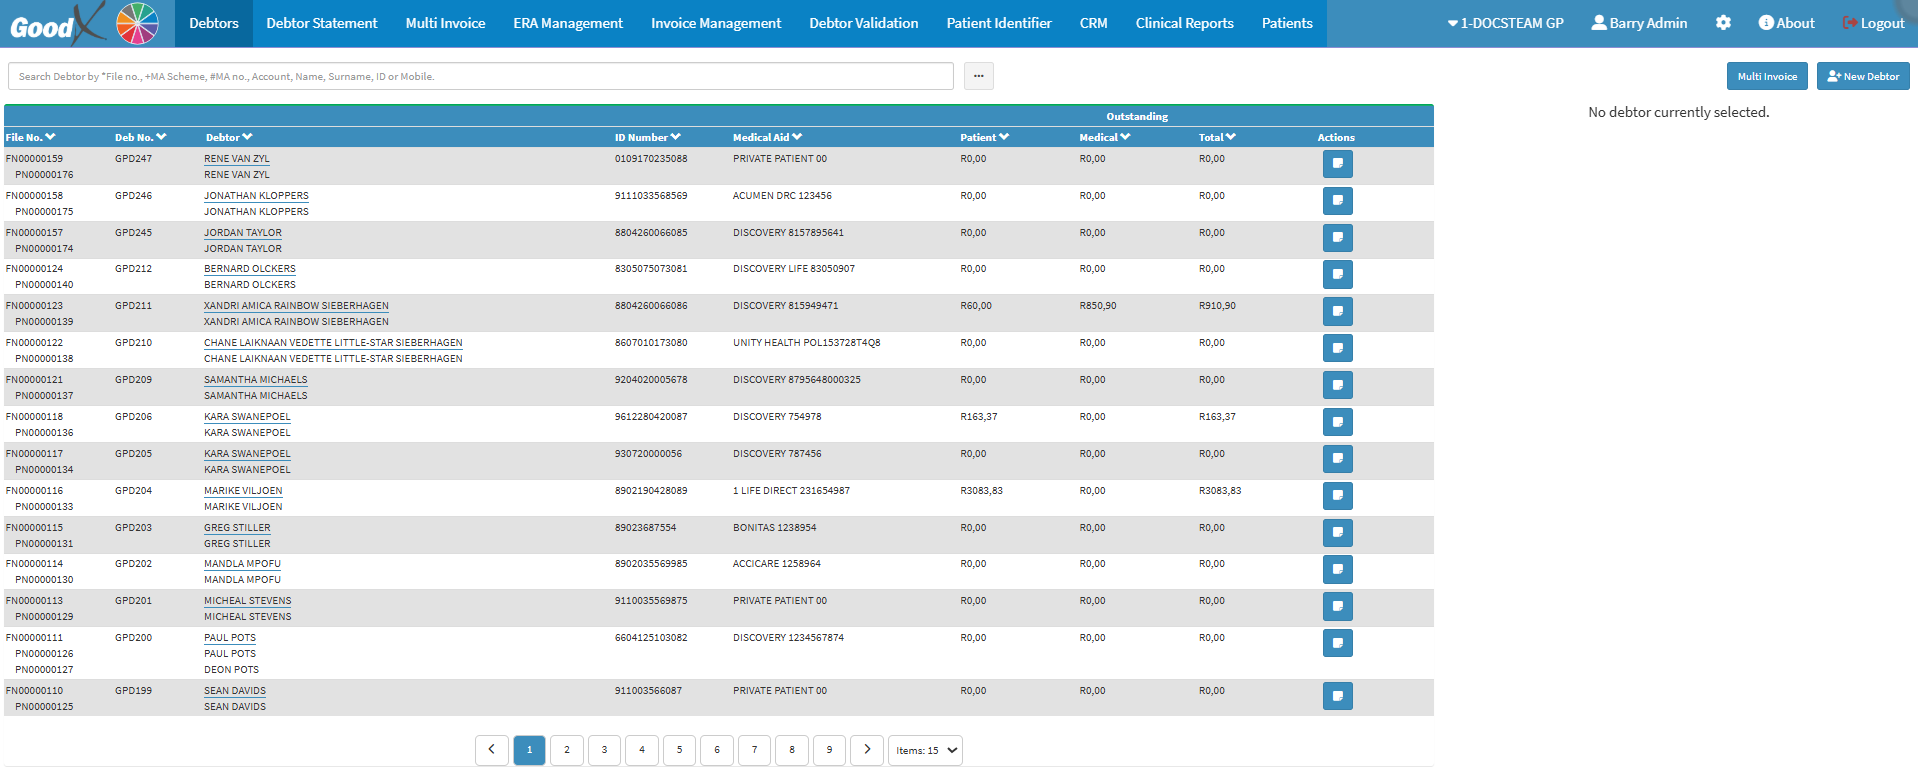
For more information on navigating the Debtor screen, please refer to the user manual: Debtor Segment.
Search Function
The Search Function on the Debtors screen allows you to quickly locate specific Debtor records by entering relevant search criteria such as File Number, Account Name, Surname, ID Number, Mobile Number, or Medical Aid Scheme Number. This feature streamlines the process of managing Debtor information by enabling efficient access to targeted records without requiring manual browsing through the entire Debtor List.
- Click on the Search Bar to search for the desired Debtor.

- Click on the Ellipse( ... ) button.

- The Debtors List screen will open.

- For more information on the Debtors List, please refer to the user manual: Debtor List.
Multi Invoice
The Multi Invoice function allows the Practice to generate Invoices for multiple Debtors at once, streamlining the billing process. This feature is handy for handling bulk Invoicing efficiently, saving time and reducing manual effort by eliminating the need to open each Debtor’s profile individually to issue Invoices.
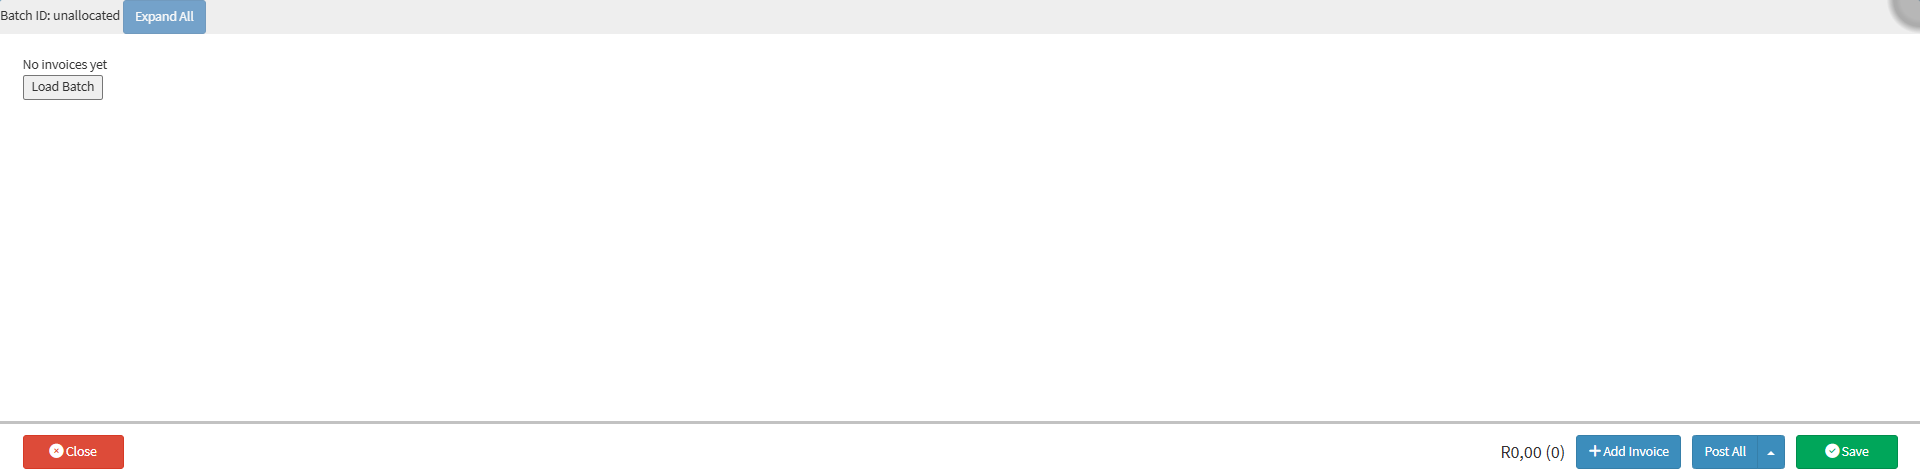
- Click on the Multi Invoice button at the top right-hand side of the screen.

- The Multi Invoice screen will open.

💡Please Note: The Multi Invoice screen will be blank until you add an Invoice. For more information regarding the Multi Invoice screen, please refer to the user manual: The Multi Invoice Screen: Navigating and Use.
Add New Debtor
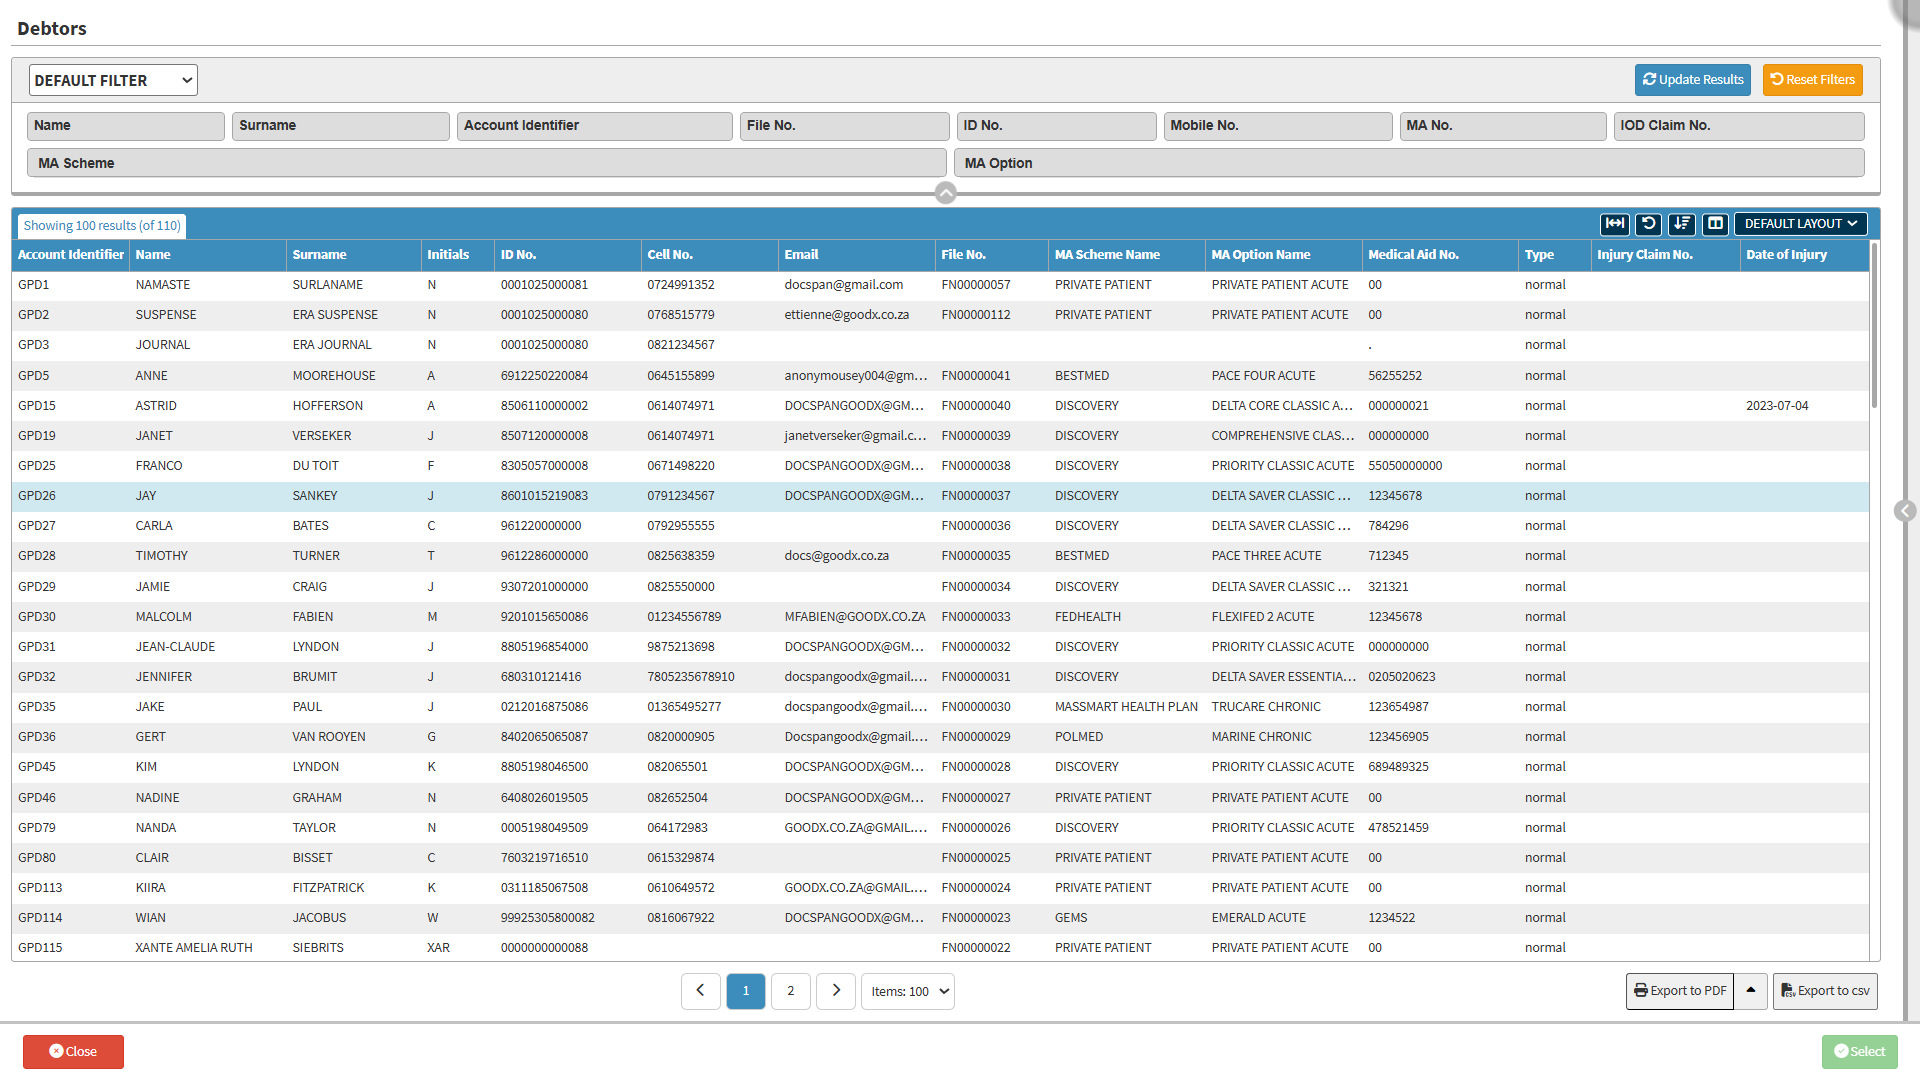
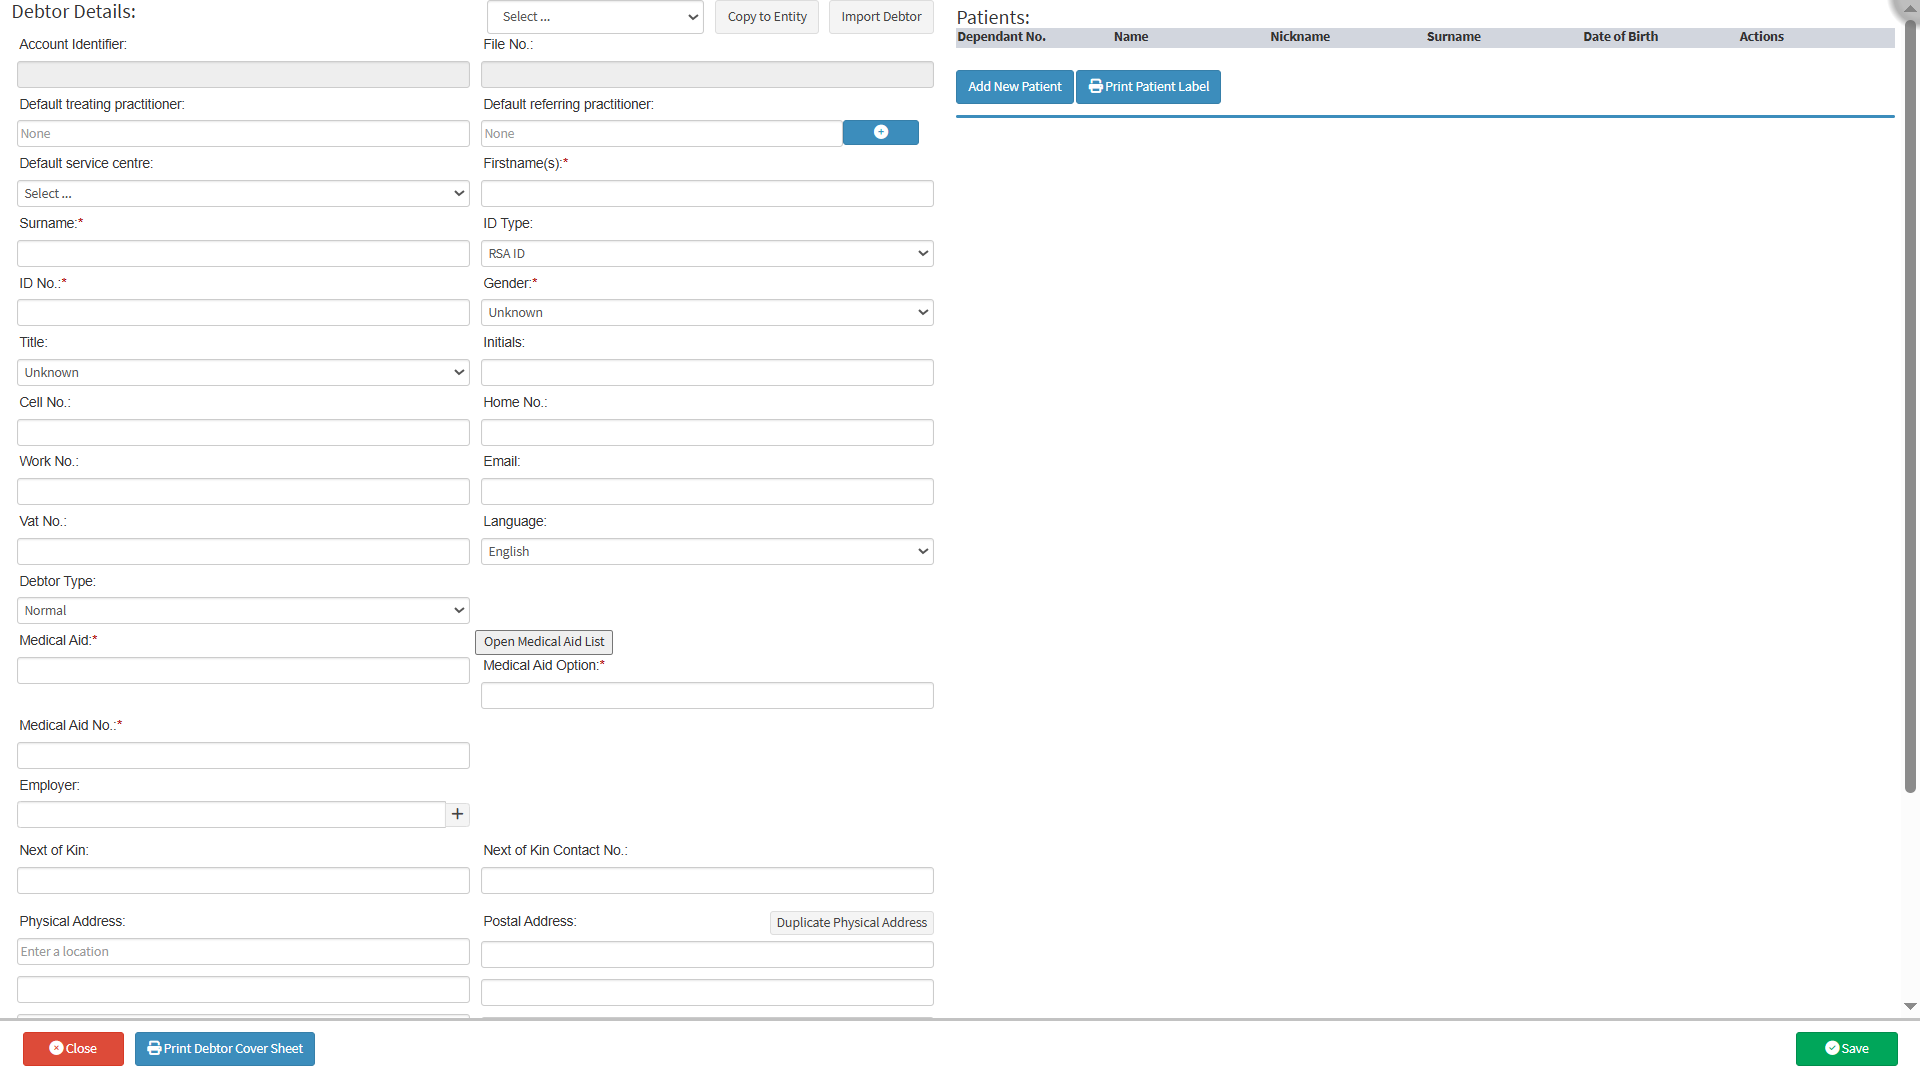
The New Debtor button allows Practice staff to create a new Debtor profile in the system. This function is used to capture essential information for a person responsible for payment, whether the Patient or another party. Ensuring accurate billing, record-keeping, and account management from the outset.
- Click on the New Debtor button.

- The Debtor Details screen will open.

- For more information regarding the Debtor Details screen, please refer to the user manual: How to Create a New Debtor.
Columns
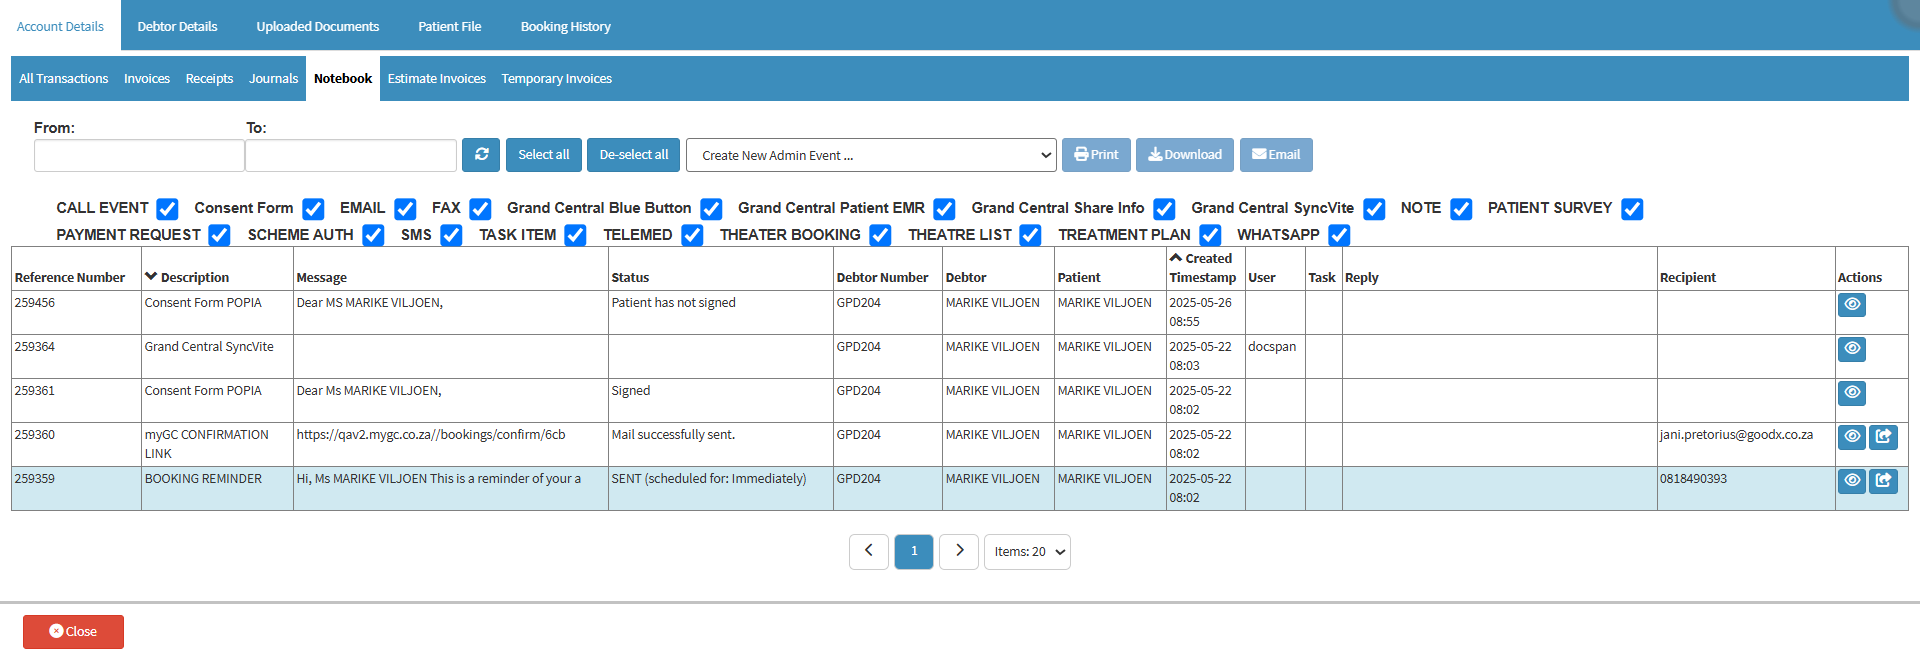
The columns on the Debtors screen are structured to provide the Practice with clear, concise access to essential Debtor information. Each column displays specific details, such as File Numbers, Debtor Names, ID Numbers, Medical Aid information, and Outstanding Balances, allowing Practice staff to identify and manage Patient accounts efficiently. This organised layout supports accurate billing, faster account lookups, and informed decision-making, ultimately contributing to smoother administrative and financial operations within the Practice.
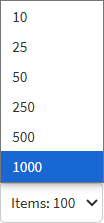
- The following information will be shown in the columns:
- File Nr: The reference number assigned to the physical file, to retrieve the Debtor or Patient's details when needed.
- Deb Nr: The Debtor number assigned to the individual responsible for managing the account.
- Debtor: The full name and surname of the Debtor or Patient responsible for the account.
- ID Number: The Identification Document number of the Debtor or Patient.
- Medical Aid: The name of the Medical Aid Scheme that the Debtor or Patient uses.
- Patient: The outstanding amount that the Patient needs to pay.
- Medical: The outstanding amount that the Medical Aid needs to pay.
- Total: The total amount of the bill after the consultation or treatment that the Patient or Debtor needs to settle, if applicable.
- Click on the View button, and you will be directed to the account details, the specific Patient's Invoices, Notes, Receipts, and Journals.

- The Notebook screen will open

- For more information regarding the Notebook screen, please refer to the user manual: Notebook Screen: Navigation and Use.
Sidebar
The Sidebar provides a quick-access overview and action panel for the selected debtor and patient. It consolidates key information such as contact details, account balances, and patient type, while also offering direct access to Debtor management, billing, clinical, and communication functions. This enables staff to work efficiently without navigating away from the main screen, ensuring accurate administration and seamless Patient interaction- The following information will be shown in the Account Summary:
- Name: Displays the full name of the Debtor/Patient.
- File Number & Status: Shows the file number.
- ID Number: Captures the debtor’s RSA ID or chosen ID type.
- Contact Information: Includes cellphone number and email address for communication.
- Medical Aid/Account Info: Indicates the account type
- MA (Medical Aid): Displays the outstanding balance owed by the Medical Aid.
- PAT (Patient): Displays the outstanding balance owed by the Patient.
- Click on Debtor Edit to update or correct the Debtor’s personal and contact information.

- Click on Account Details to view a complete breakdown of the Debtor’s account information.

- Click on Invoice to create a new Invoice or view existing invoices for the Debtor.

- Click on Receipt to capture or view payments received from the Patient or Medical Aid.

- Click on Clinical to access the Patient’s clinical information and medical records.

- Click on Patient File to open the complete Patient file, including history and dependant details.

- Click on SMS to send a text message to the Patient or Debtor.

- Click on WhatsApp to start a WhatsApp conversation with the Patient or Debtor.

- Click on Dial to place a phone call to the Patient Debtor.

- Click on Email to send an email directly to the Patient or Debtor.

Page Options
All the additional options that are available for the page.

-
Click on the Previous button to navigate to the previous page.

-
Click on the Page Number button to navigate to the desired page.

-
Click on the Next button to navigate to the next page.

- Click on the Items drop-down menu and select the Number of items that will be displayed on the screen.

