TheAdd/Edit Booking screen serves as an essential tool for seamless appointment management within the system. Designed with user experience in mind, it offers an intuitive and efficient interface that enables authorised Staff and Practioners to easily create new bookings, view existing appointments, or make necessary updates — all in just a few clicks. This screen plays a critical role in supporting accurate scheduling, reducing administrative burden, and ensuring that the daily operations of the Practice run smoothly and effectively.
The Contents of This User Manual:
From The Timeslot
From The New Booking Button
This user manual will start on the Diary screen.
The Add/Edit Booking screencan be accessed from two starting points:
From the Timeslot
From the New Booking Button
From the Timeslot
You can add/edit a booking from a booking Timeslot.
Double-Click on the Timeslot for which you would like to make a Booking.
The Add/Edit Booking screen will open.
?Please Note:A new Patient can be added directly from the Add/Edit Booking screen when creating a new appointment. For more information on Booking a new Patient please refer to the user manual: How to Book a New Patient
From the New Booking Button
You can create bookings using the New Booking button.
Click on the New Booking button.
The Add/Edit Booking screen will open.
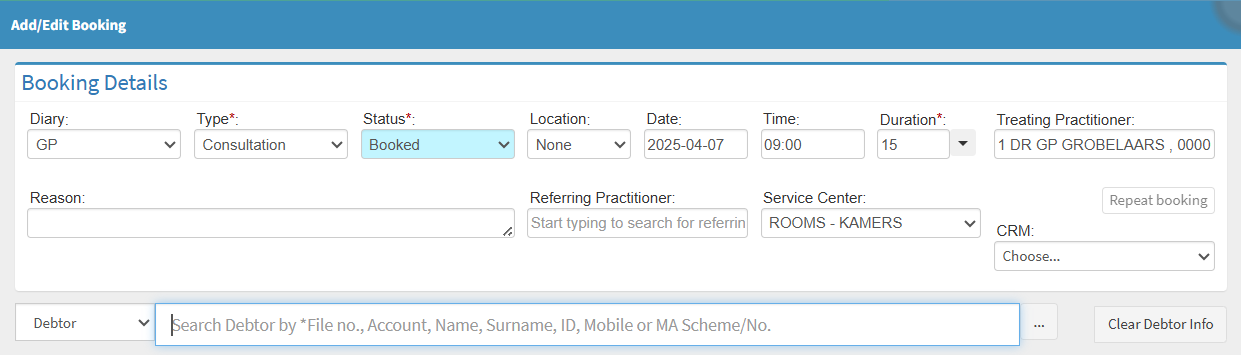
Booking Details
This allows you to schedule and manage Patient appointments efficiently within the system. It serves as a central point for capturing key information such as the Appointment Type, Date, Time, Duration, Location, and the Treating Practitioner.
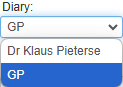
Click on the Diary drop-down menu to select the relevant Diary for the Booking.
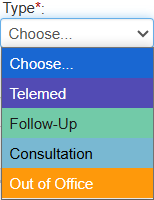
Click on the Type drop-down menu to select the relevant Booking Type.
?Please Note: The options available on the list depend on the initial setup at your Practice. For more information on how to configure theBooking Type, please refer to the user manual: Booking Type Setup
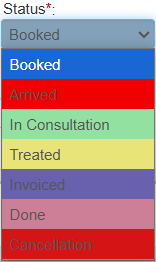
Click on the Status drop-down menu to select the relevant option.
For more information on how to set up the Booking Status, please refer to the user manual: Booking Statuses
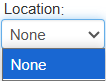
Click on the Location drop-down menu to select where the Booking will occur.
?Please Note:Locationscan be set up according to Practice specifications. For more information on setting up Locations, please refer to the user manual: Booking Location Setup.
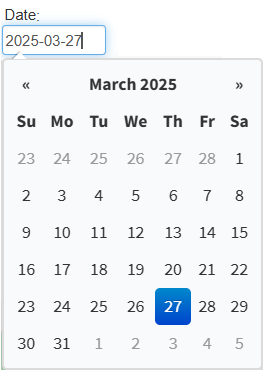
Click on the Date field to select the relevant option from the Date Picker.
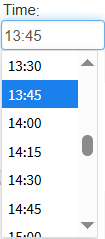
Click the Time field to select the desired time window from the drop-down menu.
The Duration will be automatically filled in, as set up by your Practice.
Click on the Duration drop-down menu to select an option to manually adjust the duration.
Click on the End Time field to enter the time at which the consultation is expected to end.
Tick the Rest of Day checkbox if the consultation is expected to continue for the remainder of the day.
?Please Note: When theEnd Time is changed or Rest of Dayis selected, a warning message will appear, indicating that the default duration time has been manually adjusted. The duration can be configured based on the Practices preferences. For more information on how to set up the Booking Duration, please refer to the user manual: Booking Type Setup.
The Treating Practitioner attending to the Patient is set by default, but can be changed manually by Clicking on Treating Practitioner and entering the Treating Practitioner's details.
Click on the Reason field to enter the reason for making the Booking.
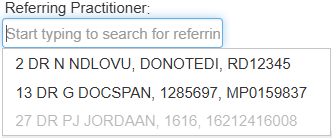
Click on the Referring Practitioner field to add the details of the Practitioner who referred the Patient to the Practice.
For more information on how to add a Referring Practitioner, please refer to the user manual: How to Add a New Practitioner.
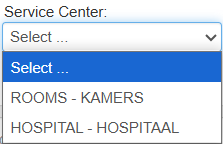
Click the Service Centre drop-down menu and select the appropriate Service Centre.
Click the Debtor drop-down menu and choose either Debtor or Patient, then search for the name to make the Booking.
Click on the Search field to enter the name of theDebtor/Patientyou want to make the Booking for.
Click on the desiredDebtor/Patient name from the list that has become available.
Alternatively, Click on the Ellipse (...) to open the DebtorListscreen and select the desired Debtor or Patient from the list.
For more information regarding the Debtor List screen, please refer to the user manual: Debtor List.
The Debtor and PatientDetails sections will be auto-populated with all relevant information, as the Debtor and Patient’s details have already been entered into the system.
Click on the Save button.
The Booking will now display on the Diary screen.
Last modified: Wednesday, 10 September 2025, 8:26 AM