A Stock Variance Reportcompares the actual physical inventory of Stock items on hand with the inventory recorded in the system, highlighting any discrepancies. These discrepancies can occur due to theft, loss, damage, counting errors, or data entry mistakes. By identifying and correcting these variances, you can ensure your inventory records are accurate, which is essential for reordering, stock management, and fulfilling orders. It also helps detect inventory shrinkage, allowing for corrective action. Additionally, the Report is valuable during audits to ensure Stock levels are accurately reflected in financial Reports.
The Contents of This User Manual:
Report Actions
Filters
Screen Columns Action Buttons
Columns
Page Options
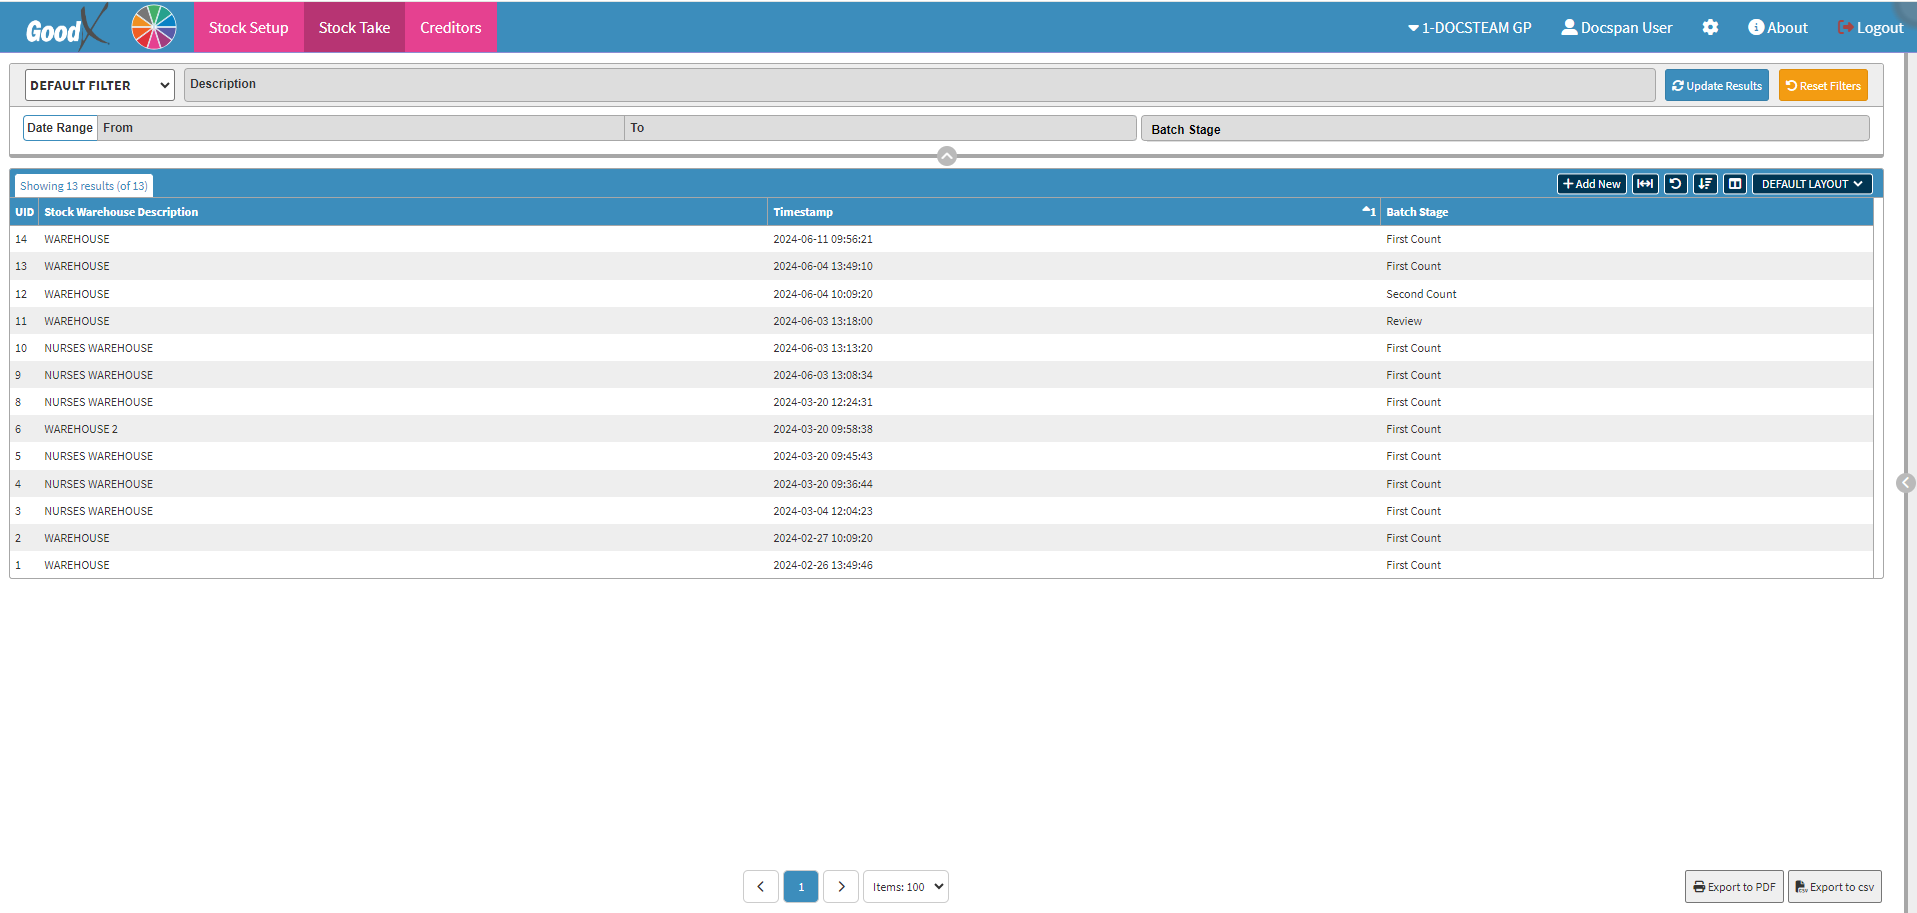
This user manual will start on the Stock Take screen.
For more information on how to navigate to the Stock Take screen, please refer to the user manual: Stock Segment.
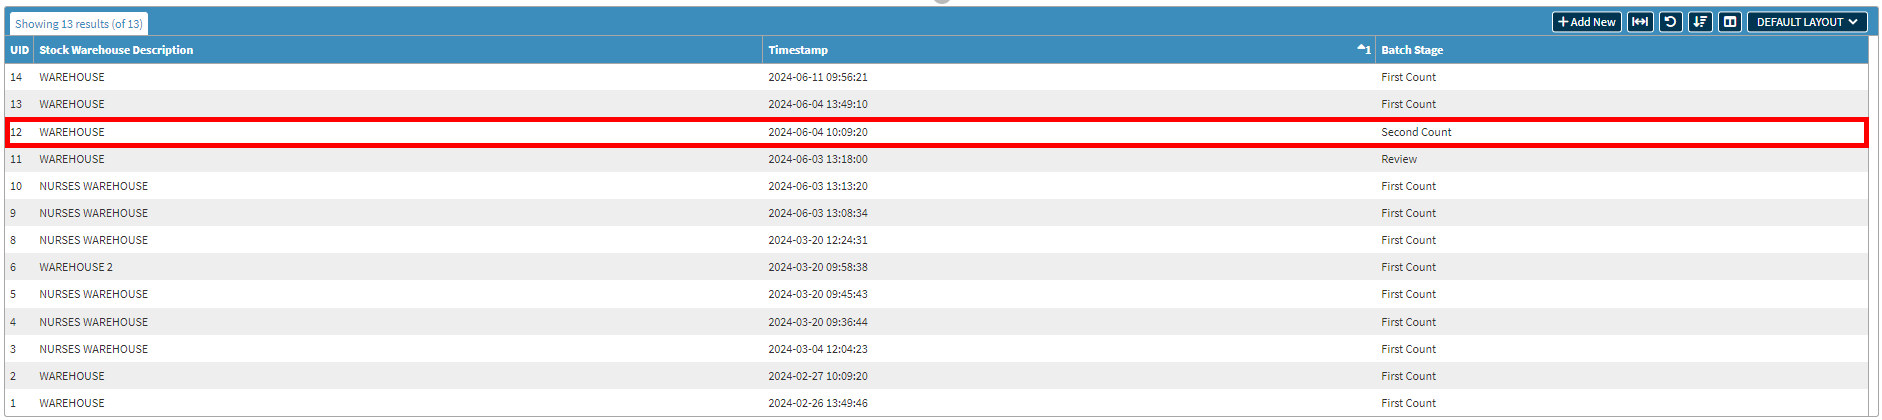
Double-click on the desired Snapshot for which you want to see the Variance Report.
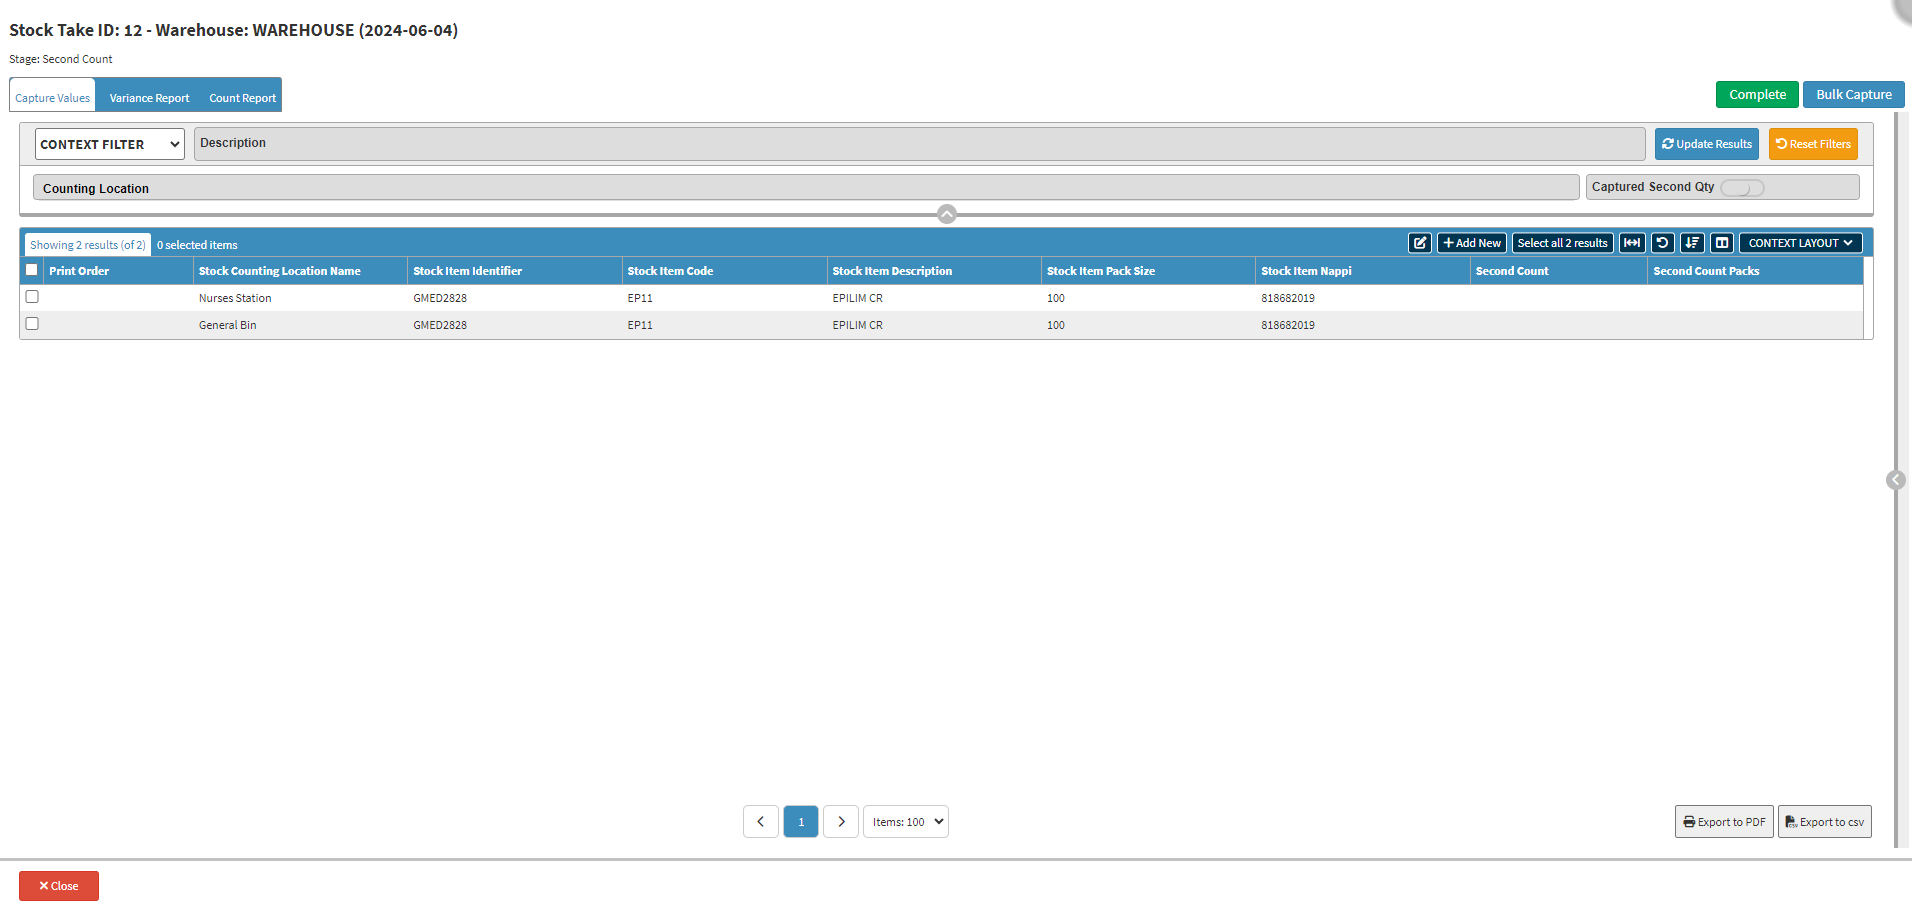
The Capture Values tab will open.
Click on the Variance Report tab.
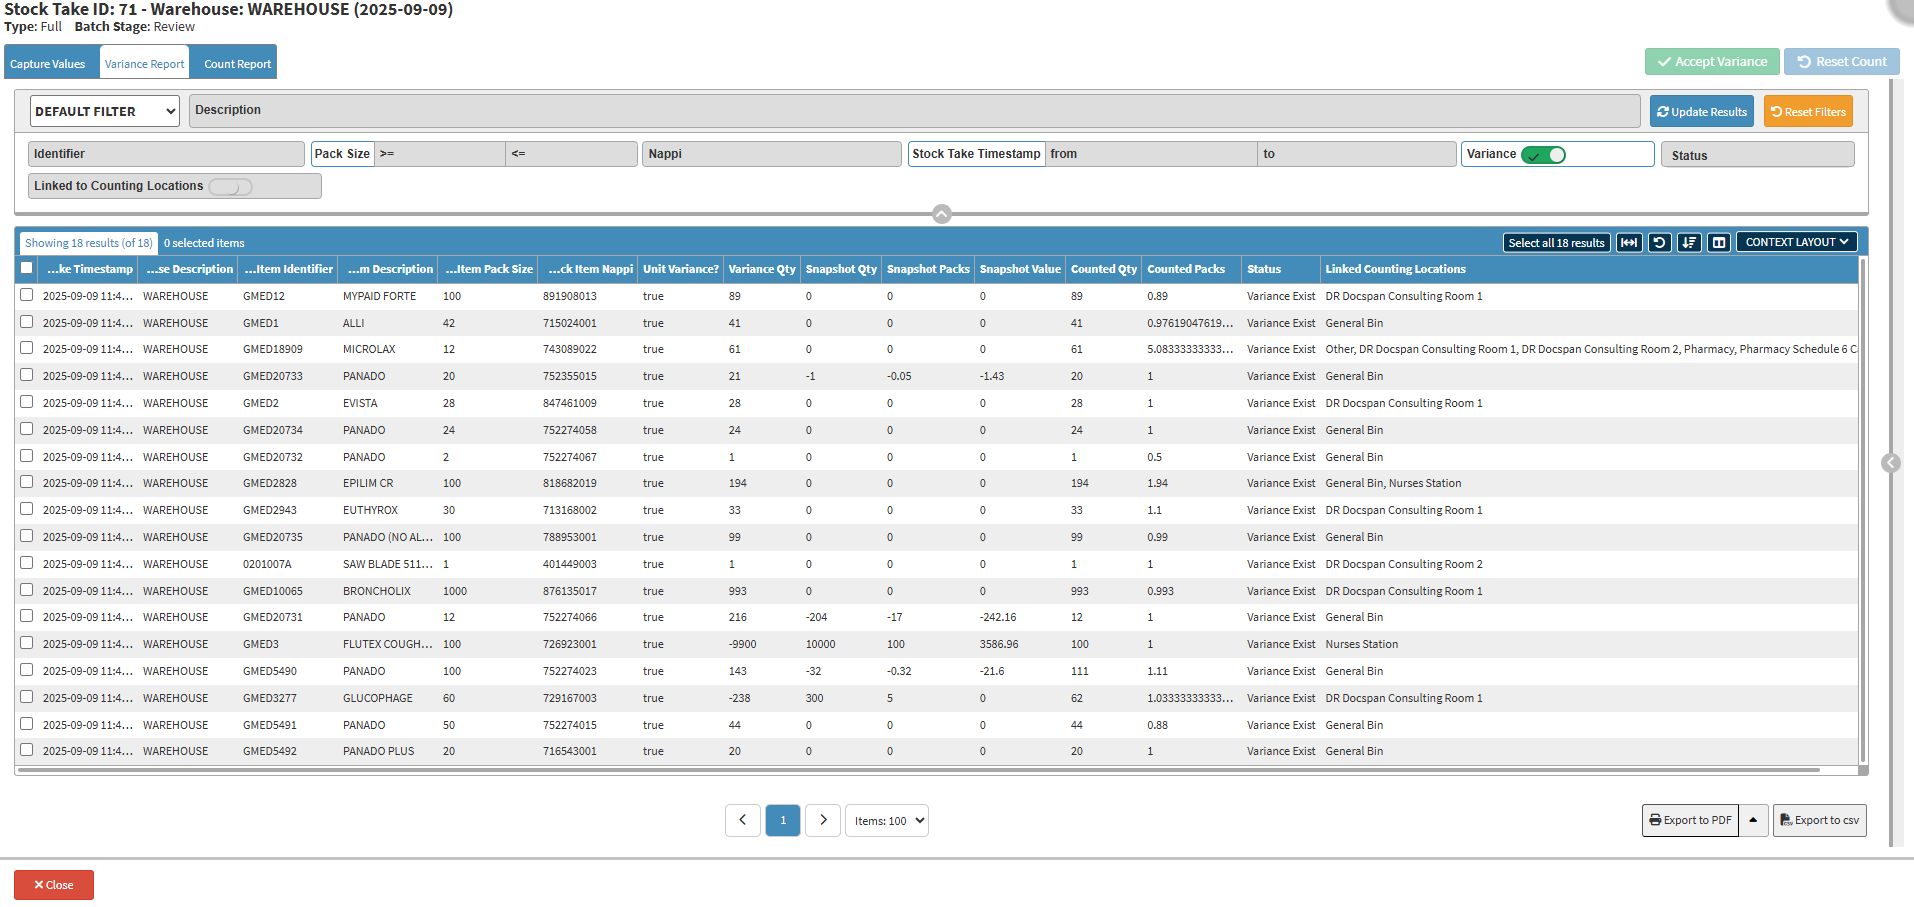
The Variance Report will open.
?Please Note: The Accept Variance and Reset Count button will only be available once at least one stock item that shows a variance is selected.
Report Actions
Additional Actions that become available once the Stock Take reaches a specific Status.
Click on the Accept Variancebutton to acknowledge the differences that have been identified between the Snapshotand the counted values.
Click on the Reset Count button to reset the status to Ready for Count, in order for this item to be counted again.
?Please Note: The line on which you want to change the status needs to be selected.
Filters
Filters are tools or functionalities that allow you to narrow down or refine the results displayed on the Stock Variance Report screen.
Click on the Default Filter drop-down menu to select how the screen will be filtered.
Click on the Description field to enter the Details of the Stock Item you are searching for. Only 3 characters are required before the results will start filtering.
Click on the Identifier field to search for an item using the Stock Code.
Enter the Pack Size values in the Greater than or Equal to and Less than or Equal to fields to search within a certain Pack Size range.
Click on the Nappi Code field to enter the Nappi Code of the item you are searching for Item.
Add the date range using the Stock Take Timestamp field to specify the range for filtering the Report, indicating both the From and To dates.
The Variance slider is set to show all items that have variances.
Click on the Variance slider to show all items within the stock take.
Click on theVariance slider a second time to exclude all items that have Variances from the Report.
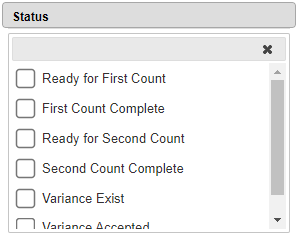
Click on the Status drop-down menu to select the desired status that the item on the Report is currently in, to filter the results.
The Linked to Counting Locations slider is set to show all the locations where the Stock Take was done.
Click on the Linked to Counting Locations slider to show all the locations where the Stock Take has not been done.
Click on the Linked to Counting Locations slider to show all the locations where Stock Take has been done.
?Please Note: Multiple counting locations can be listed.
Click on the Update Results button to refresh the Report List after the Filters have been selected.
Click on the Reset Filters button to clear the Filters that have been set.
Screen Columns Action Buttons
Several additional Options are available for the Columns. These additional Options are to help you adjust the Report, refine the Search and give more specific results.
Click on the Expand Widths button to auto-fit the column width to the information within all columns.
Click on the Reset Widthsbutton to restore the original Widths after any modifications are done.
Click on the Sort Columnsbutton to sort the Columns in the order that you desire.
Click on the Default Layout drop-down menu to select the type of layout that will be used for the screen.
?Please Note: The Variance Report screen only has the option to be displayed using the Default Layout and no other options are available for the layout of the Variance Report screen.
Columns
All the information on the Variance Report screen is divided into Columns to logically group related information together.
Stock Take Timestamp: A date (yyyy-mm-dd hh:mm:ss) and time stamp of when the Stock Take was done.
Stock Warehouse Description: The name of the warehouse where the stock is.
Stock Item Identifier: The stock item code.
Stock Item Description: The Name of the stock item.
Stock Item Pack Size: The number of individual items in the pack.
Stock Item Nappi: The unique identifier given to ethicals and surgicals in a Hospital, or medicines and materials/consumables in a Medical Practice that enables the electronic transfer of information throughout the healthcare delivery chain.
Unit Variance: Indicates whether an item has a variance on it.
Variance Qty: The difference between the expected quantity of an item in stock (as recorded in the system) and the actual physical quantity counted during a Stock Take.
Snapshot Quantity: The number of units on the system before the Stock Take was done.
Snapshot Packs:The number of packs on the system when the Snapshot was taken.
Snapshot Value: The monetary value of the items when the Snapshot was done.
Counted Qty: The number of individual items that were counted during the Stock Take.
Counted Packs: The number of packs that were counted during the Stock Take. A decimal will indicate if a pack has been opened, and partially used.
Status: The stage within the Stocktake that the item is.
Ready for First Count: The item needs to be counted for the first time.
First Count Complete: The item has already been counted for the first time.
Ready for Second Count: The item needs to be counted for a second time.
Second Count Complete: The item has already been counted for the second time.
Variance Exist: The system will calculate the difference between the counted quantity and system quantity as per the Snapshot. If your counted quantity differs from your system quantity, a variance will exist.
Variance Accepted: The stock discrepancy has been acknowledged and does not require further action. A variance of 5% - 10% or less is acceptable on the value of your stock items.
Linked Counting Locations: Which counting locations the stock item has been linked to. Multiple counting locations can be listed.
Page Options
All the additional options that are available for the page.
Click on the Previous button to navigate to the previous page.
Click on the Page Number button to navigate to the desired page.
Click on the Next button to navigate to the next Page.
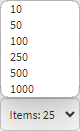
Click on the Items drop-down menu to select the Number of items that will be displayed on the screen.
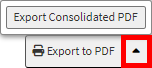
Click on the Export to PDF button to save a PDF file of all the data as a comprehensive report.
Click on the Export to PDF drop-up menu to access the Export Consolidated PDF option that allows you to generate a single document that combines all the data from multiple sources to provide an overview.
Click on the Export to CSV button to save the Report in a CSV format.