Stock Setup: Adjustment Codes Tab
The Stock Adjustment Codes tab allows you to set up and maintain your Adjustment Codes. Stock Adjustment codes are used to identify and track specific Stock items within the system. Stock Adjustments are performed for three primary reasons:


All the additional options that are available for the page.


- Lost Stock: Items that have gone missing and need to be accounted for in the inventory.
- Broken Stock: Items that are broken or have damaged packaging, rendering them unusable.
- Expired Stock: Items that have passed their expiration date and are no longer safe or viable for use.
- The contents of this user manual will consist of the following information:
- Filters
- Screen Columns Action Buttons
- Columns
- Page Options
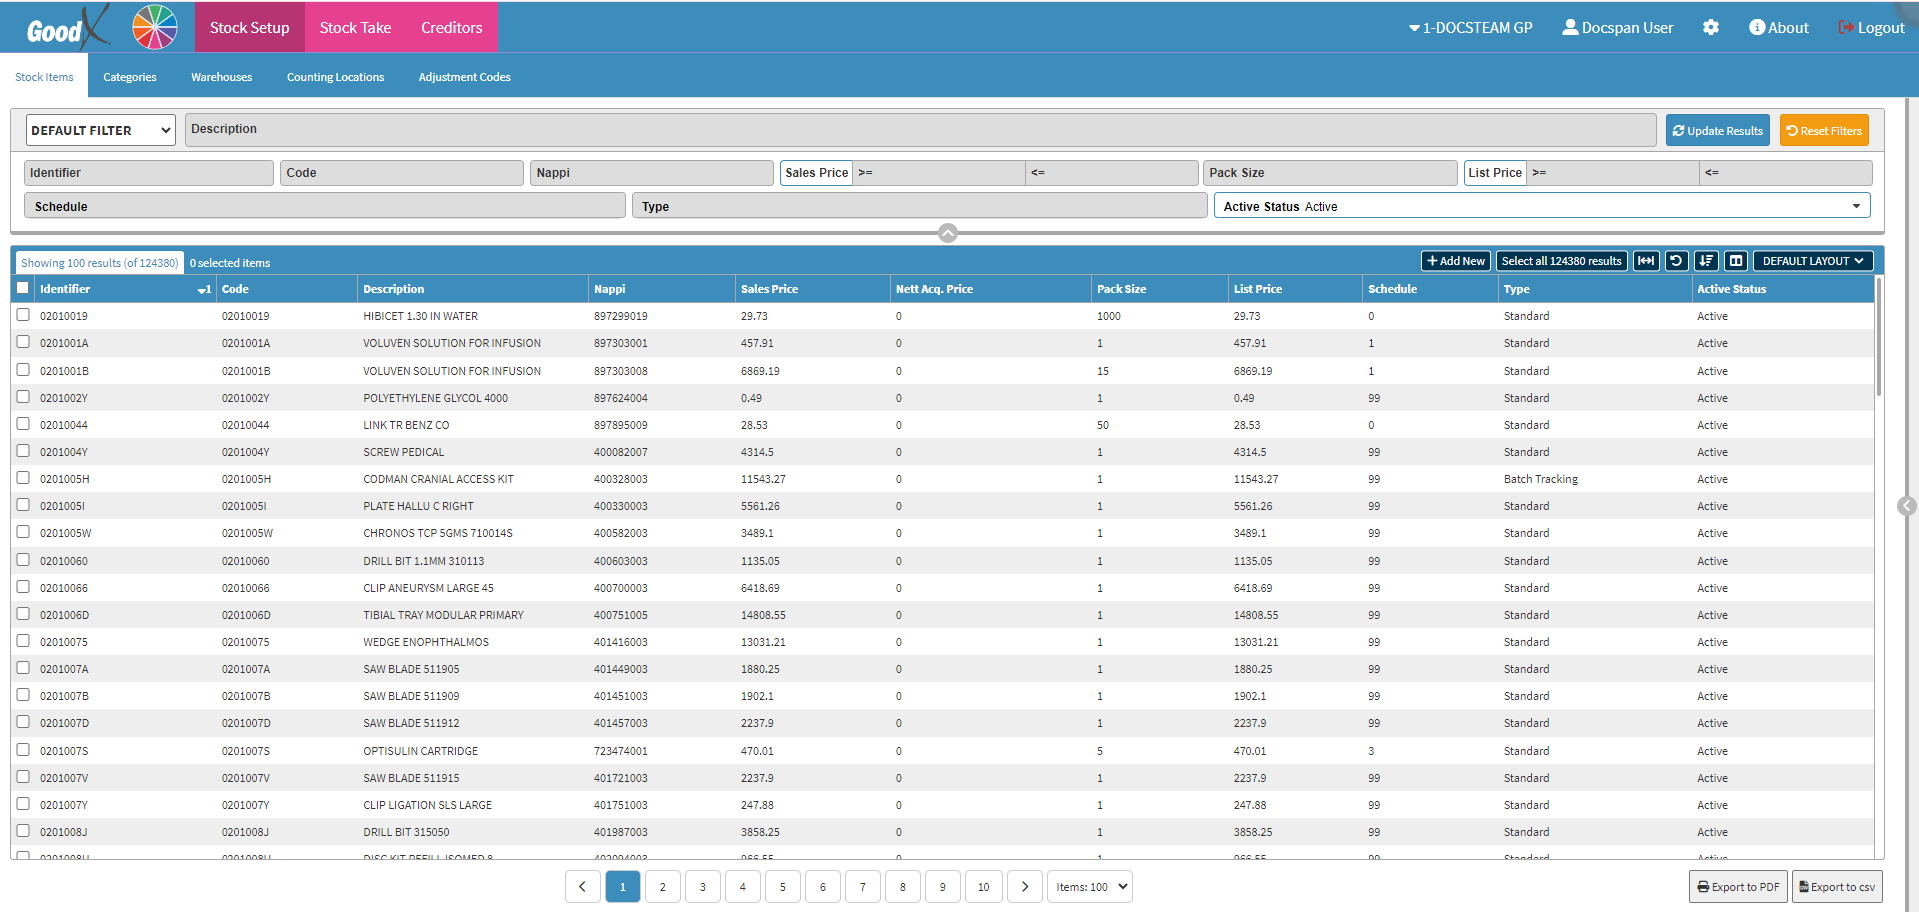
- This user manual will start on the Stock Setup screen, Stock Items tab.
- For more information regarding the Stock Setup screen, please refer to the user manual: Stock Setup Screen: Navigation and Use.
- Click on the Adjustment Codes tab.

- The Adjustment Codes screen will open.

Filter Sections
Filters are tools or functionalities that allow you to narrow down or refine the results displayed on the Adjustment Codes screen.

- Click on the Description field to enter the details of the Adjustment Code you are searching for, only 3 characters are required before the results will start filtering.
![]()
- Click on the Identifier field to enter the identifier of the Adjustment Code you are searching for, 2 characters are required before the results will start filtering.
![]()
- Click on the Update Results button to refresh the list after the filters have been selected.
![]()
- Click on the Reset Filters button to clear the filters that have been set.
![]()
- Click on the Enabled slider to change the list options from active to inactive, allowing you to include or exclude Adjustment Codes that are no longer active from the list results.
![]()
Screen Columns Action Buttons
Several additional Options are available for the Columns. These additional Options can be used to help you adjust the list, refine the Search and give more specific results.- Click on the +Add New button to create a new Adjustment Code.
![]()
- For more information regarding how to Add a new Adjustment Code, please refer to the user manual: How to Create a New Stock Adjustment Code.
- Click on the Select All button to select all the entries on the list.
![]()
- Click on the Expand Widths button to auto-fit the column width to the information within all columns.
![]()
- Click on the Reset Widths button to restore the original widths after any modifications are done.
![]()
- Click on the Sort Columns button to sort the columns in the order that you desire.
![]()
- For more information regarding how the Sort Columns feature works, please refer to the user manual: How to Sort Columns on Reports and List Screens.
- Click on the Choose Columns button to select the columns that will be displayed on the list.
![]()
- For more information regarding how the Choose Columns feature works, please refer to the user manual: How to Choose Columns on Reports and List Screens.
- Click on the Default Layout drop-down menu to select the type of layout that will be used for the screen.
![]()
Columns
All the information on the Adjustment Code screen is divided into Columns to logically group related information together.
- Identifier: A unique code that identifies the Adjustment Code.
- Description: The name of the Adjustment Code.
- Ledger Identifier: The unique identifier of the Legder to which the adjustment will be made.
- Ledger Description: The name of the Ledger to which the Adjustment will be posted.
- Enabled: Advises if the Adjustment Code is active.
Page Options
All the additional options that are available for the page.- Click on the Previous button to Navigate to the Previous Page.
![]()
- Click on the Page Number button to Navigate to the desired Page.
![]()
- Click on the Next button to Navigate to the Next Page.
![]()
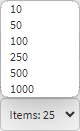
- Click on the Items drop-down menu to select the number of items that will be displayed on the screen.
- Click on the Export to PDF button to save the Report as a PDF file.
![]()
- Click on the Export to CSV button to save the Report in a CSV format.
Last modified: Tuesday, 20 August 2024, 12:28 PM