Bed Management Report: Navigation and Use
The Bed Management Report provides a comprehensive overview of the current bed occupancy status within the Hospital. This report is crucial for Hospital administrators, nurses, and Practitioners to efficiently manage Bed allocation, track Patient flow, and ensure timely care. It helps optimise bed utilisation, streamline Patient transfers, and maintain accurate records.
- The contents of this user manual will consist of the following information:
- Report Filters
- Screen Columns Action Buttons
- Columns
- Page Options
- This user manual will start on the Case Management screen.
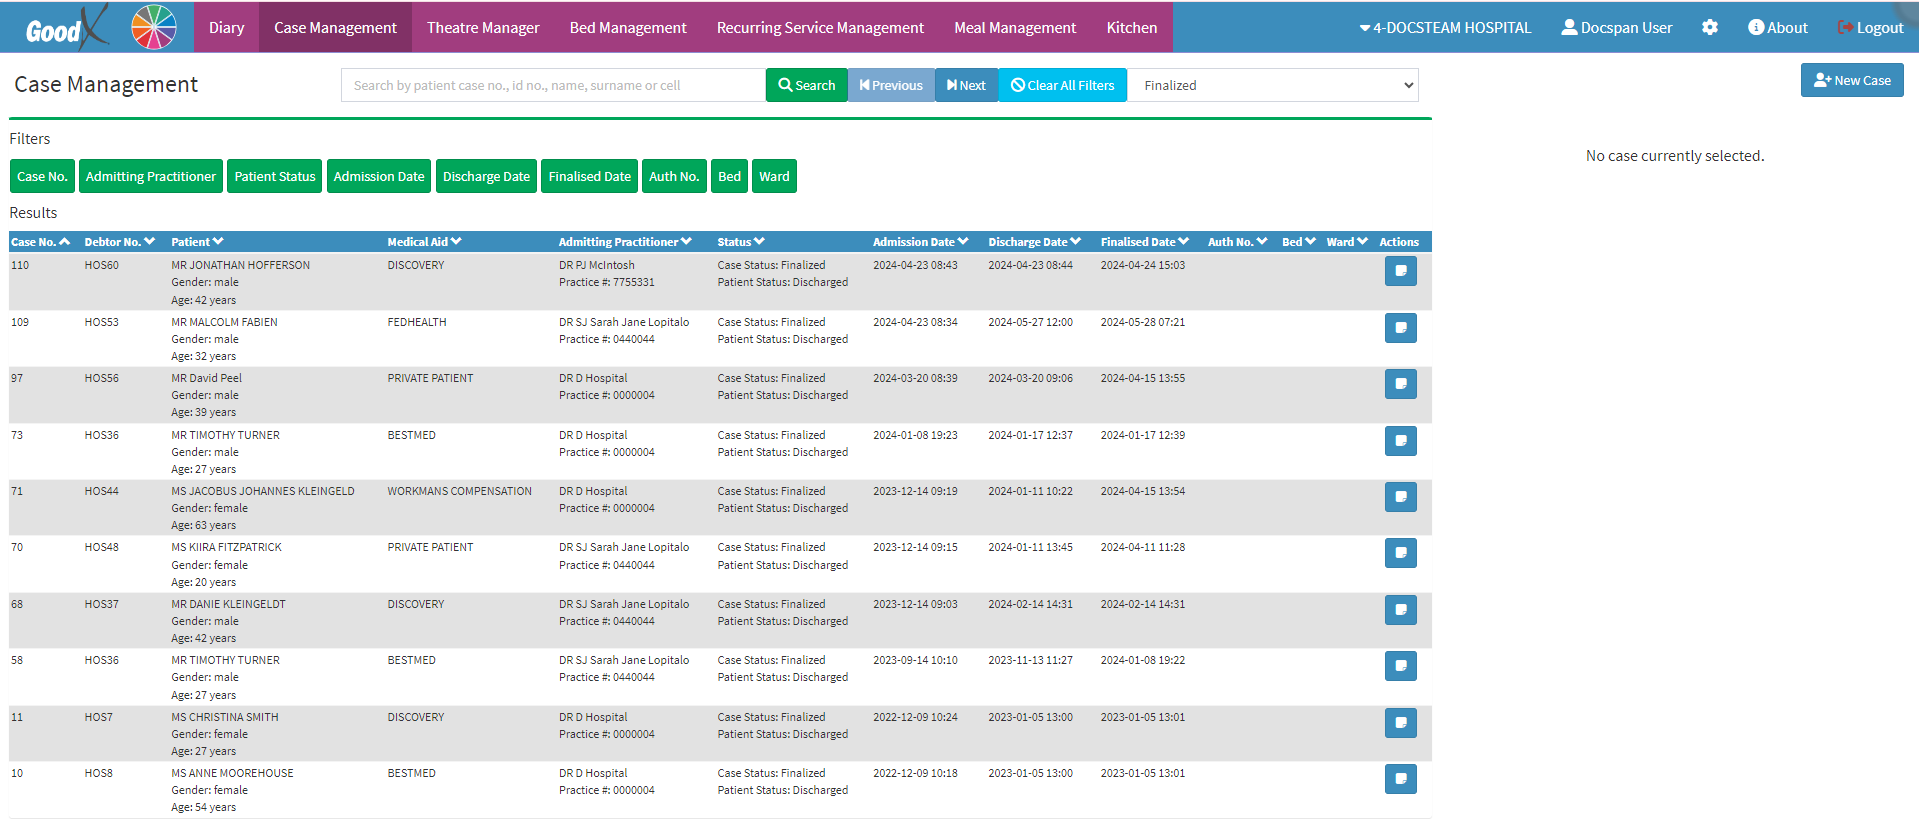
- For more information regarding the Case Management screen, please refer to the user manual: Case Management Screen: Navigation and Use.
- Click on the Bed Management tab.

- The Bed Management screen will open.
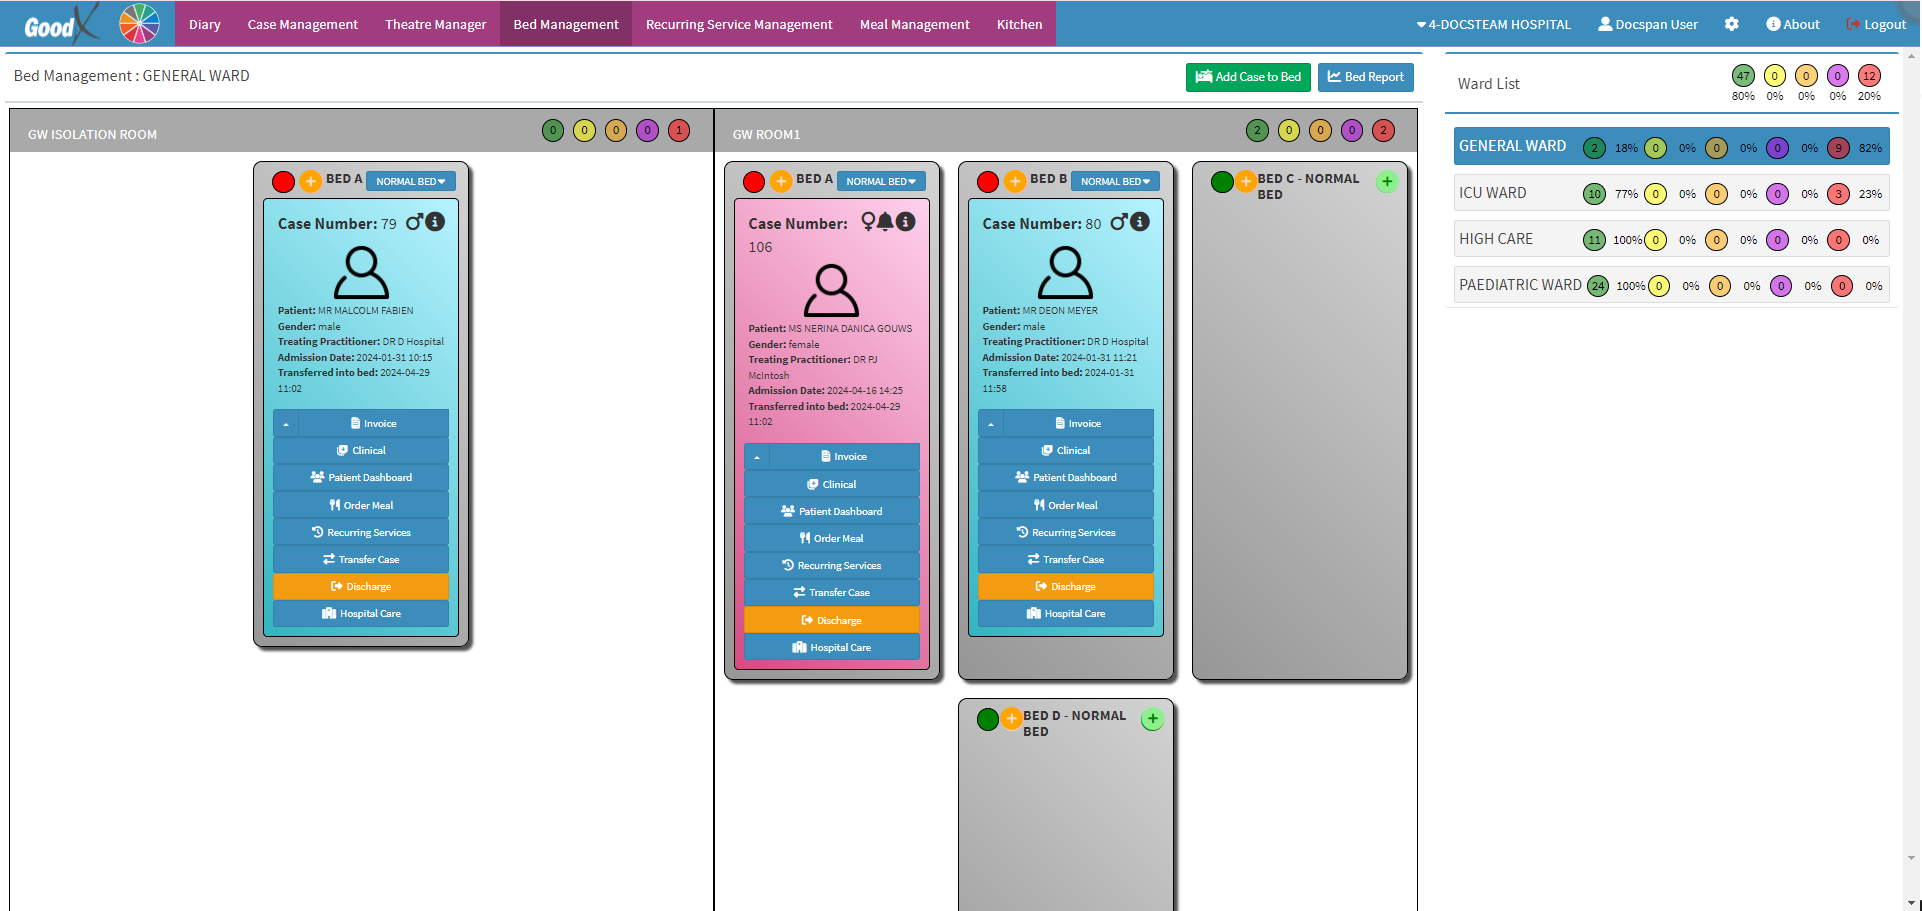
- For more information regarding the Bed Management screen, please refer to the user manual: Bed Management Screen: Navigation and Use.
- Click on the Bed Report button.
![]()
- The Bed Report screen will open.

Please Note: The Beds, Rooms and Wards that appear on this Report are set up in the Desktop App. For more information regarding how to set up the Wards, Rooms and Beds, please refer to the user manual: Bed Setup.
- An explanation will be given for each field and option on the Bed Report screen:
Report Filters
Filters are tools or functionalities that allow you to narrow down or refine the results displayed on the Report screen.

- Complete the details of each Field to Filter the list to the desired results.
- Click on the Filter drop-down menu to select how the screen will be filtered.
![]()
- Click on the Patient Name field to enter the Name of the Patient you are looking for.
![]()
- Click on the Patient Surname field to enter the Surname of the Patient.
![]()
- Click on the Wards drop-down menu to select the desired Ward by which the list will be filtered.
- Tick the Checkbox of the desired Ward/s on the list that has become available.
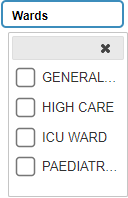
Please Note: Wards that appear on this list are determined by the setup that was done.
- Click on the Rooms drop-down menu to select the desired Room by which the list will be filtered.
- Tick the Checkbox of the desired Room/s on the list that has become available.
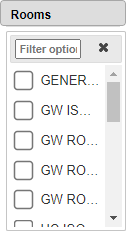
Please Note: Rooms that appear on this list are determined by the setup that was done.
- Click on the Filter Options field to enter the Room you are looking for, to Filter accordingly.
- Click on the Bed Description field to enter the Name of the Bed you are searching for.
![]()
- Click on the Bed Types drop-down menu to select the desired Type of Bed by which the list will be filtered.
- Tick the Checkbox of the desired Bed Type/s on the list that has become available.
- Tick the Checkbox of the desired Bed Type/s on the list that has become available.
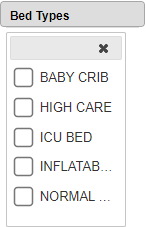
Please Note: Bed Types that appear on this list are determined by the setup that was done.
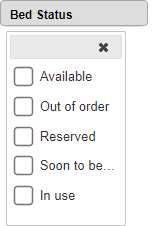
- Click on the Bed Status drop-down menu to select the desired Bed Status by which the list will be filtered.
- Tick the Checkbox of the desired Status/s on the list that has become available.
- Tick the Checkbox of the desired Status/s on the list that has become available.
- Click on the Treating Practitioners drop-down menu to select the desired Treating Practitioner by which the list will be filtered.
- Tick the Checkbox of the desired Treating Practitioner/s on the list that has become available.

Please Note: The Practitioners on the list are all the Treating Practitioners at the Facility. For more information regarding how to set up new Treating Practitioners, please refer to the user manual: How to Create a Treating Practitioner.
- Click on the Case Number field to enter the Case Number you are searching for.
![]()
- Click on the From and To drop-down menus of the Admission Date field to select the Dates on the Date Picker of when the Patient was Admitted to the Facility.
![]()
Please Note: The From and To fields can be filled in manually using a yyyy-mm-dd format.
- Click on the From and To drop-down menus of the Transfer Date field to select the Dates on the Date Picker of when the Patient was Transferred from the Facility.
![]()
Please Note: The From and To fields can be filled in manually using a yyyy-mm-dd format.
- Click on the From and To drop-down menus of the Reserved Date field to select the Dates on the Date Picker of when the Bed was Reserved.
![]()
Please Note: The From and To fields can be filled in manually using a yyyy-mm-dd format.
- Click on the Update Results button to refresh the Bed Report after the Filters have been selected.
![]()
- Click on the Reset Filters button to clear the Filters that have been set.
![]()
Screen Columns Action Buttons
Several additional Options are available for the Columns. These additional Options are to help the User adjust the Report, refine the Search and give more specific results.- Click on the Expand Widths button to auto-fit the Column Width to the information within all columns.
![]()
- Click on the Reset Widths button to restore the original Widths after any modifications were made.
![]()
- Click on the Sort Columns button to sort the Columns in the order that you desire.
![]()
- For more information regarding how the Sort Columns feature works, please refer to the user manual: How to Sort Columns on Reports and List Screens.
- Click on the Choose Columns button to select the columns that will be displayed on the list.
![]()
- For more information regarding how the Choose Columns feature works, please refer to the user manual: How to Choose Columns on Reports and List Screens.
- Click on the Default Layout drop-down menu to select the type of layout that will be used for the screen.
![]()
Columns
All the information on the Bed Report screen is divided into Columns to logically group related information together.
- Ward Description: The Name of the Ward where the Bed is located.
- Room Description: The Name of the Room.
- Description: The Bed Number that has been allocated to the Bed.
- Bed Type Description: The Type of Bed, for example, Normal, Cot, incubator etc.
- Hospital Case Number: The Patient's Case Number for admission to the Hospital.
- Patient Name: The Name of the Patient that is currently using the Bed.
- Patient Gender: The Gender of the Patient currently using the Bed.
- Treating Practitioner Fullname: The Fullname and Surname of the Practitioner Treating the Patient, who is currently in the Bed.
- Hospital Case Admission Date: The Date (yyyy-mm-dd) and Time (hh:mm) the Patient was Admitted to the Hospital.
- Active Transfer Time In: The Date (yyyy-mm-dd) and Time (hh:mm) the Patient was transferred into the Bed.
- Time of Reservation: The Date (yyyy-mm-dd) and Time (hh:mm) when the Patient is expected to be placed into the Bed.
Page Options
All the additional options that are available for the page.- Click on the Previous button to Navigate to the Previous Page.
![]()
- Click on the Page Number button to Navigate to the desired Page.
![]()
- Click on the Next button to Navigate to the Next Page.
![]()
- Click on the Items drop-down menu to select the Number of items that will be displayed on the screen.

- Click on the Export to PDF button to save the Report as a PDF file.
![]()
- Click on the Export to CSV button to save the Report in a CSV format.