Eye Evaluation 2 Form Overview
An Eye Evaluation is a series of tests performed by an Ophthalmologist, Optometrist, Orthoptist or Optician, to assess a Patient's vision and ability to focus and distinguish between different objects, as well as other eye-related tests and examinations.
The Eye Evaluation 2 Form is a fully customisable form that may be adjusted to the unique Practitioner's needs and is used to capture the results of a series of eye tests performed on the Patient by the Practitioner. Practitioners can draw on the supplied images and upload images from an external source to make visual indications. The form allows the Practitioner to bill the Patient whilst completing the form as billing codes are automatically added when the test results are completed.
- The contents of this user manual will consist of the following information:
- Systems Selector
- Panel Buttons
- Problem List
- History
- Eye Vitals
- External Exam
- Anterior Segment
- Posterior Segment
- Indirect Fundoscopy
- Binocularity
- Extraocular Muscles
- Orbit
- Retinoscopy
- Special Investigations
- Assessment, Planning and Billing
- Complete and Finalise All Stages
- Complete
- Finalise All Stages
- Email
- Print and Download
- Print
- Download
- Save and Close
- This user manual will start on the Clinical Case screen.
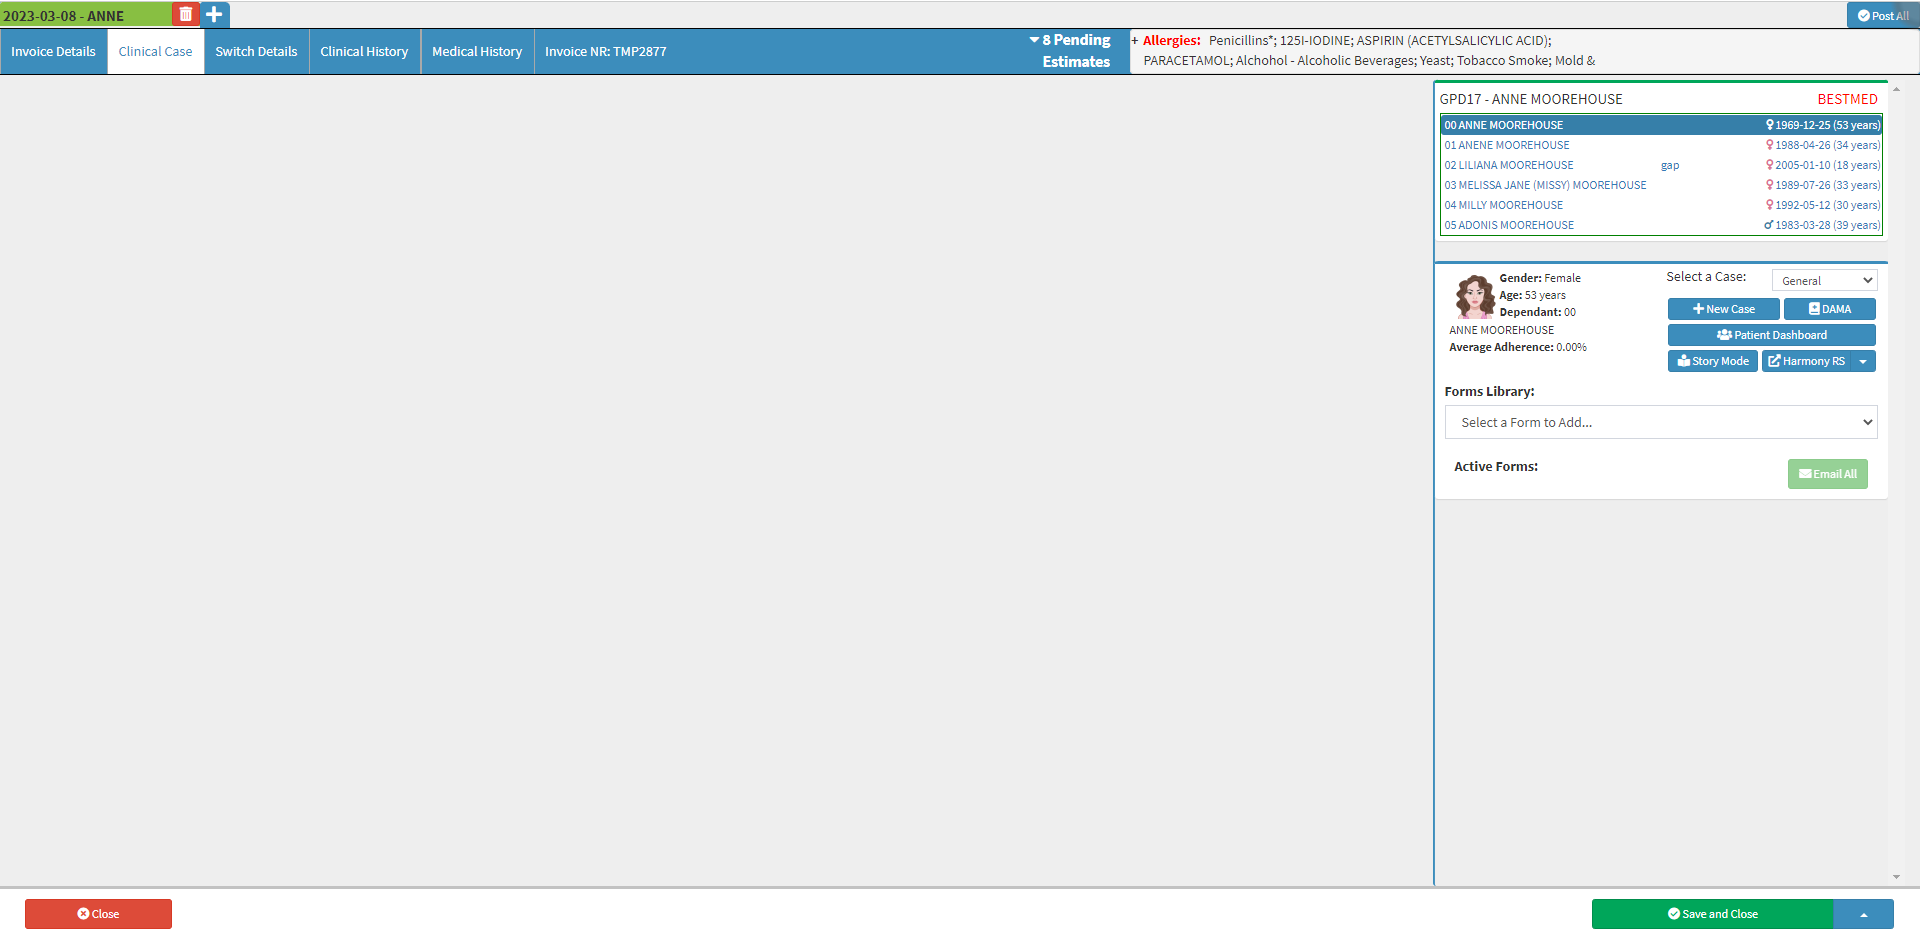
- For more information regarding how to navigate to the Clinical Case screen, please refer to the user manual: Clinical Screen Overview.
- Click on the Forms Library drop-down menu on the Clinical Sidebar.

- Select the Eye Eval 2 form.
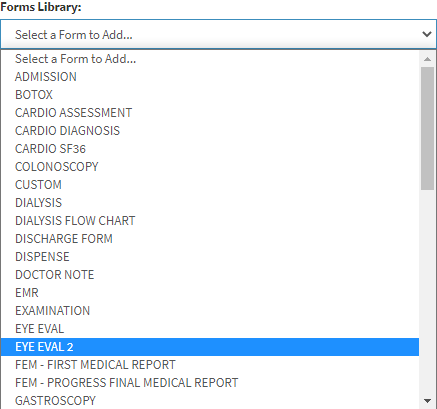
- The form will be added to the Clinical Sidebar under the Active Forms section.

- The Eye Eval form, History, Examination and Review of Systems panel will open.
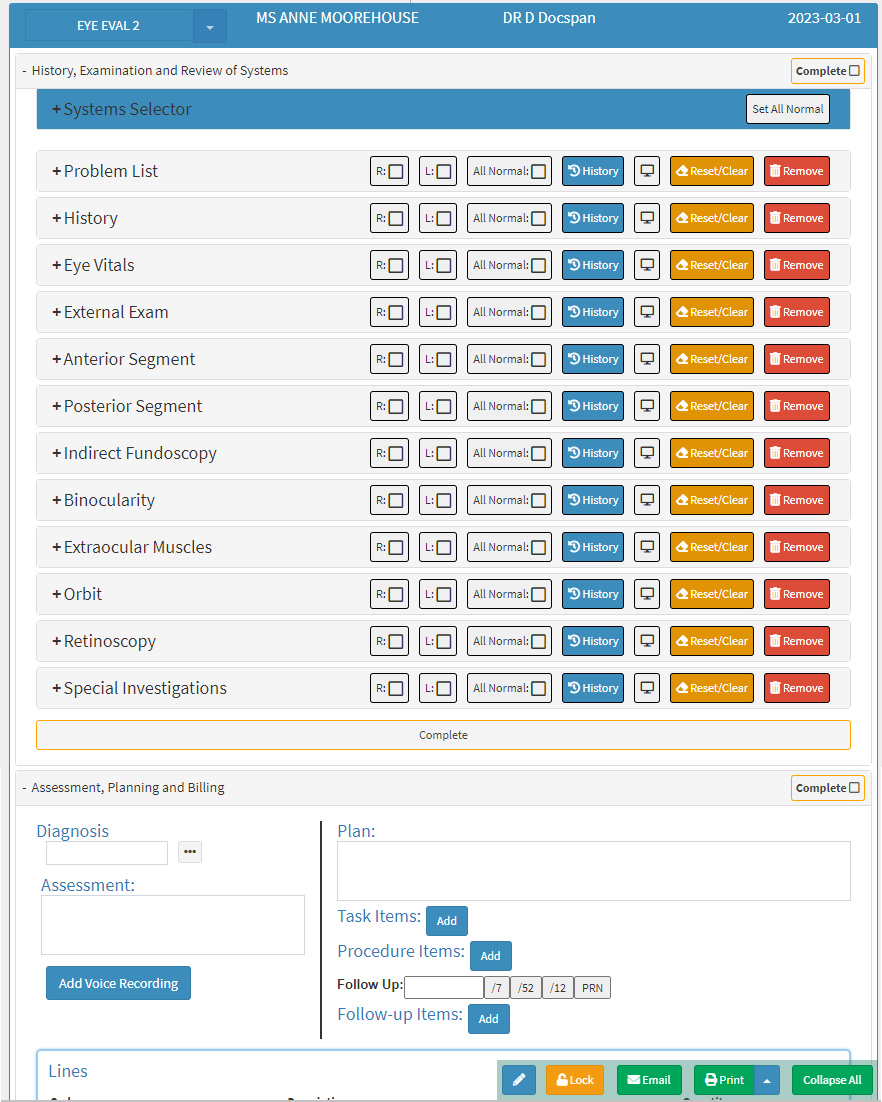
- An explanation will be given for each field and option available on the Eye Eval form:
System Selector
Allows the Practitioner to choose and select which panels and or sections will appear on the form. Practitioners can select only the panel that they will require, and all the other panels will be hidden. Panels can easily be made visible again if the need arises.
- Click on the Systems Selector panel.
![]()
- The Systems Selector panel will expand.

- For more information regarding the Systems Selector, please refer to the user manual: Eye Eval 2: Systems Selector.
Panel Buttons
Panel Buttons are action buttons which are located on a panel. These buttons are additional options that are available to the specific panel on which they are found.
![]()
- For more information regarding each button on the panel, please refer to the user manual: Eye Eval 2: Panel Buttons.
Problem List
A list which explains the reason why the Patient is consulting with the Practitioner as well as the symptoms which are being experienced.
- Click on the Problem List panel.
![]()
- The Problem List panel will expand.

- For more information regarding the Problem List panel, please refer to the user manual: Eye Eval 2: Problem List.
History
A record of health information about the Patient that relates to any chronic/hereditary illnesses, or previous procedures/operations relevant to the Patient's treatment.- Click on the History panel.
![]()
- The History panel will expand.

- For an extensive explanation regarding all the options on the History panel, please refer to the user manual: Eye Eval 2: History.
Eye Vitals
A set of measurements and observations that are taken during an eye examination to assess the health and function of the eyes.
- Eye Vitals comprise of the following sections:
- Complaints: Indicates that there is an issue regarding the Patients' Eye Vitals.
- Visual Acuity: The sharpness of vision, typically measured using a Snellen chart or a similar device. The distance (denominator) at which an optimally seeing eye can identify forms observed by an eye test at a standard distance (numerator).
- Colour Vision: An individual's ability to perceive and distinguish different colours. The test is used to detect colour vision deficiencies or colour blindness, which is a condition that affects the ability to see certain colours or shades of colour.
- Contrast Sensitivity: A diagnostic tool which measures an individual's ability to detect and distinguish variations in the contrast of visual images. Assesses the ability of the visual system to detect small differences in brightness between bordering areas of an image. The test typically uses a series of patterns or letters which gradually decrease in contrast, and the Patient is asked to identify them at different levels of contrast.
- Lensometry: Measures the power and curvature of the lens in the eye. The test is performed using a Lensometer which is used to determine the prescription for eyeglasses or contact lenses.
- Autorefraction: A diagnostic test which uses a machine to automatically measure the refractive error of the eye and determine the prescription for eyeglasses or contact lenses.
- Subjective Refraction: A diagnostic test which is performed using a Phoropter to determine the exact eyeglass or contact lens prescription for a Patient and is considered to be more accurate than an autorefraction test.
- Keratometry: A test that uses a Keratometer to measure the curvature of the cornea, the clear front surface of the eye. The test will determine the shape of the cornea and calculates the power of the eyeglass or contact lens prescription.
- Pupil: A black hole in the centre of the iris of the eye that allows light to strike the retina. The size of the pupil changes according to the amount of light that enters the eye. The pupil will decrease in size the brighter the light is and increases in size when the amount of light decreases.
- Intraocular Pressure (IOP): The pressure of the fluid inside the eye. The method used to determine intraocular pressure is Tonometry. IOP is an essential aspect in the evaluation of Patients at risk of Glaucoma.
- Click on the Eye Vitals panel.

- The Eye Vitals panel will expand.

- For an in-depth explanation of each section on the Eye Vitals panel, please refer to the user manual: Eye Eval 2: Eye Vitals.
External Exam
An examination of the parts of the eye that is clearly visible without using special instruments or equipment.
- Click on the External Exam panel.
![]()
- The External Exam panel will expand.

- For more information regarding all the sections of the External Exam panel, please refer to the user manual: Eye Eval 2: External Exam
Anterior Segment
The front part of the eye that includes the cornea, iris, ciliary body, lens, and the aqueous humor-filled anterior chamber. The Practitioner will use a slit lamp microscope to carefully examine the different structures of the eye, to identify any abnormalities or issues that may be affecting the eye.
- Click on the Anterior Segment panel.
![]()
- The Anterior Segment panel will expand.
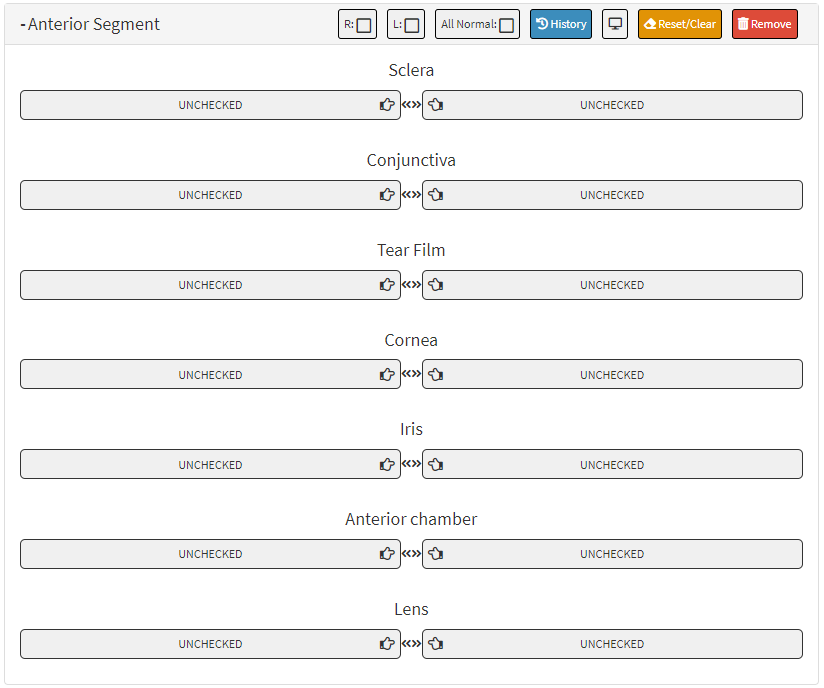
- For an extensive explanation regarding all the options on the Anterior Segment panel, please refer to the user manual: Eye Eval 2: Anterior Segment.
Posterior Segment
The back part of the eye which includes the retina, optic nerve, and the vitreous humour-filled posterior chamber. The Practitioner will use special instruments to examine the different structures of the eye and determine any irregularities or issues that may be affecting the eye.
- Click on the Posterior Segment panel.

- The Posterior Segment panel will expand.
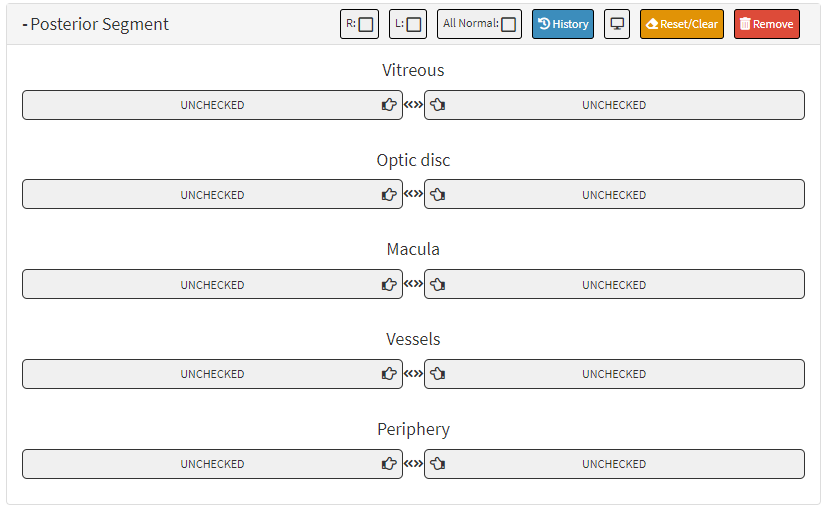
- For more information regarding all the sections of the Posterior Segment panel, please refer to the user manual: Eye Eval 2: Posterior Segment.
Indirect Fundoscopy
An examination of the inside of the eye using a special instrument called an indirect ophthalmoscope. The instrument allows the Practitioner or Ophthalmologist to view the structures at the back of the eye, including the retina and optic nerve. A bright light is shone into the eye while wearing a head-mounted lens. The lens magnifies the view of the back of the eye allowing the Practitioner to see a wide field of view.
- Click on the Indirect Funduscopy panel.
![]()
- The Indirect Funduscopy panel will expand.

- For an extensive explanation regarding all the options on the Indirect Fundoscopy panel, please refer to the user manual: Eye Eval 2: Indirect Fundoscopy.
Binocularity
The ability of the eyes to work together as a team to perceive a single, three-dimensional image of the world. It is the ability of the eyes to simultaneously focus on an object with both eyes and to combine the visual information from each eye to create a single image. Binocularity is achieved through a process called binocular vision, which involves the coordination of the eye muscles and the processing of visual information by the brain.- Click on the Binocularity panel.
![]()
- The Binocularity panel will expand.
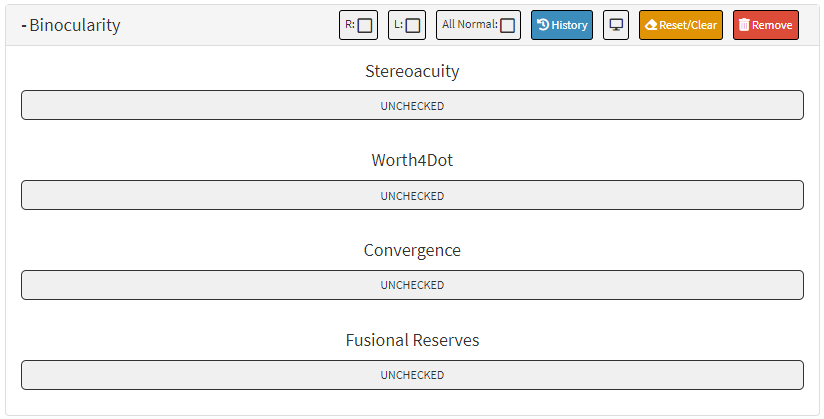
- For more information regarding the Binocularity panel, please refer to the user manual: Eye Eval 2: Binocularity.
Extraocular Muscles
A group of six muscles that are responsible for the movement and positioning of the eyes. These muscles work together to coordinate the movements of the eyes, allowing a person to track moving objects, focus on different distances, and maintain visual alignment- Click on the Extraocular Muscles panel.
![]()
- The Extraocular Muscles panel will expand.
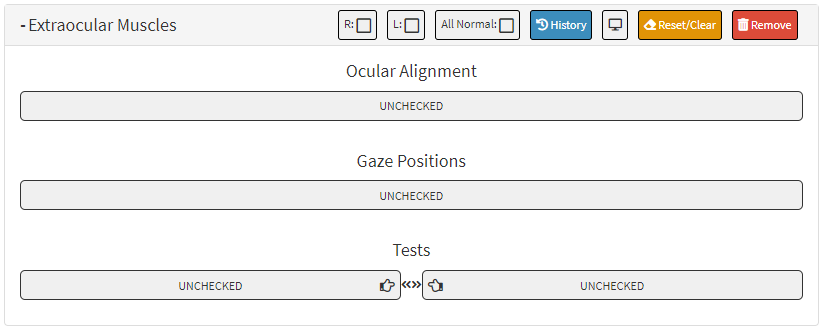
- For an extensive explanation regarding all the options on the Extraocular Muscles panel, please refer to the user manual: Eye Eval 2: Extraocular Muscles.
Orbit
The bony cavity in the skull which contains and protects the eyeball, along with the muscles, nerves, and blood vessels. The eye orbit is also known as the eye socket or orbital cavity. The eye orbit is formed by several bones, including the frontal bone, maxilla, zygomatic bone, lacrimal bone, ethmoid bone, sphenoid bone, and palatine bone. These bones provide a protective barrier around the eye and help to maintain the position within the skull.
- Click on the Orbit panel.
![]()
- The Orbit panel will expand.

- For more information regarding the Orbit panel, please refer to the user manual: Eye Eval 2: Orbit.
Retinoscopy
Determines a Patient's refractive error, which is the degree of nearsightedness, farsightedness, or astigmatism that a person has. The Practitioner shines a light into the Patient's eye and observes the reflection of the light passing through the pupil and is reflected back from the retina.
- Click on the Retinoscopy panel.
![]()
- The Retinoscopy panel will expand.

- For an extensive explanation regarding all the options on the Retinoscopy panel, please refer to the user manual: Eye Eval 2: Retinoscopy.
Special Investigations
Extra more comprehensive tests which are performed to diagnose and monitor eye conditions. These tests go beyond the normal examinations that are usually done during an Eye Evaluation and may involve the use of advanced technology or specialised techniques.
- Click on the Special Investigations panel.
![]()
- The Special Investigations panel will expand.

- For an in-depth explanation of each section on the Special Investigations panel, please refer to the user manual: Eye Eval 2: Special Investigations.
Assessment, Planning and Billing
An overall summary of what is wrong with the Patient after all tests were performed. What the treatment plan will be, based on the Assessment. Billing is based on the tests performed, each test's billing codes will be automatically added to the billing section for fast and efficient billing.
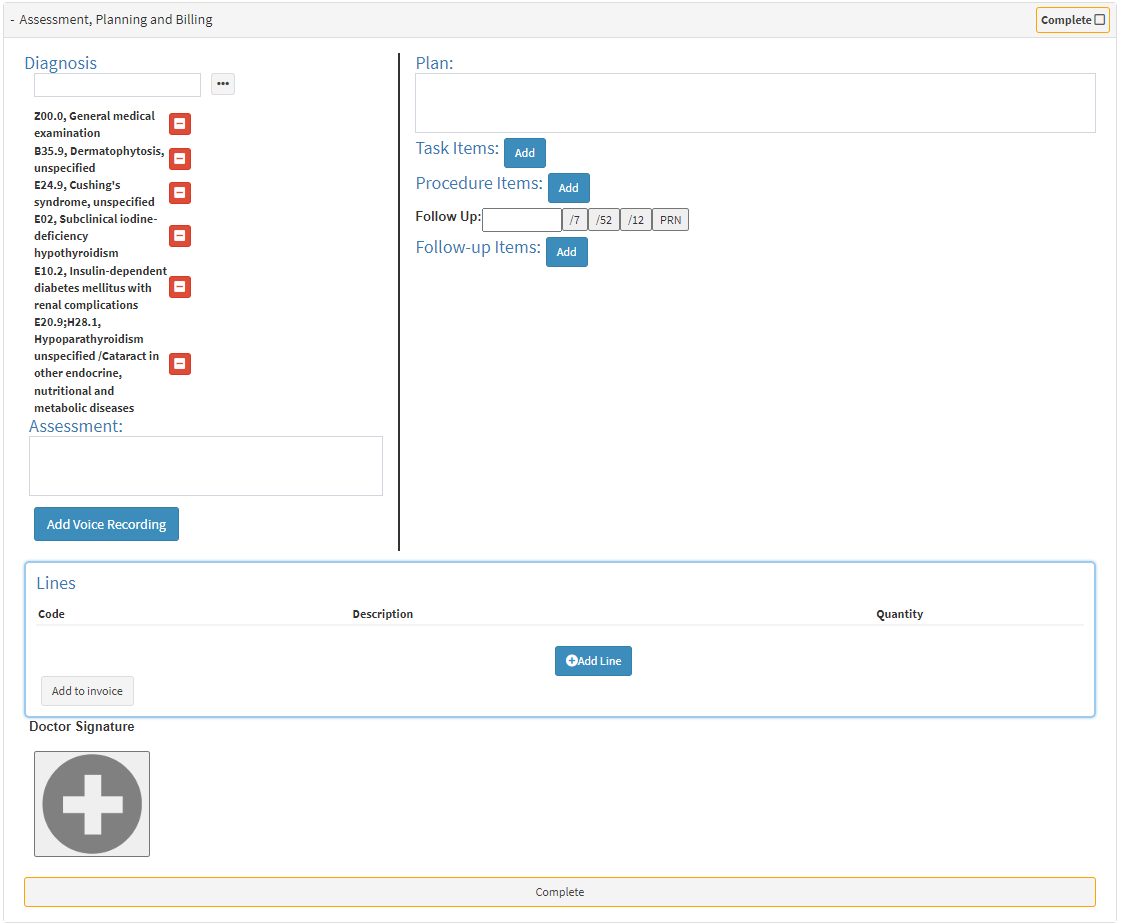
- For an extensive explanation regarding all the sections on the Assessment, Planning and Billing panel, please refer to the user manual: Eye Eval 2: Assessment, Planning and Billing.
Complete and Finalise All Stages
Once the Practitioner is satisfied with the information added to the Eye Evaluation 2 form the form can be completed and all the stages of the form can be finalised.Complete
- Click on the Complete button to complete the Eye Evaluation 2.
![]()
- The button will change to Completed and the form will be marked as Completed at the top of the screen.
![]()
Finalise All Stages
- Click on the Finalise All Stages button once the Eye Evaluation has been concluded and the Practitioner has finished the evaluation and billed the Patient.
![]()
Please Note: Once the Practitioner has Completed or Finalised All Stages of the Eye Evaluation 2 form, no changes can be made to the contents of the form.
Allows the Practitioner to send a copy of the Eye Evaluation via electronic mail.
- Click on the Email button to send a copy of the Eye Evaluation 2 via electronic mail to the desired recipients.
![]()
- The Email - Workflow Event screen will open.
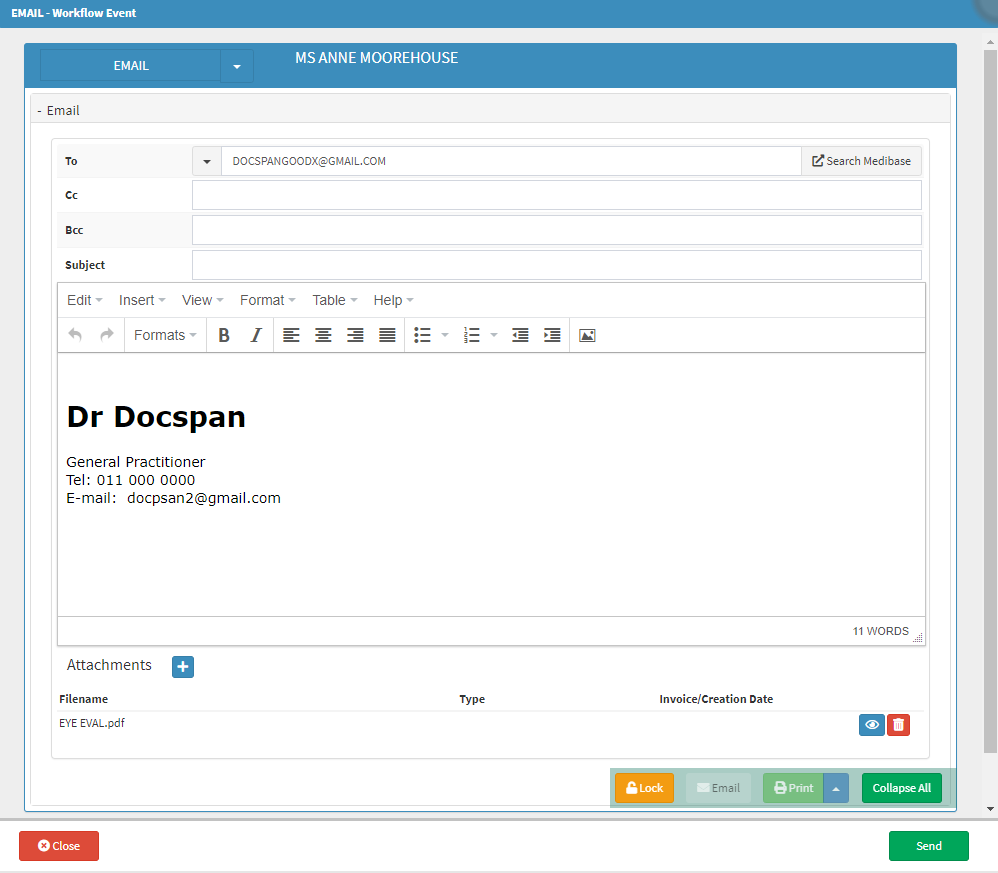
Please Note: The Eye Evaluation 2 will be automatically attached as a PDF (Portable Document Format) file in the Attachments section.

- Complete the fields with the relevant information:
- To: The email address of the recipient. The Debtor's email address will automatically be filled in the To field.
- Cc: Carbon Copy - Mailing addresses of other recipients who will also receive the email as a reference to take note of the email that has been sent to the main recipient.
- Bcc: Blind Carbon Copy - A copy of the original email will be sent to the added mailing addresses without the main recipient's knowledge, which is used for privacy purposes.
- Subject: A single line of text, that informs the recipient what the email is about.
- Body: Any relevant information that the Practitioner would like to share with the recipient. The Body is typically written in the same format as a letter, which consists of a greeting, concise paragraphs regarding the intent of the email and a closing to advise who the email is from.
- Click on the Close button to exit the Email - Workflow Event screen without sending the email.
![]()
- Click on the Send button to send the email to the desired recipient and exit the Email - Workflow Event screen.
Print and Download
Allows the Practitioner to print out a hard copy of the evaluation that can be filed in the Patient's hard copy file or save a PDF (Portable Document Format) copy to the Practitioners' device.
- Click on the Print button to open a preview to allow the Practitioner to print a hard copy of the Eye Evaluation 2.
![]()
- The Print screen will open. The Eye Evaluation will display on the screen.
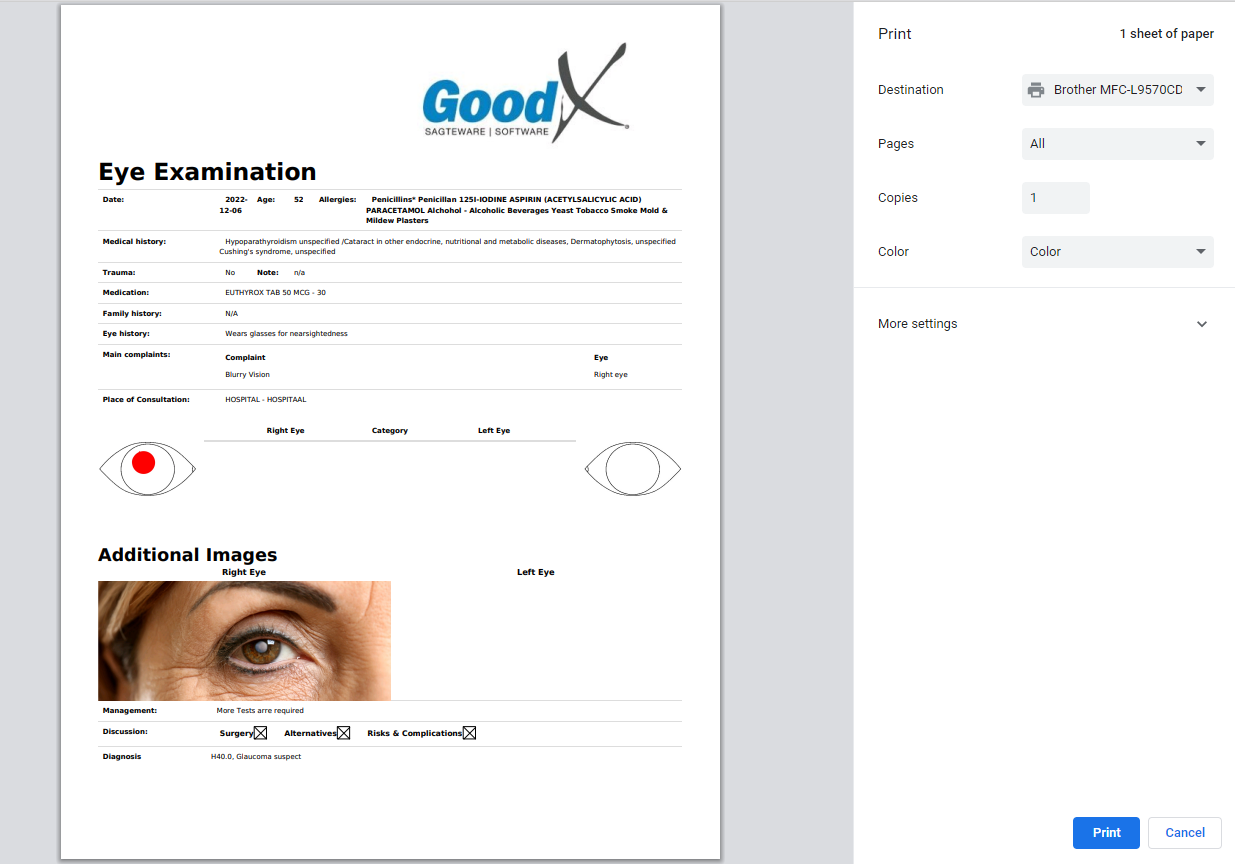
- Click on the Cancel button to exit the Print screen without printing.
![]()
- Click on the Print button to send the Eye Evaluation 2 to the printer. the Print screen will close and return to the Eye Eval 2 screen
Download
- Click on the Print drop-up menu to open additional print options.

- Click on the Download button to save the Eye Evaluation as a PDF (Portable Document Format) to the user's computer.
![]()
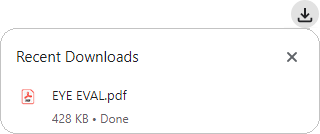
- The PDF (Portable Document Format) file of the Eye Evaluation will be downloaded to the user's device.
Save and Close
Allows the Practitioner to save all the changes that have been made to the Eye Evaluation 2 and close the form.- Click on the Close button to exit the Eye Eval 2 screen without saving.
- Click on the Save and Close button to save all changes that have been made and close the Eye Eval 2 screen and return to the Diary screen.
![]()
- Click on the Save and Close drop-up menu for more options:
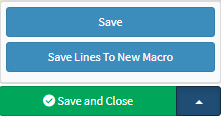
- Save: The user is able to save the changes made to the form without closing the form.
- Save Lines To New Macro: Allows the user to create a new macro.
- For an extensive explanation of the New Macro feature, please refer to the user manual: Macros (Billing Combinations).