User Entity Settings are configured per User, per Entity, allowing for tailored customisation of the system to meet the specific operational needs of the Practice. These Settings control how functions are displayed and behave for each User within the selected Entity. Users who require personalised configurations can log in with their credentials and adjust their User Entity Settings without affecting other Users in the same Entity.
The Contents of This User Manual:
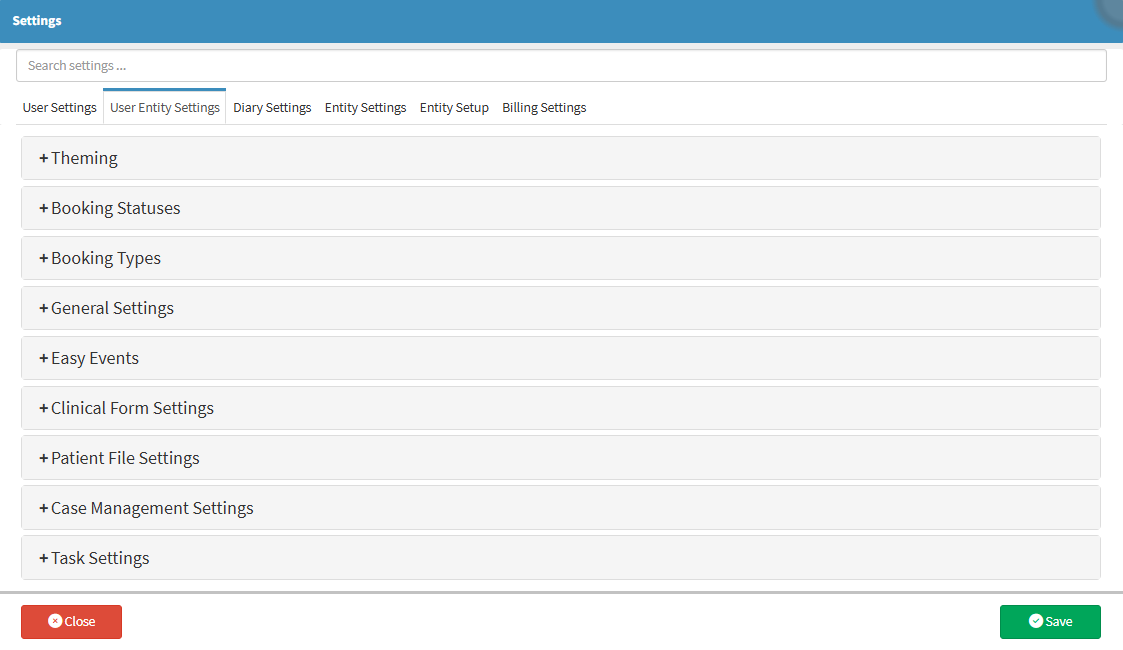
Theming
Booking Statuses
Booking Types
General Settings
Easy Events
Clinical Form Settings
Patient File Settings
Case Management Settings
Task Settings
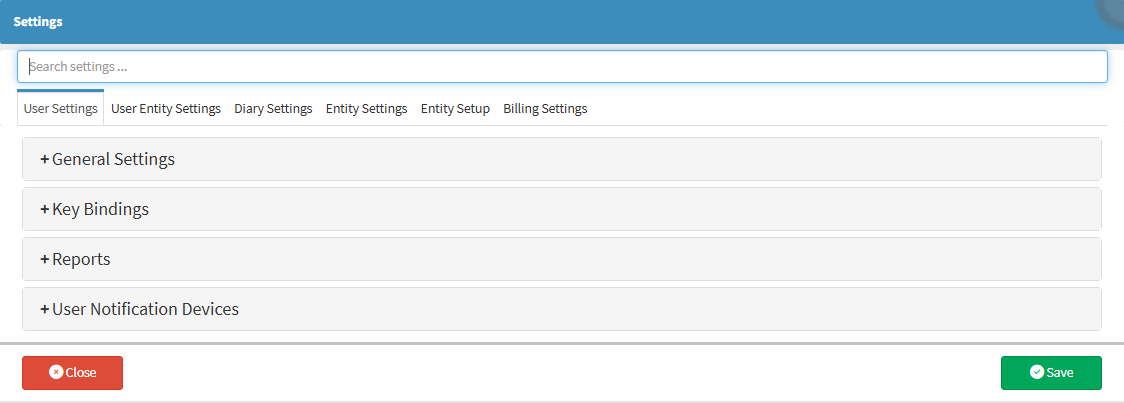
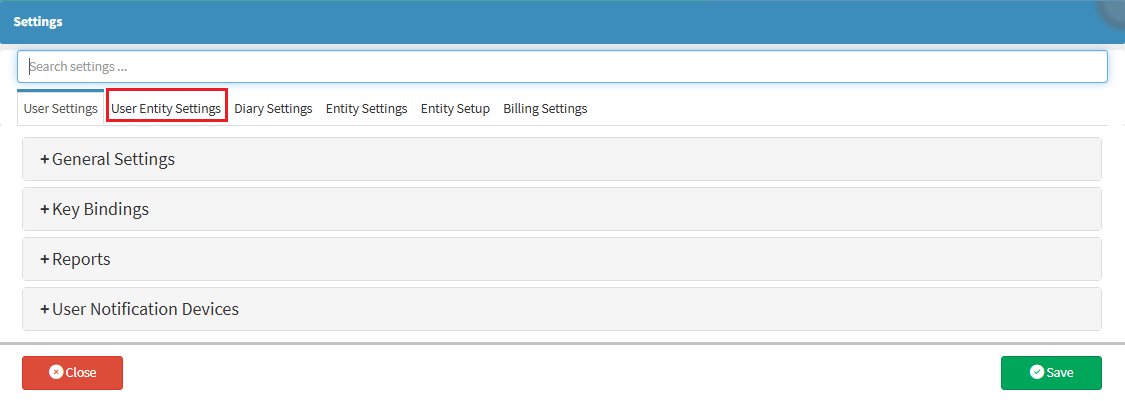
This user manual will start on the Settings screen.
An explanation will be given for each panel on the User Entity Settingsscreen:
Theming
Theming customises the layout, appearance, and displayed Booking Fields on the Diary.
Click on the Theming panel.
The Theming panel will expand.
For more information regarding all the options on the Theming panel, please refer to the user manual:User Entity Settings-Theming.
Booking Statuses
Booking Statuses indicate the progress of an appointment and reflect the Patient’s current stage in the Practice’s Appointment Process. These statuses can be customised to suit each Practice.
Click on the Booking Statuses panel.
The Booking Statuses panel will expand.
For more information regarding all the options on the Booking Statusespanel, please refer to the user manual: Booking Statuses.
Booking Types
Allows you to set up what Types of Bookings can be made at the Practice. Booking Types can indicate what type of treatment the Patient will receive. Examples include Telemed, Tooth Extraction, Root Canal, Emergency etc.
Click on the Booking Types panel.
The Booking Types panel will expand.
For more information regarding all the options on the Booking Typespanel, please refer to the user manual: Booking Types.
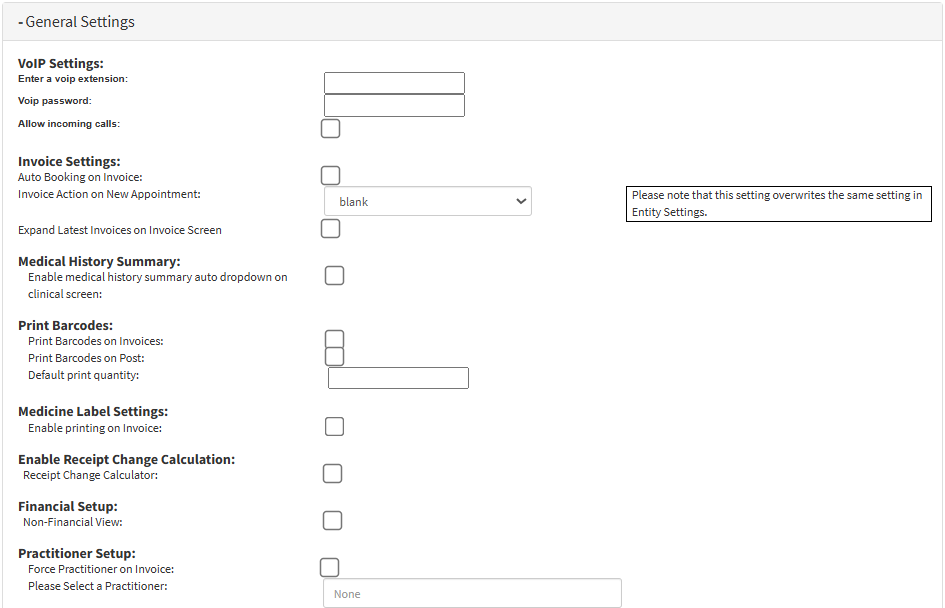
General Settings
Enables you to configure User-specific General Settings, including VoIP extensions, preferences on the Invoice screen, Diary Widgets, Cash Register usage for the user, and the appearance of the User's Diary, etc.
Click on the General Settings panel.
The General Settings panel will expand.
For more information regarding all the options on the General Settingspanel, please refer to the user manual: General Settings: Navigation and Use.
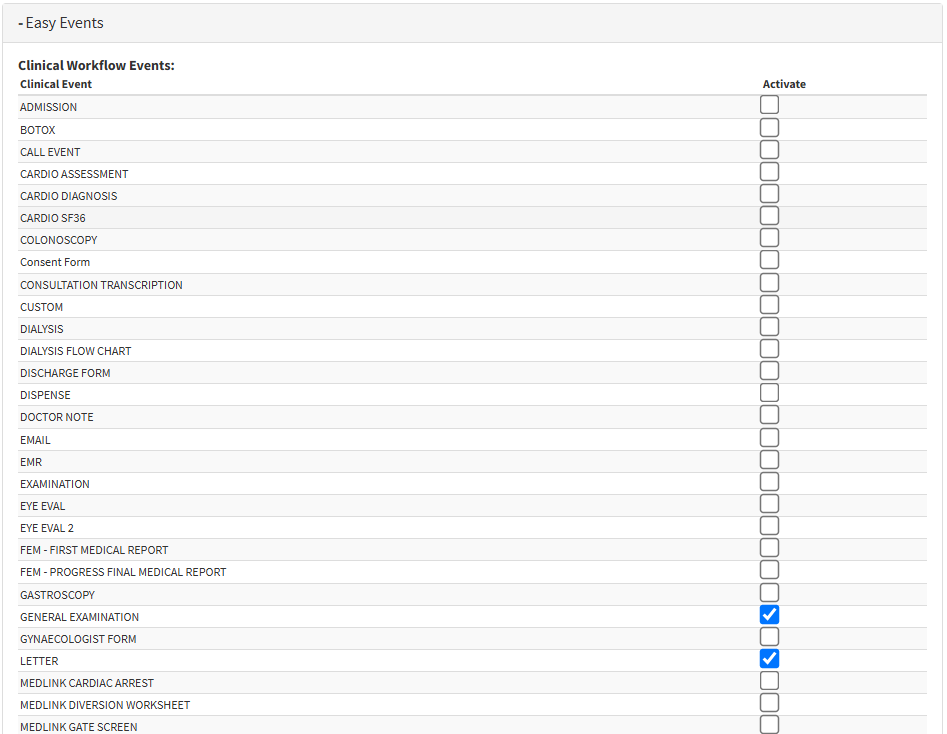
Easy Events
Allows you to set up Shortcut buttons to other features. Saves time and allows you to create Forms for the Patient from several different screens where the buttons appear.
Click on the Easy Events panel.
The Easy Events panel will expand.
For more information regarding all the options on the Easy Eventspanel, please refer to the user manual: Easy Events.
Clinical Form Settings
Consists of the Settings for Scripts as well as the EMR Settings for the Practice.