Text size
Line height
Text spacing
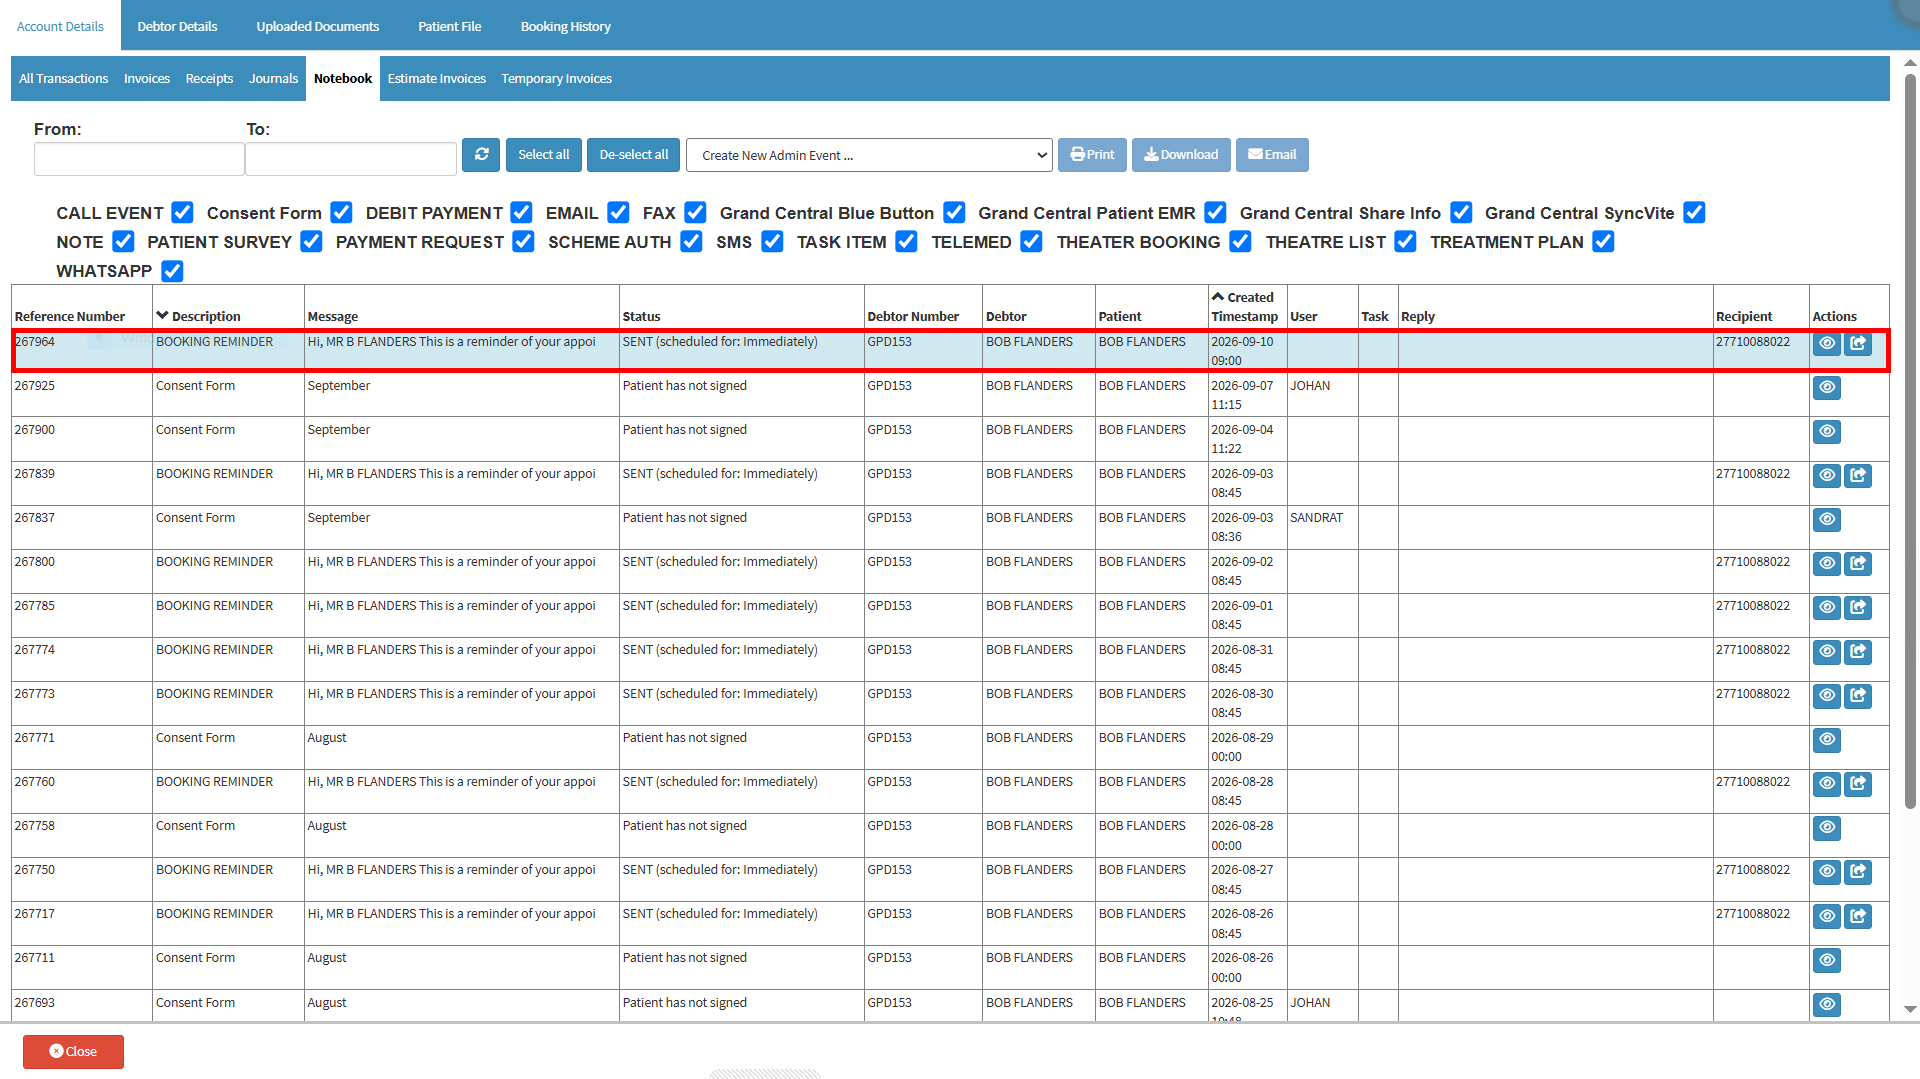
The Admin Event Template Setup is used to create and schedule automated communications linked to a booking. Using Workflow Event Templates, you can set messages to be sent before or after a booking, or at a specific time. These can be used for things such as sending forms before a visit, appointment reminders, or surveys after an appointment.
This helps the Practice keep Patients informed without staff having to send each message manually. Once configured, the appropriate communication is triggered automatically when the relevant booking event occurs, helping to keep the Practice's workflow consistent and Patient communication on track.
💡 Please Note: Admin Event Templates can be set up at different levels, allowing each Practice to tailor automated communications to its workflow and requirements. For details, see Understanding the use of Booking Event Template Setup.
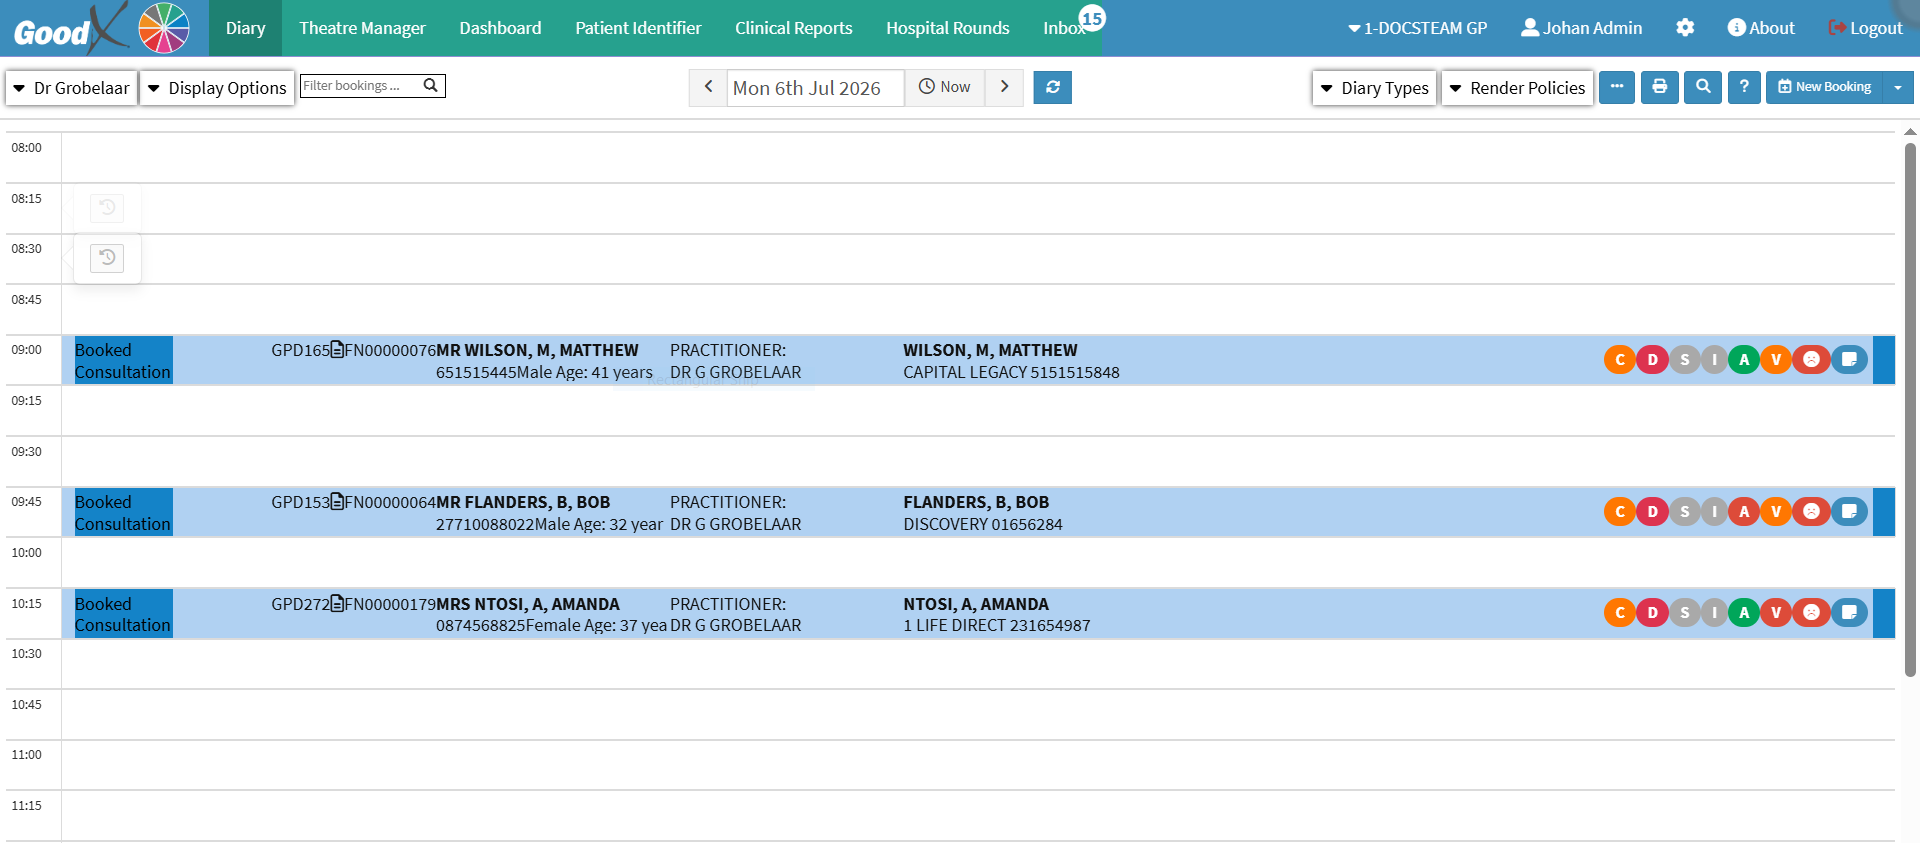


💡Please Note: The available options depend on the settings configured for the Practice.