The Case Report Writer is a report used to show an overview of all the demographic data of a Hospital Case. The Case Report Writer will include all Case-related information such as the Patient's personal details, the Case Status, the Attending Staff, admittance and discharge dates, Medical Aid details and account information.
Settings and Parameters are factors that will be taken into consideration to determine what information and data will be generated on a report. Settings and Parameters allow you to customise the information that appears on the report to their specific needs.
The contents of this user manual will consist of the following information:
New Profile
Edit Profile
Delete Profile
Print Direct
Print to Grid
Set as Default
Options
Close
From the Navigator, Double Click on the MedDebs Module.
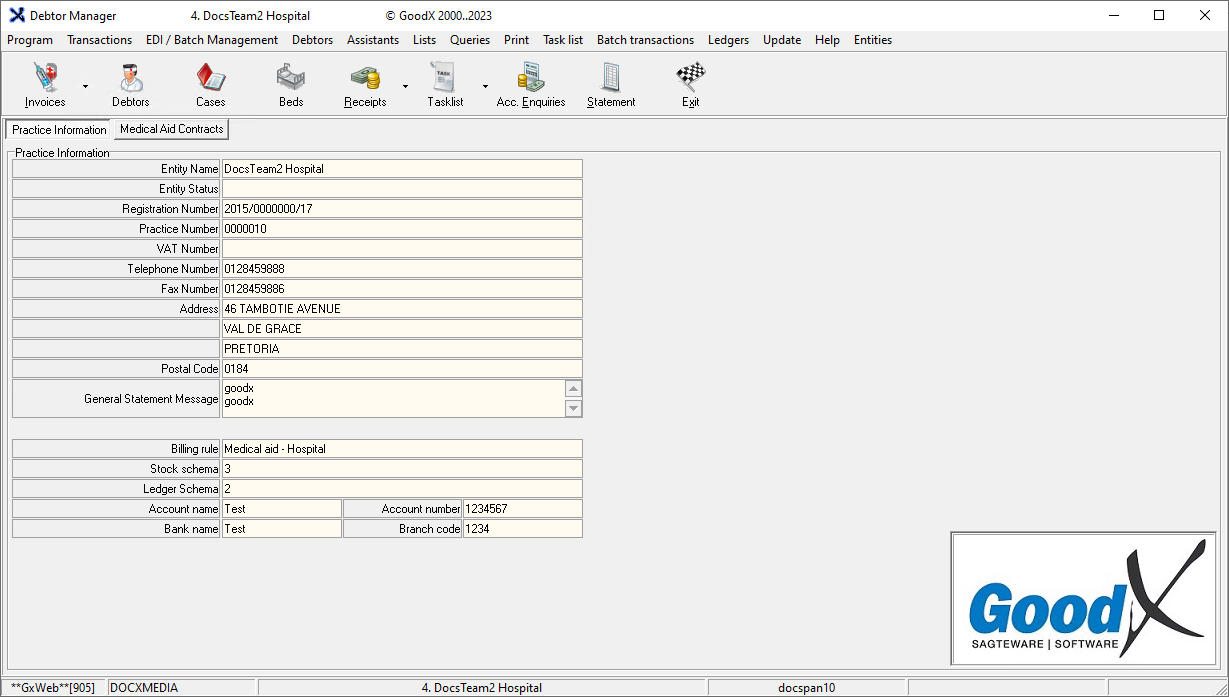
The Debtor Managerscreen will open.
Click on Print on the menubar.
Click on Case Report Writer on the submenu.
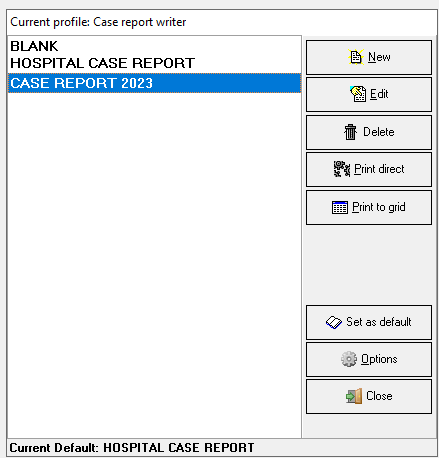
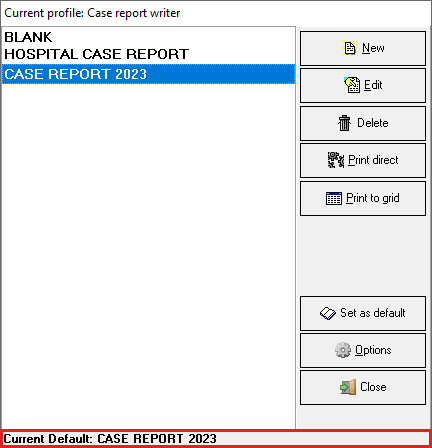
The Current Profile: Case Report Writer screen will open.
New Profile
Allows you to create a New Profile for a report. Users will create profiles for every type of report that they wish to generate, which allows you to print the report without having to change the parameters for the report, every time the same report is printed.
Click on the New button.
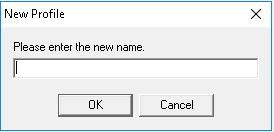
A New Profile pop-up will appear.
Click on the Please enter the new name text field to input a new name for the profile.
Click on the OK button to save the new profile name.
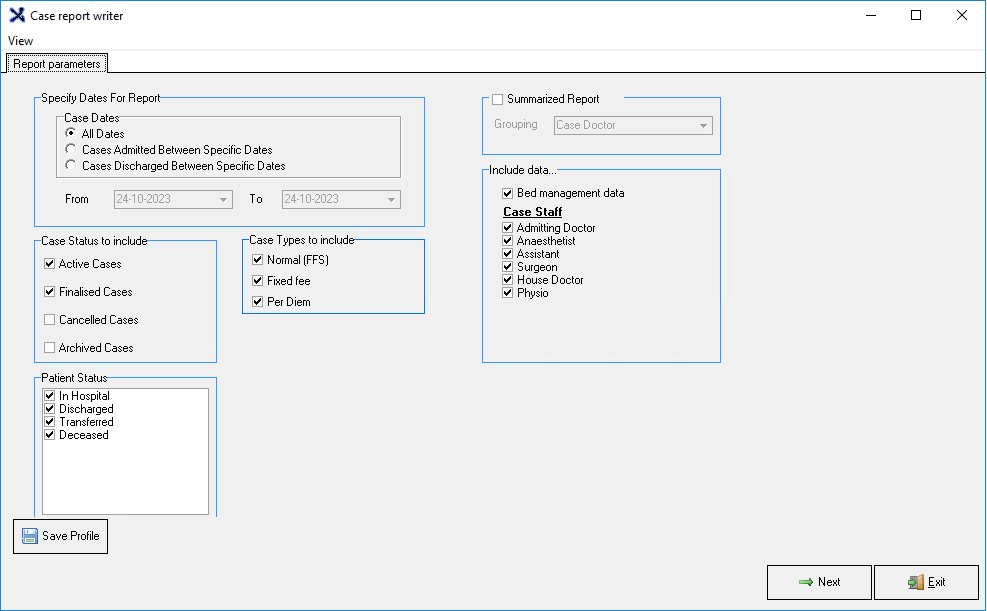
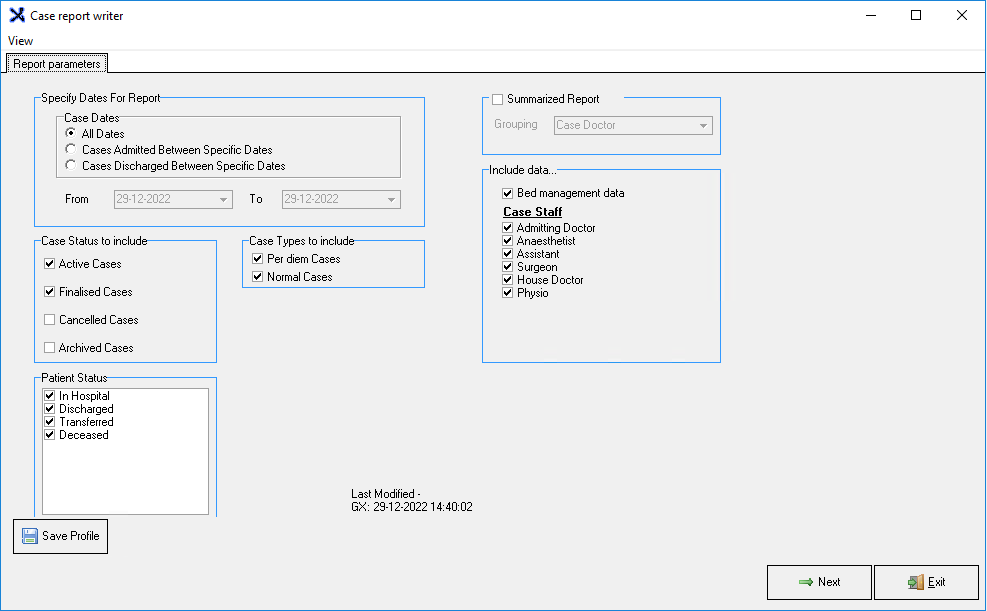
TheCurrent Profile: Case Report Writer screen, Report Parameters tab will open, in order to set up the new profile.
An explanation for each option will be given:
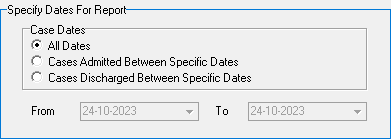
Specify Dates For Report: The different types of dates relating to the Hospital cases which will be taken into consideration when the report is generated to determine what data will be included in the report.
Choose the most appropriate option.
Case Dates: The dates that will be used to determine exactly what data will be displayed per case and the date type when the report is generated.
Select an option by clicking on the relevant radio button.
Please Note: Between Dates options will open the dates section where you can choose the desired dates.
Please Note: Dates can be entered manually using a dd-mm-yyyy format.
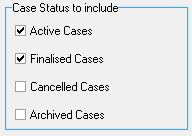
Case Status to include: Gives an indication of what stage the case is currently in. For more information regarding a Case Status, please refer to the user manual: DA: Case Status.
Select an option by ticking the relevant checkbox.
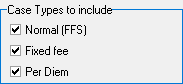
Case Types to Include: The kinds of cases that will be considered when the report is generated.
Select an option by ticking the relevant checkbox.
Normal (FFS): Regular fee for service cases, where each item, procedure, treatment and service rendered to the Patients is charged for. Itemised billing is used for Normal Cases.
Fixed Fee: Standard rates are charged for all procedures and stock items used relating to the case. A single fee is charged to cover all services and treatments associated with a specific medical procedure or condition. Instead of billing for each individual service, test, or consultation separately, all the necessary components of care are combined into one fixed price.
Per Diem: A per diem case is a special agreement between the Medical Aid and Hospital, where a fixed negotiated fee is charged for certain procedures. For more information on Per Diem Cases, please refer to the user manual: DA: Capturing Per Diem Procedures.
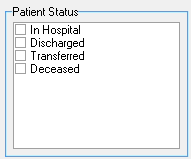
Patient Status: The current stage of the Patient in the Hospital admission process.
Select an option by ticking the relevant checkbox.
Please Note: Users are able to select more than one option.
Summarized Report: Provides you with a list of Grouping options which will show the totals according to the selected Grouping option.
Tick the checkbox to open the available Grouping options and select the relevant or desired option.
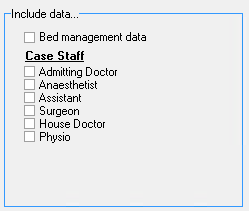
Include data...: Additional Information that will be included when the report is generated.
Select an option by ticking the relevant checkbox.
Click on the Save Profile button once satisfied with the selection criteria that will be used to generate the report. The selected criteria will be used by default on the report profile, every time the report is printed in future unless changed.
Click on theNext button to continue.
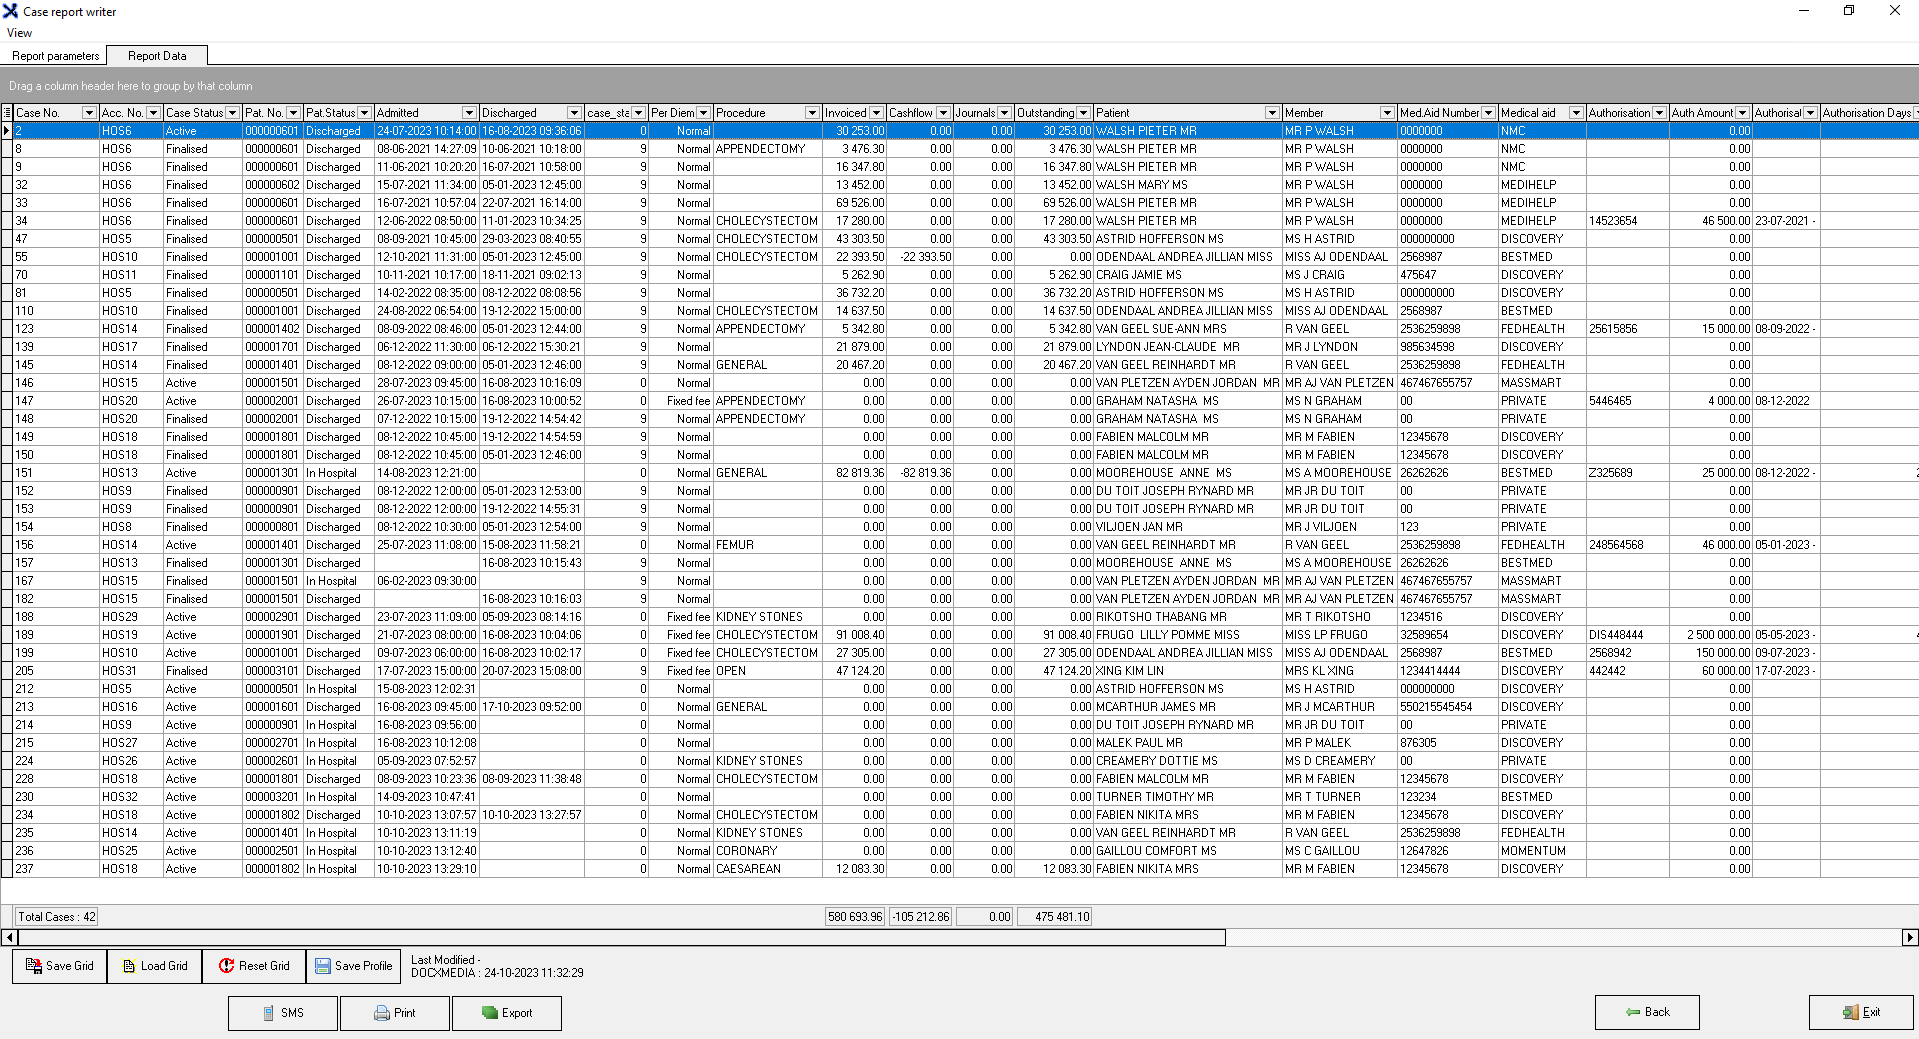
The Case Report Writer report will be generated and will be displayed on the screen.
For an extensive explanation regarding the information that is displayed on the report, please refer to the user manual: Case Report Writer.
Click on the Exit button to close the report and return to the Current Profile: Case Report Writer screen.
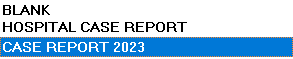
Notice that the new profile that has been created has been added to the profile list.
Edit Profile
Allows a user to edit the Settings and Parameters of a specific preset-up profile.
Select the desired report profile by clicking on the profile to make a selection.
Click on the Edit button.
The Case Report Writer screen, Report Parameters tabwill open.
Make the necessary changes by changing the settings, using the parameter explanations as explained in the New Profile section of this user manual.
Click on the Save Profile button to save the changes that have been made.
Click on the Exit buttonto return to the Current Profile: Case Report Writer screen.
Delete Profile
Allows you to remove an existing profile from the list.
Select the desired report profile by clicking on the profile to make a selection.
Click on the Delete button.
An Information pop-up will appear to ask: Delete Profile?
Click on the Yes buttonto delete the selected profile, the pop-up will close and return to the Current Profile: Case Report Writer screen.
The selected Profile will be removed from the list.
Print Direct
Allows you to print the report to the screen directly. The report will print as an HTML report.
Select the desired report profile by clicking on the profile to make a selection.
Click on the Print Direct button.
Click on the Next button to continue.
The Cases report will display on the screen.
Print and E-Mail options will be available for the printed report, for more information, please refer to the user manual: Options to Print.
Print to Grid
Allows you to view the report on the screen and filter the report before printing the report.
Select the desired report profile by clicking on the profile to make a selection.
Click on the Print to Grid button.
For more information on how to Print to Grid, please refer to the user manual: Case Report Writer.
Set as Default
Marks a selected report as the default report. When a report is set up as the default report you will not be able to delete the report.
Select the desired report profile by clicking on the profile to make a selection.
Click on the Set as Default button.
The selected option will be marked as default and this will be indicated at the bottom of the Current Profile: Case Report Writer screen.
Please Note: Once the desired report is set as the default report, the default report will remain the same and will be displayed as the Current Default until you set up a different report as the default. The default profile will always be highlighted in blue when you log in.
Options
Extra options that are available for the Case Report Writer profiles, for example, renaming the profile, duplicating an existing profile with a new name and unsettling the current default profile.
Select the desired report profile by clicking on the profile to make a selection.
Click on the Options button to access the options menu.
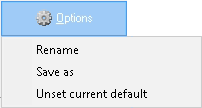
The Options menu will become available:
Rename: Allows you to give the profile a new name.
Save As: Will save a duplicate copy of the selected profile with a new name.
Unset Current default: Will remove the selected profile as the default profile.
Close
Allows you to exit the Current Profile: Case Report Writer screen.
Click on the Close button to exit the Current Profile: Case Report Writer screen and return to the Debtor Manager screen.