The Navigation and Use of the Invoice Management Tab
The Invoice Management screen provides a summary of all posted Invoices within the Practice. Additionally, it offers the capability to perform single actions on the Debtor/Patient's file, and bulk actions can be executed directly from the Invoice Management tab on more than one Debtor/Patient.
- The contents of this user manual will consist of the following information:
- Filters
- Context Filter
- Default Filter
- Column Options
- Export to CSV
- This user manual will start on the Reports screen.
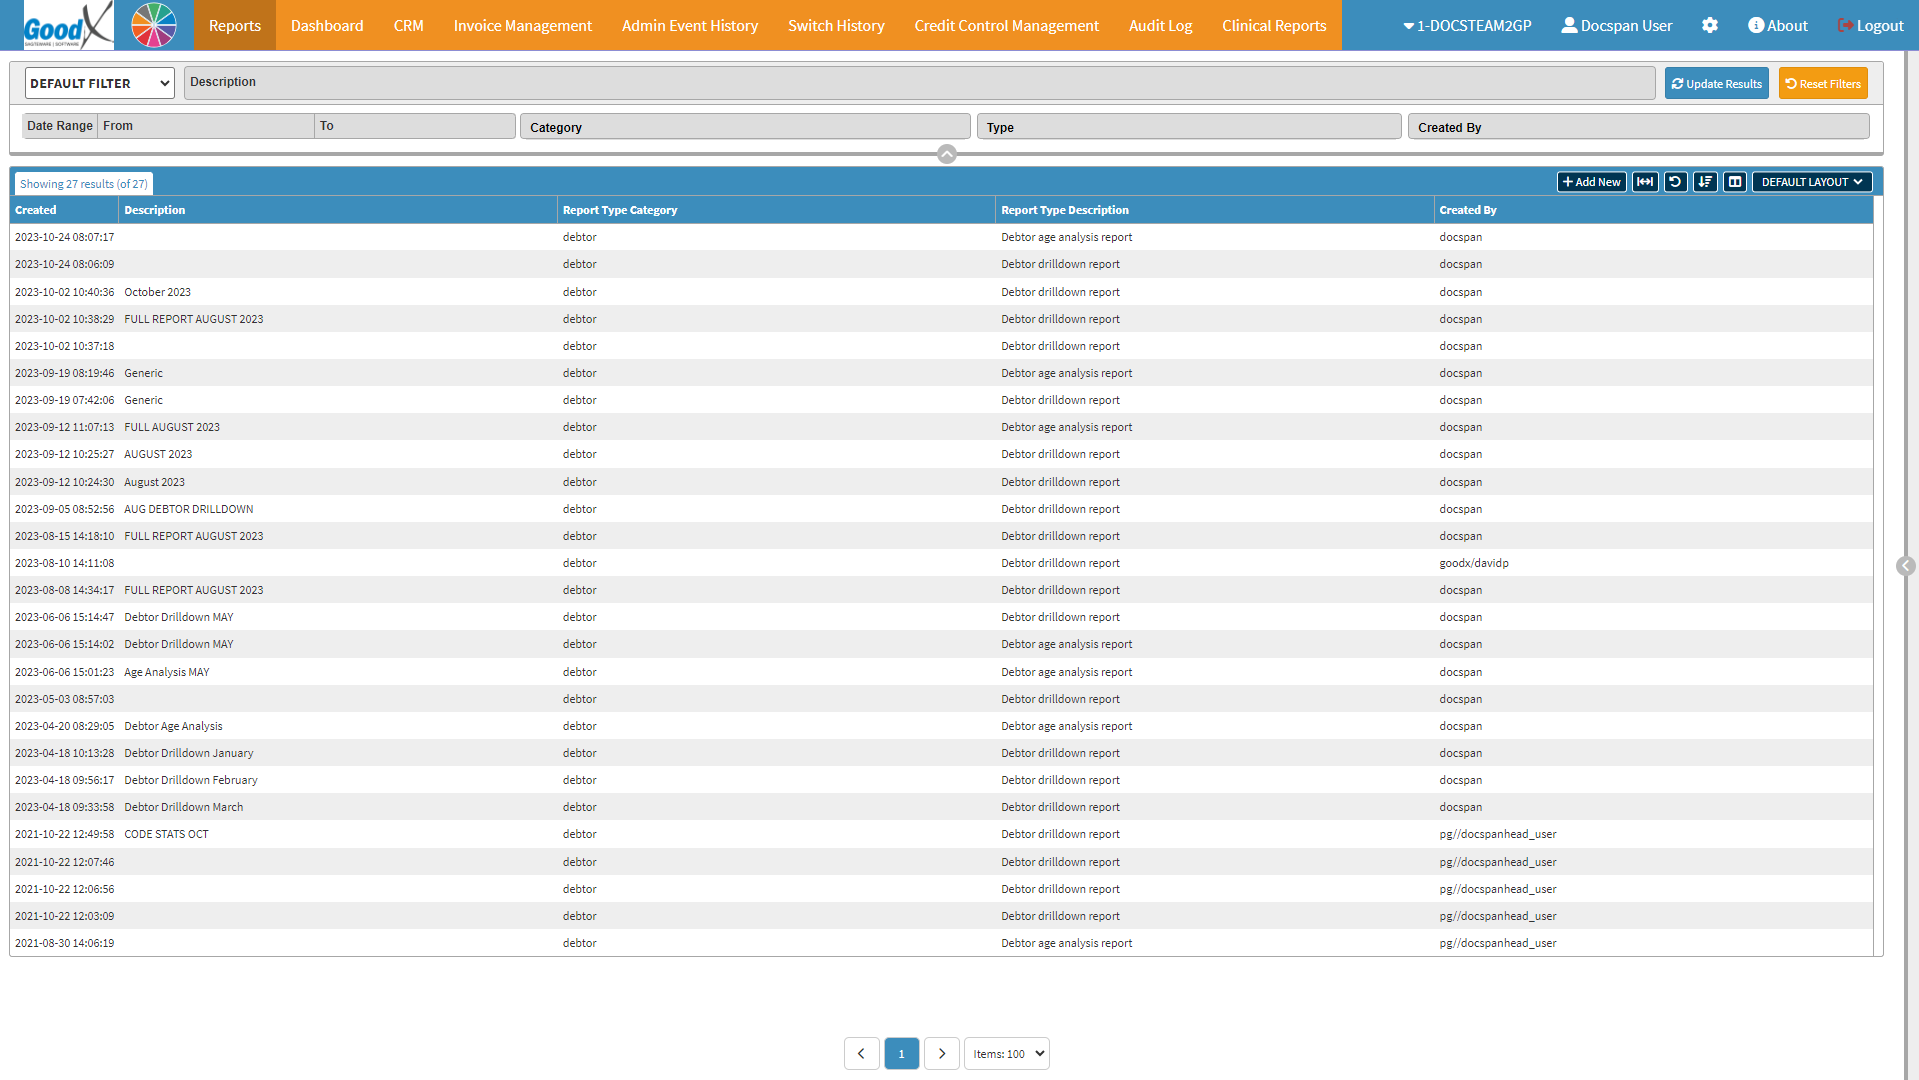
- Click on the Invoice Management tab.
![]()
- The Posted Invoices screen will open.
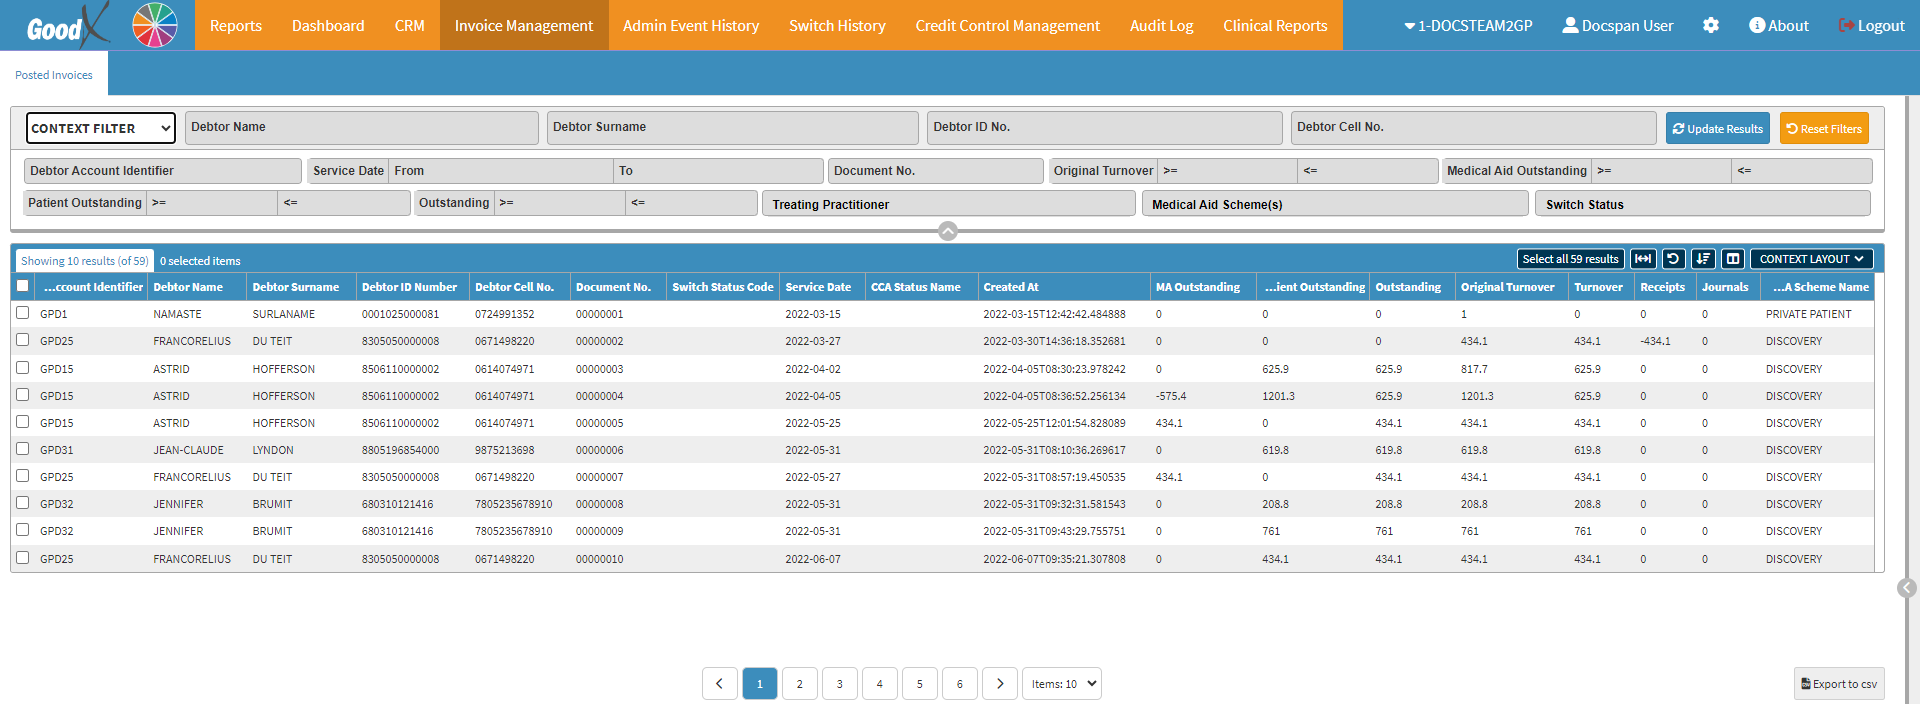
Filters
Filters can be used to acquire more refined results.
Please Note: Should you wish to only view specific results, the filters need to be completed. Should you wish to see all the information on the Report, then no filters need to be completed.
- An explanation will be given for each of the fields on the Filter bar:

Context Filter
The Context Filter can be used to achieve more refined search results.
- Select Context Filter from the drop-down menu.

- Complete the Debtor's Name in the Debtor Name field.
![]()
- Complete the Debtor's Surname in the Debtor Surname field.
![]()
- Complete the Debtor's ID Number in the Debtor ID No. field.
![]()
- Complete the Debtor's Cellphone Number in the Debtor Cell No. field.
- Complete the Debtor Account Identifier associated with the Debtor.
![]()
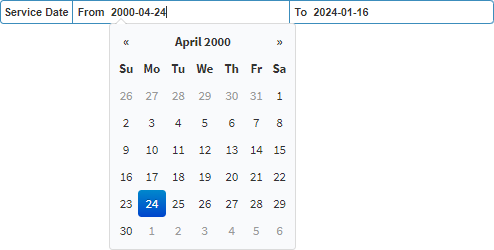
- Add the Service Date to specify the range for filtering the Report, indicating both the Start and End Dates.
- Click on the Date field.
- A Date Picker will become available in order for you to choose the required Date.
- Complete the Document Number in the Document No. field.
![]()
- Add the Original Turnover amount to specify the range for filtering the Report, indicating both the Greater Than Equal To (>=) and Lesser Than Equal To (<=) values.
![]()
- Add the Medical Aid Outstanding amount to specify the range for filtering the Report, indicating both the Greater Than Equal To (>=) and Lesser Than Equal To (<=) values.
![]()
- Add the Patient Outstanding amount to specify the range for filtering the Report, indicating both the Greater Than Equal To (>=) and Lesser Than Equal To (<=) values.
![]()
- Add the Outstanding amount to specify the range for filtering the Report, indicating both the Greater Than Equal To (>=) and Lesser Than Equal To (<=) values.
![]()
- Select the Treating Practitioner from the Treating Practitioner drop-down menu.
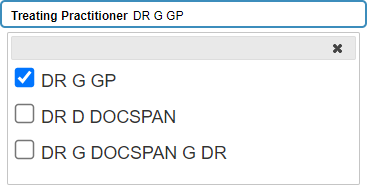
Please note: More than one Practitioner can be selected.
- Select the Medical Aid Scheme from the Medical Aid Scheme(s) drop-down menu.
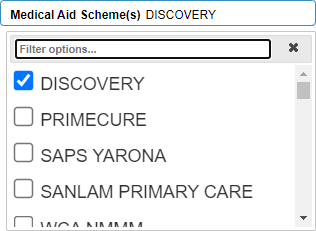
Please note: More than one Medical Aid Scheme can be selected.
- Select the Switch Status from the Switch Status drop-down menu.
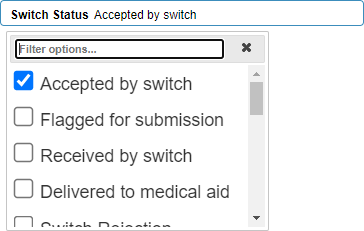
- Click on the Update Results button after all the filters have been set.

- The Report will be generated according to the Filters selected and be displayed on the Posted Invoice screen.

- Click on the Reset Filters button to empty all filter columns.

Default Filter
With the Filter set to Default, the options in the Filter bar changes.

- Select Default Filter from the drop-down menu.

- Complete the Patient's Name in the Patient Name field.
![]()
- Complete the Patient's Surname in the Patient Surname field.
![]()
- Complete the Patient's ID Number in the Patient ID No. field.
![]()
- Complete the Patient Cellphone Number in the Patient Cell No. field.
![]()
- Complete the Debtor Account Identifier field associated with the Debtor.
![]()
- Complete the Document Number in the Document No. field.
![]()
- Complete the Patient File Number in the Patient File No. field.
![]()
- Add the Patient Date of Birth to specify the range for filtering the Report, indicating both the Start and End Dates.
- Click on the Date field.
- A Date Picker will become available in order for you to choose the required Date.
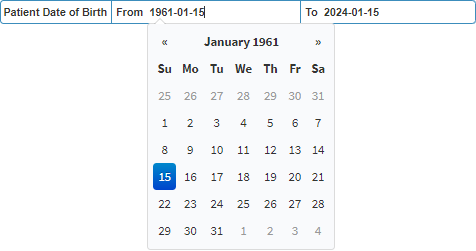
- Select the Debtor Status from the Debtor Status drop-down menu.
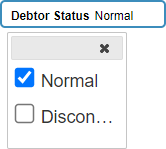
- Select the Patient's Gender from the Patient Gender drop-down menu.
![]()
- Click on the Active Patients slider to indicate all Active or Inactive Patients.

- Select the Treating Practitioner from the Treating Practitioner drop-down menu.

- Select the ICD 10 Code from the ICD 10 Code(s) drop-down menu.
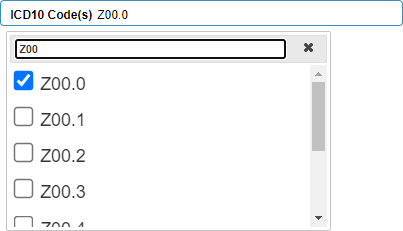
- Select the Procedure from the Procedure(s) drop-down menu.
Please Note: The available ICD-10 and Procedure codes which will be available in the drop-down menus are Codes which were used on Invoices that was Posted.

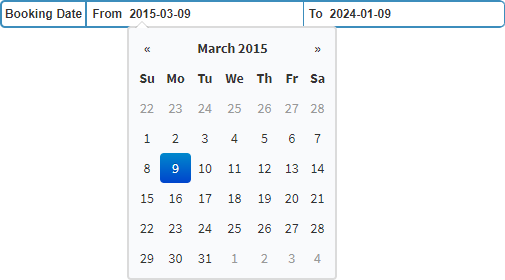
- Add the Booking Date to specify the range for filtering the Report, indicating both the Start and End Dates.
![]()
- Click on the Date filed.
- A Date Picker will become available in order for you to choose the required Date.
- Click on the Update Results button after all the filters have been set.

- The Posted Invoices Report will generate displaying the information according to the Filters that have been applied.


- Click on the Reset Filters button to empty all filter columns.
Column Options
Several additional options are available for the Columns. These additional options are to help the user adjust the Invoice Management tab to refine the search and give more specific results.
![]()
- Click on the Select All Results button to select all every line in the column.
![]()
- Click on the Expand Widths button to auto-fit the column width to the information within all columns.
![]()
- Click on the Reset Widths button to restore the original widths after any modifications were done.
![]()
- Click on the Sort Coloums button to sort the Columns in the order that you desire.
![]()
- For more information regarding how the Sort Columns feature works, please refer to the user manual: How to Sort Columns on Reports and List Screens.
- Click on the Choose Columns button to select the columns that will be displayed on the list.
![]()
- For more information regarding how the Choose Coloums feature works, please refer to the user manual: How to Choose Columns on Reports and List Screens.
- Click on the Default Layout drop-down menu to select the type of layout that will be used for the screen.
![]()
Export to CSV
The Posted Invoices Report can be exported as a CSV file should you wish to Print or Save to your computer or open the form in an Excel format.
- Click on the Export to CSV button to export the file to Save to your computer or Print a hard copy.

Please Note: In order to export to CSV, a file should be selected.