Text size
Line height
Text spacing
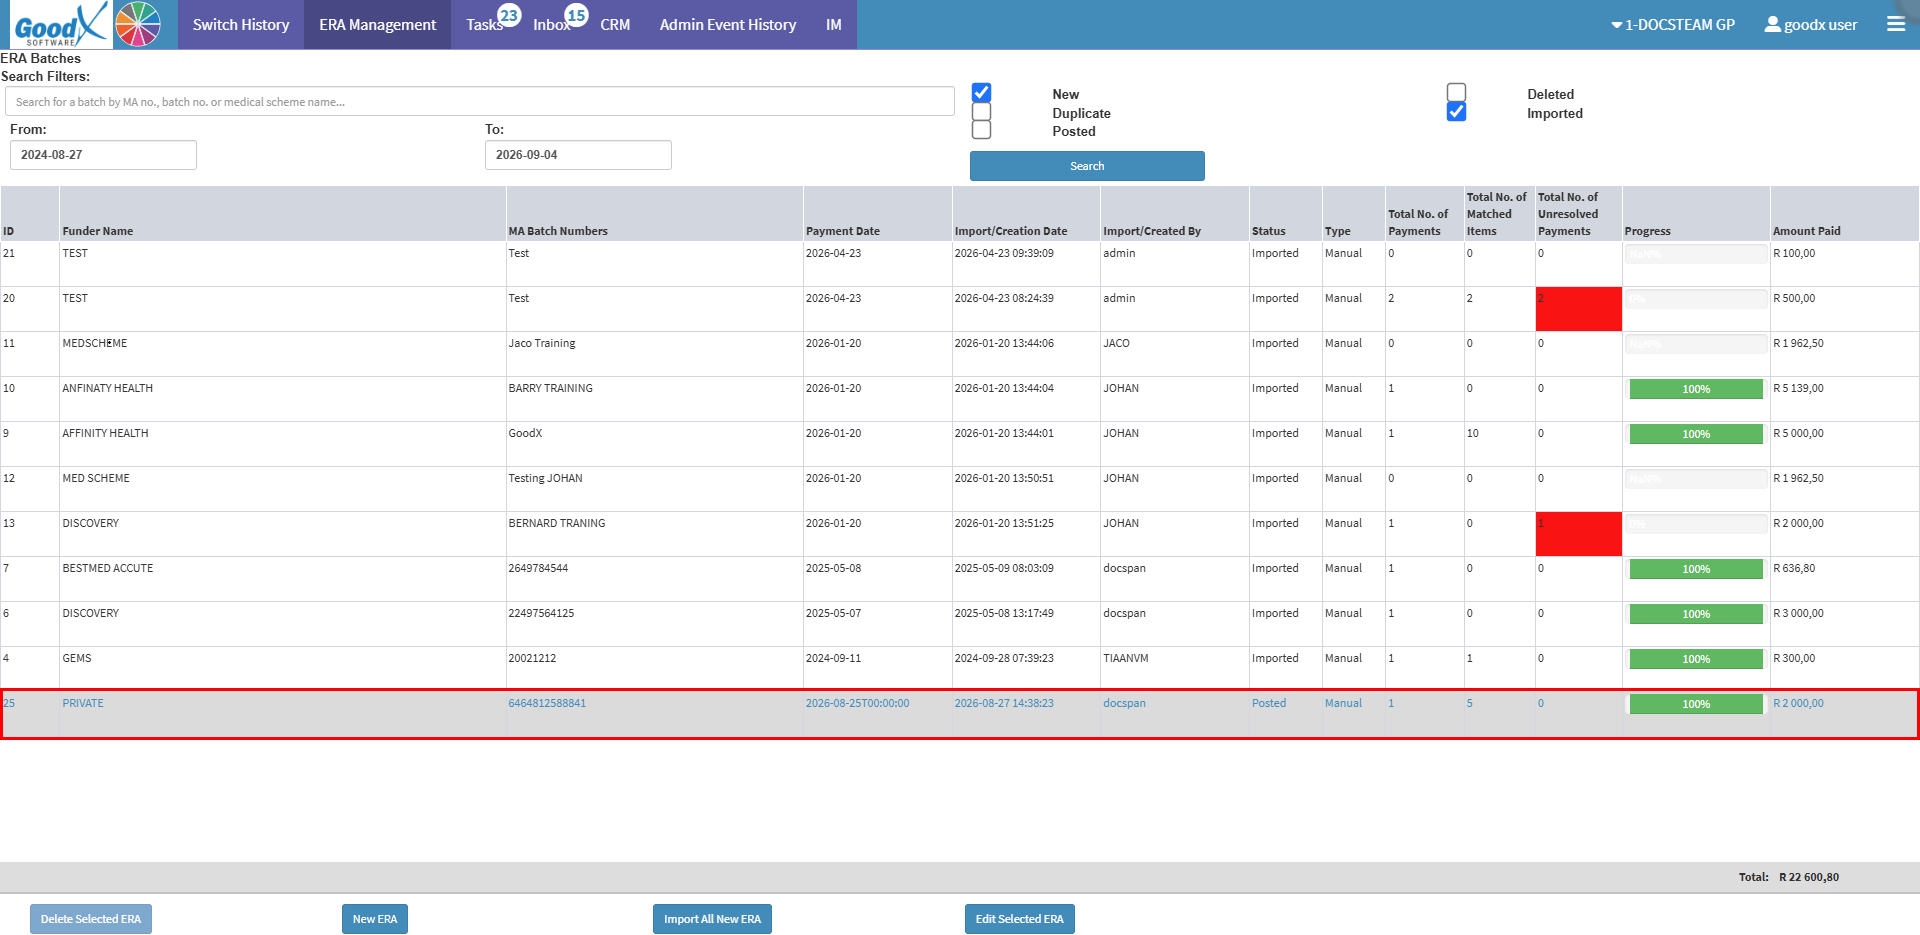
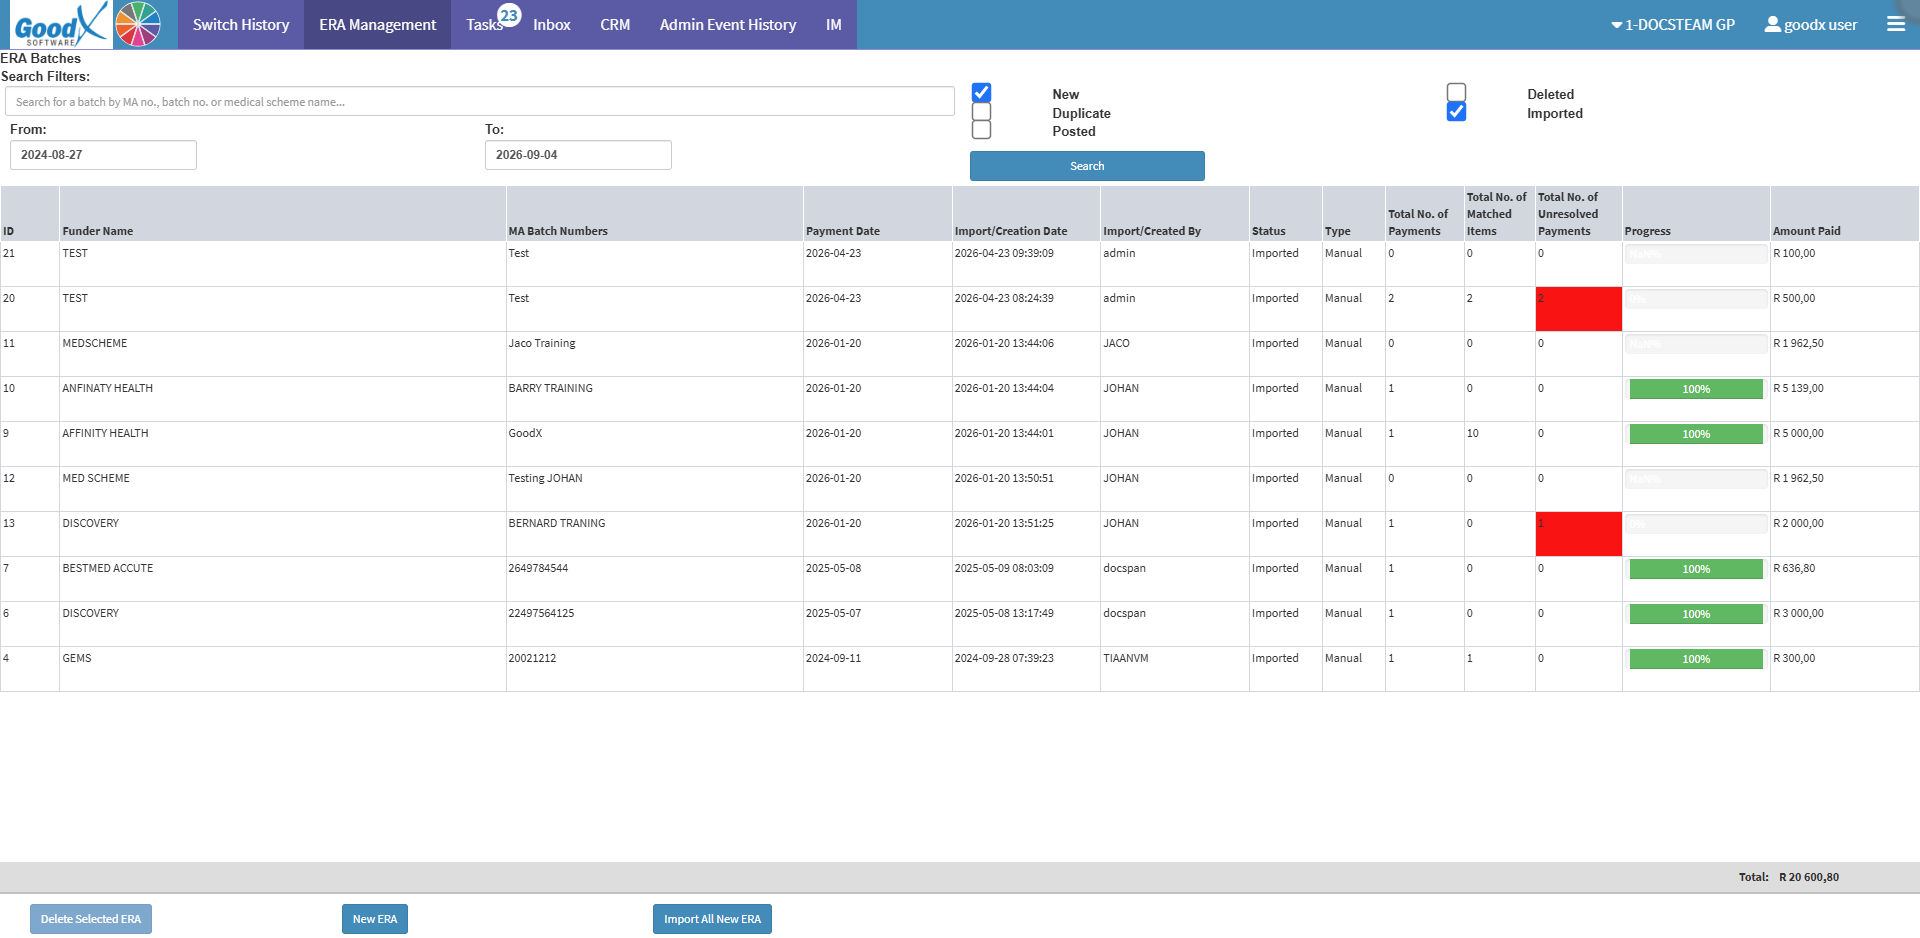
An Electronic Remittance Advice is a digital version of the traditional paper Remittance from the medical aid. An ERA provides essential information regarding the claims that were sent and their responses, helping you to track and reconcile payments from medical aids.
ERAs are valuable as they save time and effort. Instead of paging through long paper remittances, the system automatically organises, matches, and displays the information clearly and accurately. This reduces manual errors, speeds up reconciliation, and gives the Practice immediate insight into claim outcomes, making your financial processes cleaner, quicker, and more efficient.
💡Please Note: To access and utilise Electronic Remittance Advice (ERA) features, it is necessary to advise us that you would like to use these features. The setup for using ERAs is done during your installation process.
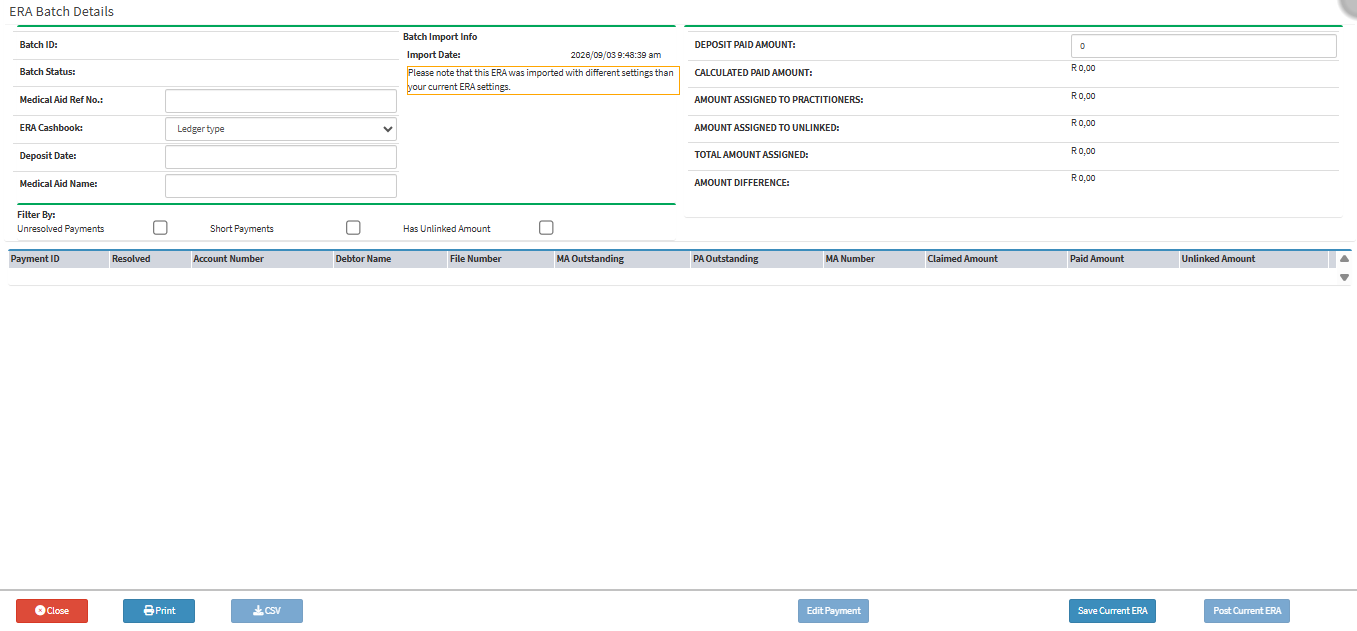
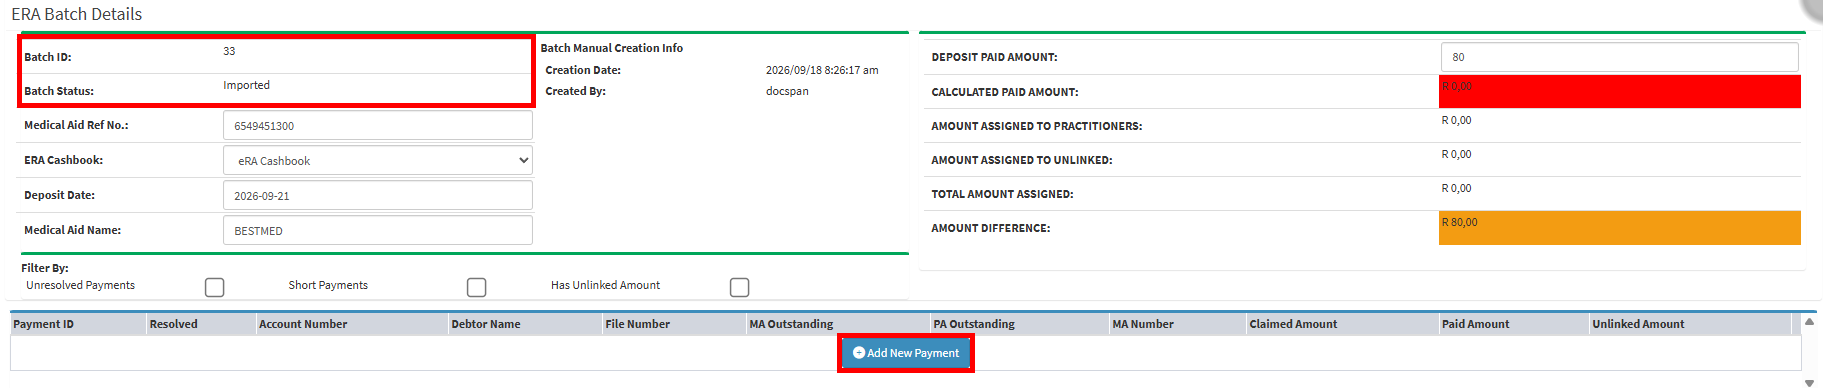
💡Please Note: Once the Save Current ERA button has been clicked, the Batch ID and Batch Status fields will become available, as well as the Add New Payment button.
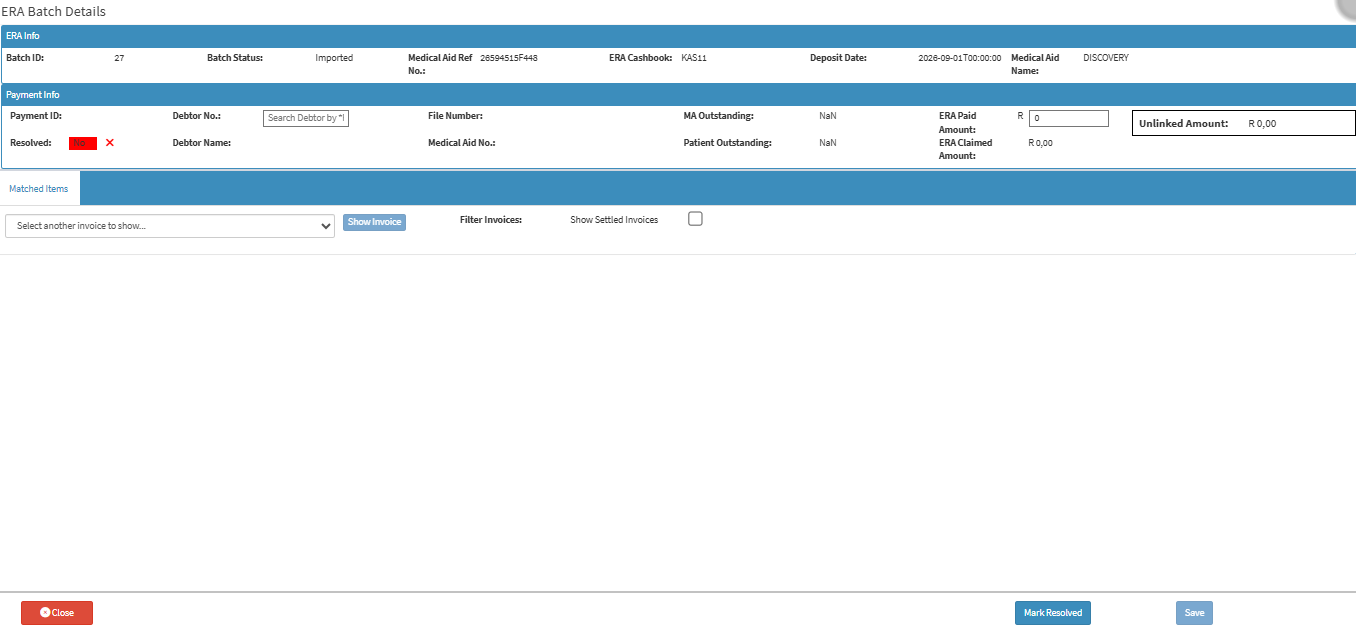
💡Please Note: The debtor information will populate once a debtor is selected.
💡Please Note: Do not click the Mark Resolved button if there is a difference between the amount owed by the debtor and the amount paid. Doing so will incorrectly mark the payment as balanced, even though a discrepancy exists. Ensure the amounts match exactly before marking the payment as resolved to maintain accurate account records and prevent reconciliation issues later on.
💡Please Note: Ensure the overall batch Amount Difference is zero before attempting to post the ERA..